పరిచయం
This instruction manual provides essential information for the safe and effective use of your tectake Bench Vice 125 mm, Model 401124-2. This cast iron bench vice is designed to securely hold workpieces for various tasks in woodworking, metalworking, and general DIY projects. Please read this manual thoroughly before initial use and keep it for future reference.
సెటప్ మరియు ఇన్స్టాలేషన్
Proper installation is crucial for the stability and safety of your bench vice. Ensure your workbench is sturdy and capable of supporting the vice and the forces applied during work.
- తగిన స్థానాన్ని ఎంచుకోండి: Select a position on your workbench that allows for comfortable operation and provides sufficient clearance for the vice's movement and your workpieces. Typically, a corner or edge of the workbench is preferred.
- Mark mounting holes: Place the vice on the desired location and mark the positions of the mounting holes on your workbench using a pencil or marker.
- డ్రిల్ పైలట్ రంధ్రాలు: Drill appropriate pilot holes through your workbench at the marked positions. Ensure the drill bit size matches the diameter of your mounting bolts (not included).
- Secure the vice: Position the vice over the drilled holes. Insert suitable bolts, washers, and nuts (not included) through the mounting holes and tighten them securely. Ensure the vice is firmly attached and does not wobble.


ఆపరేటింగ్ సూచనలు
Follow these steps for safe and effective operation of your bench vice.
- Opening and Closing Jaws: Rotate the main handle counter-clockwise to open the jaws and clockwise to close them. Ensure the jaws are clean and free of debris before clamping.
- Clamping a Workpiece: Place the workpiece between the jaws. Rotate the main handle clockwise until the workpiece is held firmly. Do not overtighten, as this can damage the workpiece or the vice. For delicate materials, use jaw pads (not included) to prevent marring.
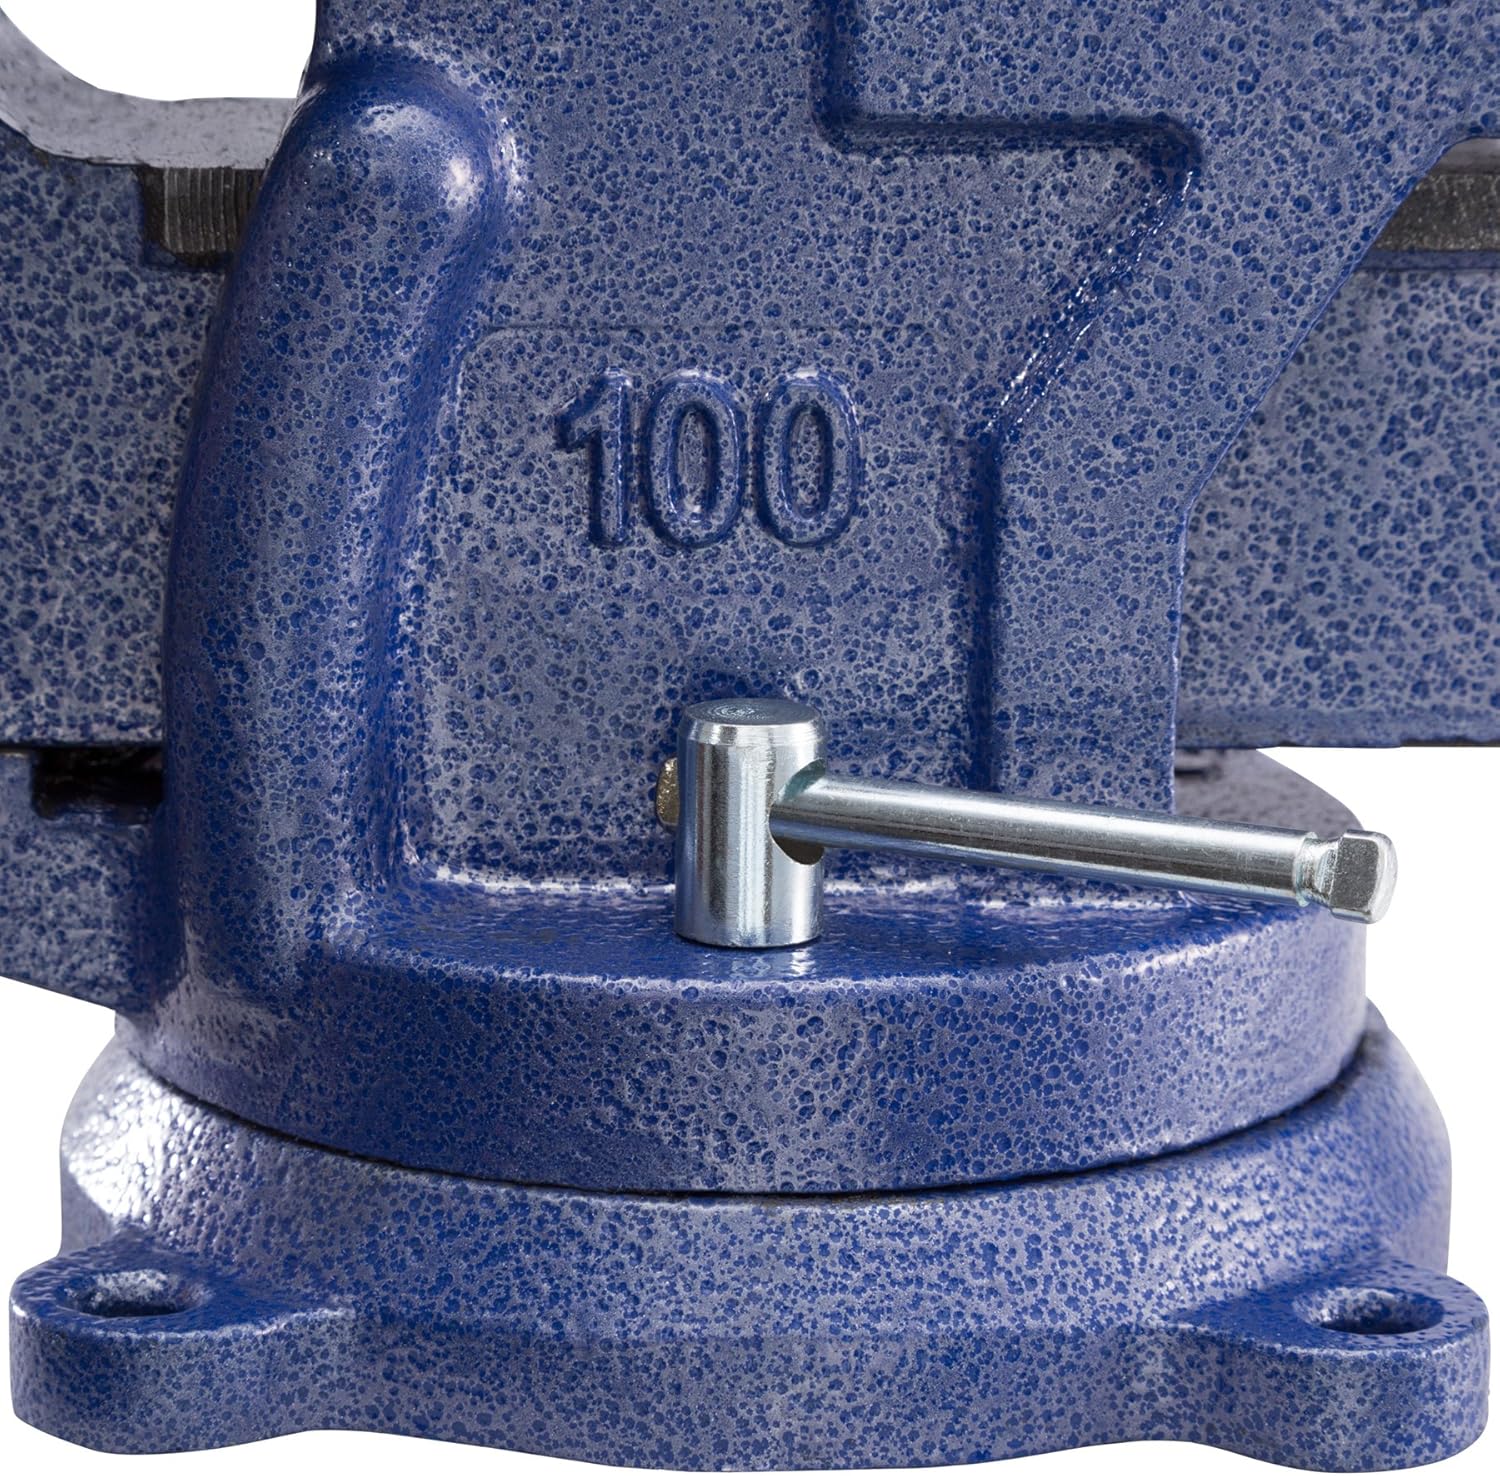
- Using the Swivel Base: The vice features a 360-degree swivel base for optimal positioning.
- To rotate the vice, loosen the two locking handles located on the side of the swivel base.
- Rotate the vice to the desired angle.
- Tighten the locking handles firmly to secure the vice in position before applying force to the workpiece.
- Using the Anvil: The flat surface at the rear of the fixed jaw serves as an anvil. It can be used for light hammering, shaping, or bending tasks.
- Pipe Jaws: The vice includes integrated pipe jaws below the main jaws, designed to securely hold round objects like pipes or rods.


నిర్వహణ
Regular maintenance ensures the longevity and optimal performance of your bench vice.
- శుభ్రపరచడం: After each use, clean the vice to remove any wood chips, metal shavings, dust, or other debris. The design facilitates easy removal of residues. Use a brush or compressed air.
- సరళత: Periodically apply a light coat of machine oil or grease to the main screw and sliding surfaces. This prevents rust and ensures smooth operation.
- తనిఖీ: Regularly inspect the vice for any signs of wear, damage, or loose components. Check the mounting bolts for tightness. Replace any worn or damaged parts immediately.
- నిల్వ: When not in use, keep the vice jaws slightly open to prevent rust and relieve tension on the screw mechanism. Store in a dry environment.
ట్రబుల్షూటింగ్
This section addresses common issues you might encounter with your bench vice.
- Jaws are stiff or difficult to move:
- Check for debris or obstructions in the screw mechanism or sliding surfaces. Clean thoroughly.
- Apply lubricant to the main screw and sliding parts.
- Vice wobbles on the workbench:
- అన్ని మౌంటు బోల్ట్లు సురక్షితంగా బిగించబడ్డాయని నిర్ధారించుకోండి.
- Verify that the workbench surface is flat and stable.
- Workpiece slips in jaws:
- Ensure the jaws are clean and free of oil or grease.
- Tighten the jaws sufficiently, but do not overtighten.
- Consider using jaw pads for better grip on certain materials.
స్పెసిఫికేషన్లు
| బ్రాండ్ | టెక్టేక్ |
| మోడల్ సంఖ్య | 401124-2 |
| Jaw Opening (Max) | 125 మి.మీ |
| మెటీరియల్ | తారాగణం ఇనుము |
| రంగు | నీలం |
| శైలి | బెంచ్ వైస్ |
| వస్తువు బరువు | 7.5 కిలోలు |
| ప్యాకేజీ కొలతలు | 30 x 17.5 x 13.5 సెం.మీ |


వారంటీ మరియు మద్దతు
For warranty information, technical support, or inquiries regarding replacement parts, please contact tectake customer service or the retailer from whom you purchased the product. Retain your proof of purchase for warranty claims.