
పరిచయం
This manual provides essential information for the safe and effective installation, operation, and maintenance of your BTF-LIGHTING 16.4ft Warm White SMD5630 LED Strip Light. Please read this manual thoroughly before use and retain it for future reference.
భద్రతా సమాచారం
- సంస్థాపన లేదా నిర్వహణకు ముందు విద్యుత్ సరఫరా డిస్కనెక్ట్ చేయబడిందని నిర్ధారించుకోండి.
- This LED strip is designed for 12V DC power only. Connecting to a higher voltagఇ ఉత్పత్తిని పాడు చేస్తుంది.
- This product is IP30 rated, meaning it is non-waterproof. Avoid exposure to water or high humidity.
- Do not bend the LED strip sharply or apply excessive force, as this may damage the circuit board or LEDs.
- Ensure proper ventilation around the LED strip to prevent overheating.
- పిల్లలకు దూరంగా ఉంచండి.
- Only use the recommended power adapter (DC12V3A) or a compatible power supply.
ప్యాకేజీ విషయాలు
అన్ని భాగాలు ఉన్నాయని మరియు మంచి స్థితిలో ఉన్నాయని ధృవీకరించండి:
- 1 x BTF-LIGHTING 16.4ft (5m) Warm White SMD5630 LED Strip Light
- 1 x Remote Control (if included with your specific package)
- Note: Power adapter is typically sold separately.
స్పెసిఫికేషన్లు
| బ్రాండ్ | BTF-లైటింగ్ |
| మోడల్ సంఖ్య | 56305MWW60W30 |
| LED రకం | SMD5630 |
| LED పరిమాణం | 300 LEDs (60 LEDs/meter) |
| స్ట్రిప్ పొడవు | 16.4 అడుగులు (5 మీటర్లు) |
| FPCB Board Width | 10మి.మీ |
| లేత రంగు | వెచ్చని తెలుపు |
| రంగు ఉష్ణోగ్రత | 2700K-3000K |
| Lumen per LED | 23-25 lm/LED |
| వర్కింగ్ వాల్యూమ్tage | DC 12V |
| సిఫార్సు చేయబడిన పవర్ అడాప్టర్ | DC 12V 3A (36W) or higher |
| వాట్tage | 30 వాట్స్ |
| జలనిరోధిత స్థాయి | IP30 (Non-Waterproof) |
| ఆపరేటింగ్ ఉష్ణోగ్రత | -20°C నుండి 50°C |
| జీవితకాలం | >50,000 గంటలు |
| ధృవపత్రాలు | CE & RoHS |
సెటప్ సూచనలు
- ఉపరితలాన్ని సిద్ధం చేయండి: Ensure the installation surface is clean, dry, and smooth. Dust, oil, or moisture can reduce the adhesive's effectiveness.
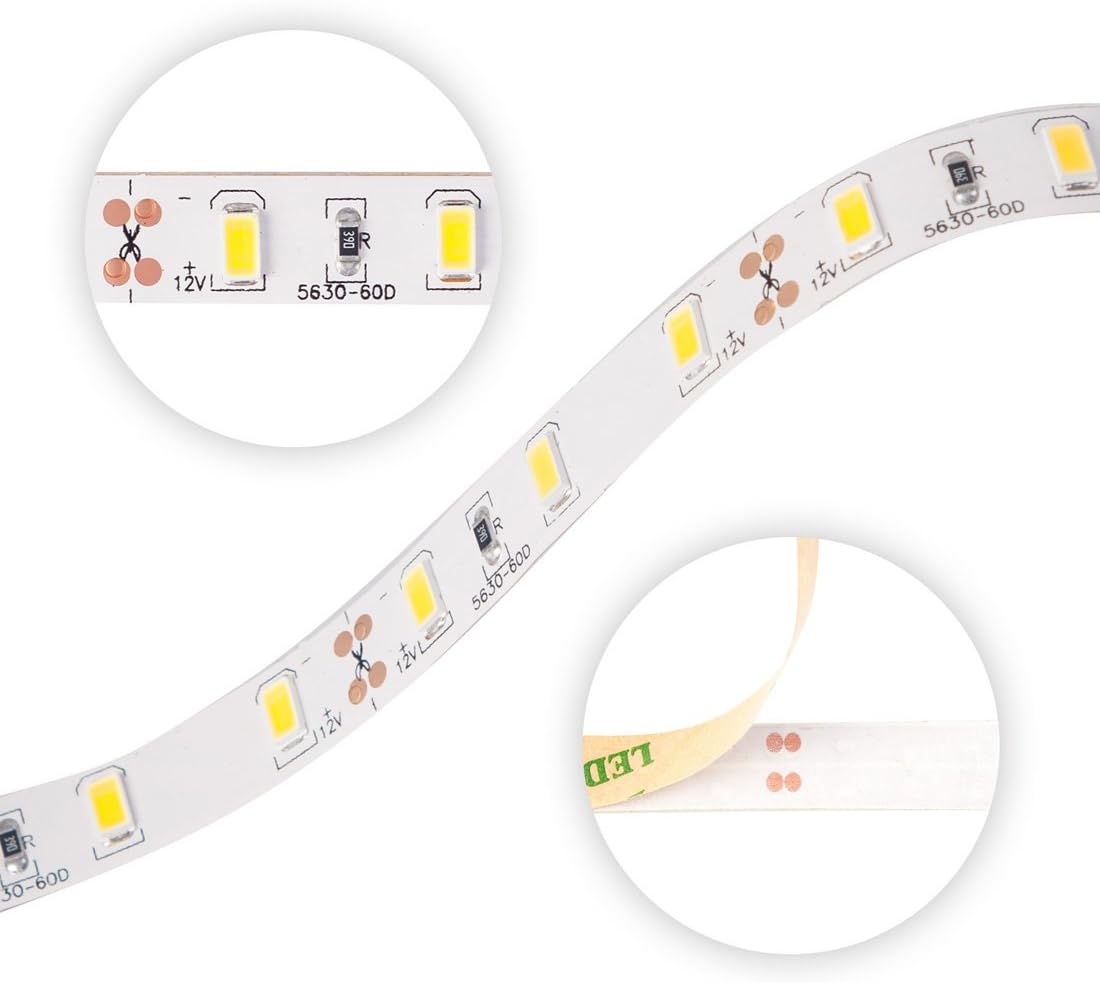
చిత్రం: క్లోజప్ view of the LED strip, highlighting individual SMD5630 LEDs and designated cut points marked with a scissor icon. The strip also shows the adhesive backing being peeled.
- కొలత మరియు కట్ (ఐచ్ఛికం): If a shorter length is required, cut the LED strip only at the designated cut marks (usually indicated by a scissor icon and copper pads). Cutting elsewhere will damage the circuit and prevent the section from lighting up.
- పవర్ కనెక్ట్ చేయండి:
- Identify the 2-pin connectors on the LED strip.
- Connect the LED strip's 2-pin connector to a compatible DC 12V power adapter (not included). Ensure polarity is correct (positive to positive, negative to negative).
- If a remote control is included, connect the LED strip to the remote controller, and then connect the controller to the power adapter.

Image: Two separate sections of the LED strip, each terminating with a 2-pin connector (red and black wires), ready for connection to a power source or controller.
- Test Before Adhering: Before removing the adhesive backing, plug in the power adapter to test if the LED strip lights up correctly. This allows for troubleshooting before permanent installation.
- స్ట్రిప్ను అడియర్ చేయండి: Once tested, peel off the protective backing from the adhesive tape on the back of the LED strip. Carefully press the strip onto the desired clean, dry surface. Apply firm, even pressure along the entire length to ensure good adhesion.
ఆపరేటింగ్ సూచనలు
Once the LED strip is properly installed and connected to a 12V DC power supply:
- పవర్ ఆన్/ఆఫ్: Plug the power adapter into a wall outlet to turn the strip light on. Unplug it to turn it off.
- Using the Remote Control (if applicable): If your package included a remote control, refer to its specific instructions for functions such as brightness adjustment or on/off control.
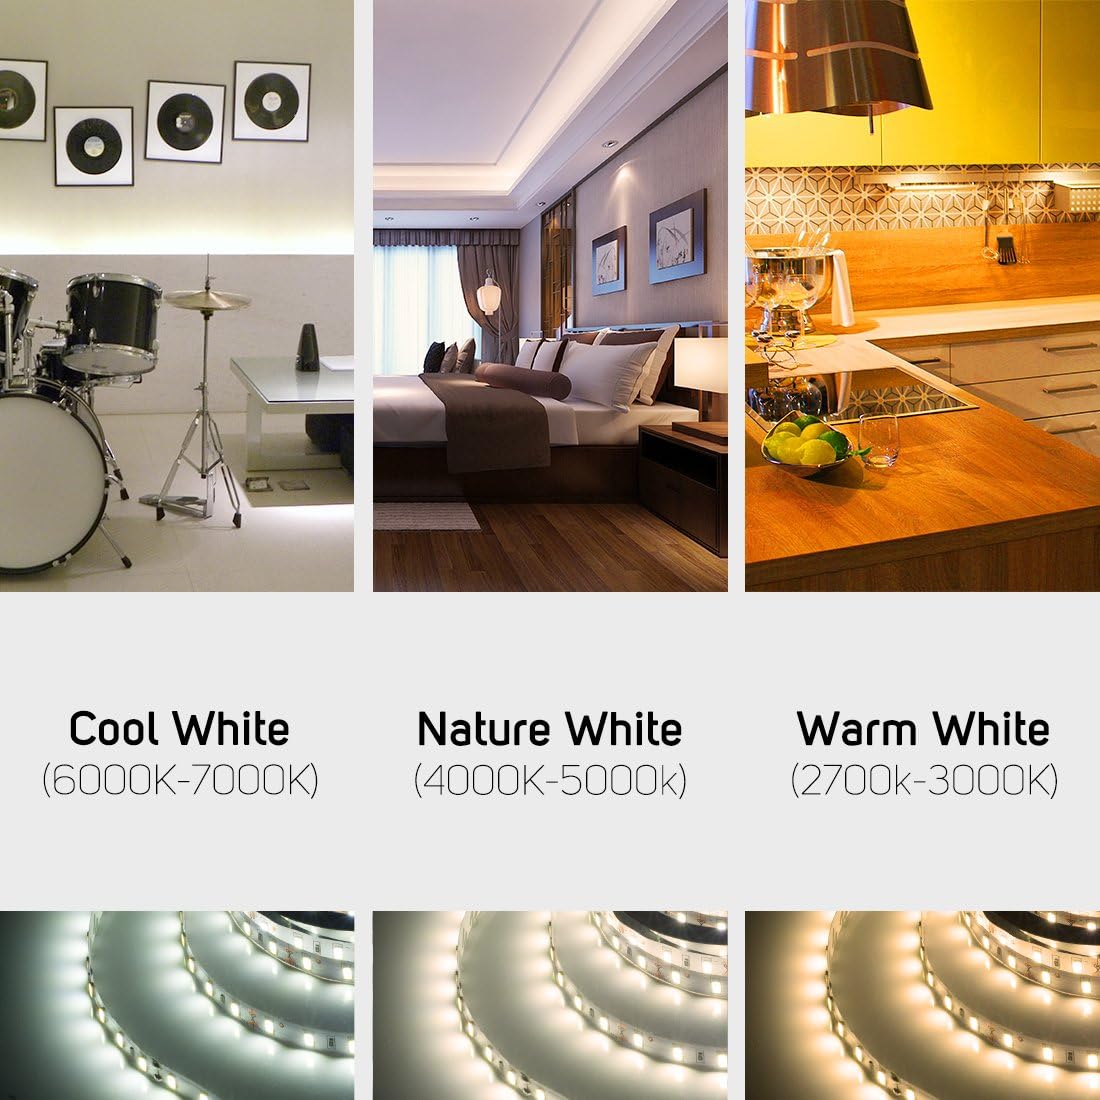
చిత్రం: విజువల్ ఎక్స్amples of LED strip lighting used in different indoor environments, demonstrating the warm white illumination. This image also shows Cool White and Nature White, but this product is Warm White.
నిర్వహణ
- శుభ్రపరచడం: Ensure the power is off and unplugged before cleaning. Gently wipe the LED strip with a soft, dry cloth. Do not use liquid cleaners or abrasive materials.
- తనిఖీ: Periodically check the strip for any signs of damage, loose connections, or adhesive degradation.
- నిల్వ: If storing the LED strip, ensure it is kept in a dry, cool place, away from direct sunlight and extreme temperatures.
ట్రబుల్షూటింగ్
| సమస్య | సాధ్యమైన కారణం | పరిష్కారం |
|---|---|---|
| LED స్ట్రిప్ వెలిగించదు. |
|
|
| LED స్ట్రిప్లో కొంత భాగం వెలగడం లేదు. |
|
|
| LEDs are dim or flickering. |
|
|
వారంటీ మరియు మద్దతు
BTF-LIGHTING products are designed for reliability and performance. For warranty information, technical support, or assistance with your product, please contact BTF-LIGHTING customer service through the retailer where the product was purchased or visit the official BTF-LIGHTING webసైట్.
Please have your model number (56305MWW60W30) and purchase details ready when contacting support.