1. పరిచయం
ధన్యవాదాలు, ధన్యవాదాలు.asing the Silverlit Xion FPV Camera Drone 84765. This drone is designed for outdoor use and offers an exciting First-Person View (FPV) flying experience with its integrated camera. Please read this manual thoroughly before operating the drone to ensure safe and optimal performance. Keep this manual for future reference.

Image 1.1: The Silverlit Xion FPV Camera Drone 84765.
2. భద్రతా సమాచారం
హెచ్చరిక: ఈ సూచనలను పాటించడంలో విఫలమైతే ఉత్పత్తికి గాయం లేదా నష్టం జరగవచ్చు.
- డ్రోన్ను ఎల్లప్పుడూ ప్రజలు, జంతువులు, భవనాలు మరియు విద్యుత్ లైన్లకు దూరంగా బహిరంగ, స్పష్టమైన ప్రదేశాలలో ఆపరేట్ చేయండి.
- బలమైన గాలులు లేదా ప్రతికూల వాతావరణ పరిస్థితుల్లో ఎగరవద్దు.
- చేతులు, ముఖం మరియు వదులుగా ఉండే దుస్తులను తిరిగే ప్రొపెల్లర్లకు దూరంగా ఉంచండి.
- Ensure the drone battery and remote control batteries are fully charged before each flight.
- ఛార్జింగ్ బ్యాటరీలను ఎట్టి పరిస్థితుల్లోనూ వదిలివేయవద్దు.
- This product is intended for children. Adult supervision is recommended.
- డ్రోన్ లేదా దాని భాగాలను సవరించవద్దు లేదా విడదీయవద్దు.
- ఉపయోగంలో లేనప్పుడు డ్రోన్ మరియు రిమోట్ కంట్రోల్ను ఎల్లప్పుడూ ఆఫ్ చేయండి.
3. ప్యాకేజీ విషయాలు
ప్యాకేజీలో అన్ని అంశాలు ఉన్నాయని నిర్ధారించుకోండి:
- Silverlit Xion FPV Camera Drone 84765
- రిమోట్ కంట్రోల్
- FPV గాగుల్స్
- Rechargeable Drone Battery
- USB Charging Cable (for drone battery)
- విడి ప్రొపెల్లర్లు
- వినియోగదారు మాన్యువల్

Image 3.1: The Silverlit Xion FPV Drone product box, showing the drone and FPV goggles.
4. సెటప్
4.1. రిమోట్ కంట్రోల్ బ్యాటరీ ఇన్స్టాలేషన్
- రిమోట్ కంట్రోల్ వెనుక బ్యాటరీ కంపార్ట్మెంట్ను తెరవండి.
- Insert the required batteries (not included) according to the polarity indicators.
- బ్యాటరీ కంపార్ట్మెంట్ను సురక్షితంగా మూసివేయండి.
4.2. Drone Battery Installation
- డ్రోన్ పవర్ ఆఫ్ చేయబడిందని నిర్ధారించుకోండి.
- డ్రోన్లో బ్యాటరీ కంపార్ట్మెంట్ను గుర్తించండి.
- Carefully insert the charged drone battery, ensuring it is properly seated and connected.
- బ్యాటరీ కంపార్ట్మెంట్ కవర్ను మూసివేయండి.
4.3. ప్రొపెల్లర్ ఇన్స్టాలేషన్ (అవసరమైతే)
If propellers are not pre-installed, attach them according to the markings (e.g., A and B) on the propellers and motor shafts. Ensure they are securely fastened.
4.4. Remote Control and Drone Pairing
- డ్రోన్ను చదునైన, స్థాయి ఉపరితలంపై ఉంచండి.
- Turn on the drone. The indicator lights will flash.
- రిమోట్ కంట్రోల్ ఆన్ చేయండి.
- Move the left joystick (throttle) fully up, then fully down. The drone's indicator lights will become solid, indicating successful pairing.
4.5. FPV Goggle Setup
Connect the FPV goggles to your smartphone (if applicable) or power them on as per their specific instructions. Ensure a stable connection for live video feed.

Image 4.1: The remote control and FPV goggles for the Silverlit Xion Drone.
5. డ్రోన్ బ్యాటరీని ఛార్జ్ చేయడం
The drone's battery requires charging before use. A USB charging cable is included, but a compatible USB power adapter (not included) is required.
- USB ఛార్జింగ్ కేబుల్ను డ్రోన్ బ్యాటరీకి కనెక్ట్ చేయండి.
- Plug the other end of the USB cable into a suitable USB power adapter (e.g., a smartphone charger or computer USB port).
- The charging indicator light will show the charging status (refer to the cable's specific instructions for light behavior).
- Charging typically takes 80-100 minutes for a full charge.
- After a flight, allow the battery to cool down for 10-15 minutes before recharging to prolong battery life.
Note: A fully charged battery provides approximately 4-5 minutes of flight time.
6. డ్రోన్ను ఆపరేట్ చేయడం
6.1. ప్రీ-ఫ్లైట్ చెక్లిస్ట్
- డ్రోన్ మరియు రిమోట్ కంట్రోల్ బ్యాటరీలు పూర్తిగా ఛార్జ్ అయ్యాయని నిర్ధారించుకోండి.
- ప్రొపెల్లర్లు సురక్షితంగా జతచేయబడి, దెబ్బతినకుండా ఉన్నాయో లేదో తనిఖీ చేయండి.
- Verify the flight area is clear of obstacles, people, and animals.
- Confirm successful pairing between the drone and remote control.
6.2. టేకాఫ్ మరియు ల్యాండింగ్
- డ్రోన్ను చదునైన, స్థాయి ఉపరితలంపై ఉంచండి.
- Slowly push the left joystick (throttle) upwards to make the drone ascend.
- To land, slowly pull the left joystick (throttle) downwards until the drone gently touches the ground.
6.3. ప్రాథమిక విమాన నియంత్రణలు
- ఎడమ జాయ్స్టిక్ (థ్రోటిల్): Up/Down for altitude control.
- Left Joystick (Yaw): Left/Right for rotating the drone horizontally.
- కుడి జాయ్స్టిక్ (పిచ్/రోల్): Up/Down for moving forward/backward; Left/Right for moving left/right (sideways).
6.4. Camera Operation and FPV
The drone features a 1080p video recording capability and 0.3 MP effective still resolution. Refer to the remote control diagram for specific camera buttons.
- వీడియో రికార్డింగ్: Press the designated video button on the remote control to start/stop recording.
- ఫోటో క్యాప్చర్: Press the designated photo button to take a still image.
- FPV Live Feed: Once the FPV goggles are set up and connected, you will see the live video feed from the drone's camera, enhancing your flying experience.
7. నిర్వహణ
- శుభ్రపరచడం: డ్రోన్ మరియు రిమోట్ కంట్రోల్ను శుభ్రం చేయడానికి మృదువైన, పొడి వస్త్రాన్ని ఉపయోగించండి. కఠినమైన రసాయనాలు లేదా ద్రావకాలను ఉపయోగించవద్దు.
- ప్రొపెల్లర్ తనిఖీ: Regularly check propellers for cracks, bends, or damage. Replace any damaged propellers with spare parts provided.
- నిల్వ: Store the drone and its components in a cool, dry place, away from direct sunlight and extreme temperatures. Remove batteries from the remote control if storing for extended periods.
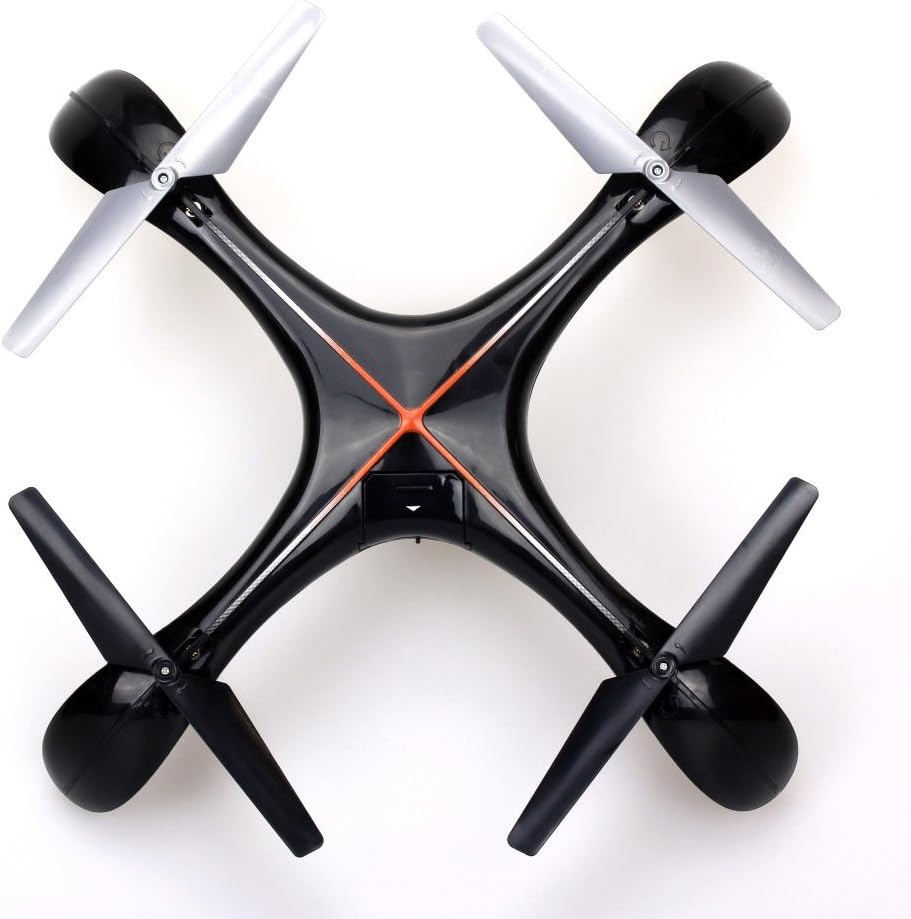
చిత్రం 7.1: పైభాగం view of the Silverlit Xion FPV Drone, showing propeller orientation.
8. ట్రబుల్షూటింగ్
| సమస్య | సాధ్యమైన కారణం | పరిష్కారం |
|---|---|---|
| డ్రోన్ రిమోట్ కంట్రోల్కు స్పందించదు. | Low battery in drone or remote; not paired correctly. | Charge drone battery, replace remote control batteries, re-attempt pairing process. |
| డ్రోన్ అస్థిరంగా ఎగురుతుంది లేదా తేలుతుంది. | Drone not calibrated on a flat surface; damaged propeller. | Ensure drone is placed on a level surface during pairing/initialization. Check and replace damaged propellers. Refer to manual for calibration steps if available. |
| Poor video quality or no FPV feed. | Weak signal; FPV goggles not connected properly. | Ensure drone is within range. Check FPV goggle connection and battery. |
| చిన్న విమాన సమయం. | బ్యాటరీ పూర్తిగా ఛార్జ్ కాలేదు; పాత బ్యాటరీ. | Ensure battery is fully charged (80-100 minutes). Consider replacing the battery if it's old and performance has degraded. |
9. స్పెసిఫికేషన్లు
- బ్రాండ్: సిల్వర్లైట్
- మోడల్ పేరు: 84765
- వయస్సు పరిధి: పిల్లవాడు
- వీడియో రికార్డింగ్ రిజల్యూషన్: 1080p
- ఎఫెక్టివ్ స్టిల్ రిజల్యూషన్: 0.3 ఎంపీ
- నైపుణ్య స్థాయి: Professional (Note: This may refer to advanced features, but basic operation is suitable for children with supervision)
- నియంత్రణ రకం: రిమోట్ కంట్రోల్
- బ్యాటరీలు ఉన్నాయి: లేదు (రిమోట్ కంట్రోల్ కోసం)
- రిమోట్ కంట్రోల్ చేర్చబడింది: అవును
- ఉత్పత్తి బరువు: 1.5 కిలోలు
10. వారంటీ మరియు మద్దతు
For warranty information or technical support, please refer to the documentation provided with your purchase or contact Silverlit customer service. Keep your proof of purchase for any warranty claims.