
1. పరిచయం
Thank you for choosing the Ohuhu Mylar Hydroponic Grow Tent. This manual provides detailed instructions for the assembly, operation, maintenance, and troubleshooting of your grow tent. Please read this manual thoroughly before setup and retain it for future reference to ensure optimal performance and longevity of your product.
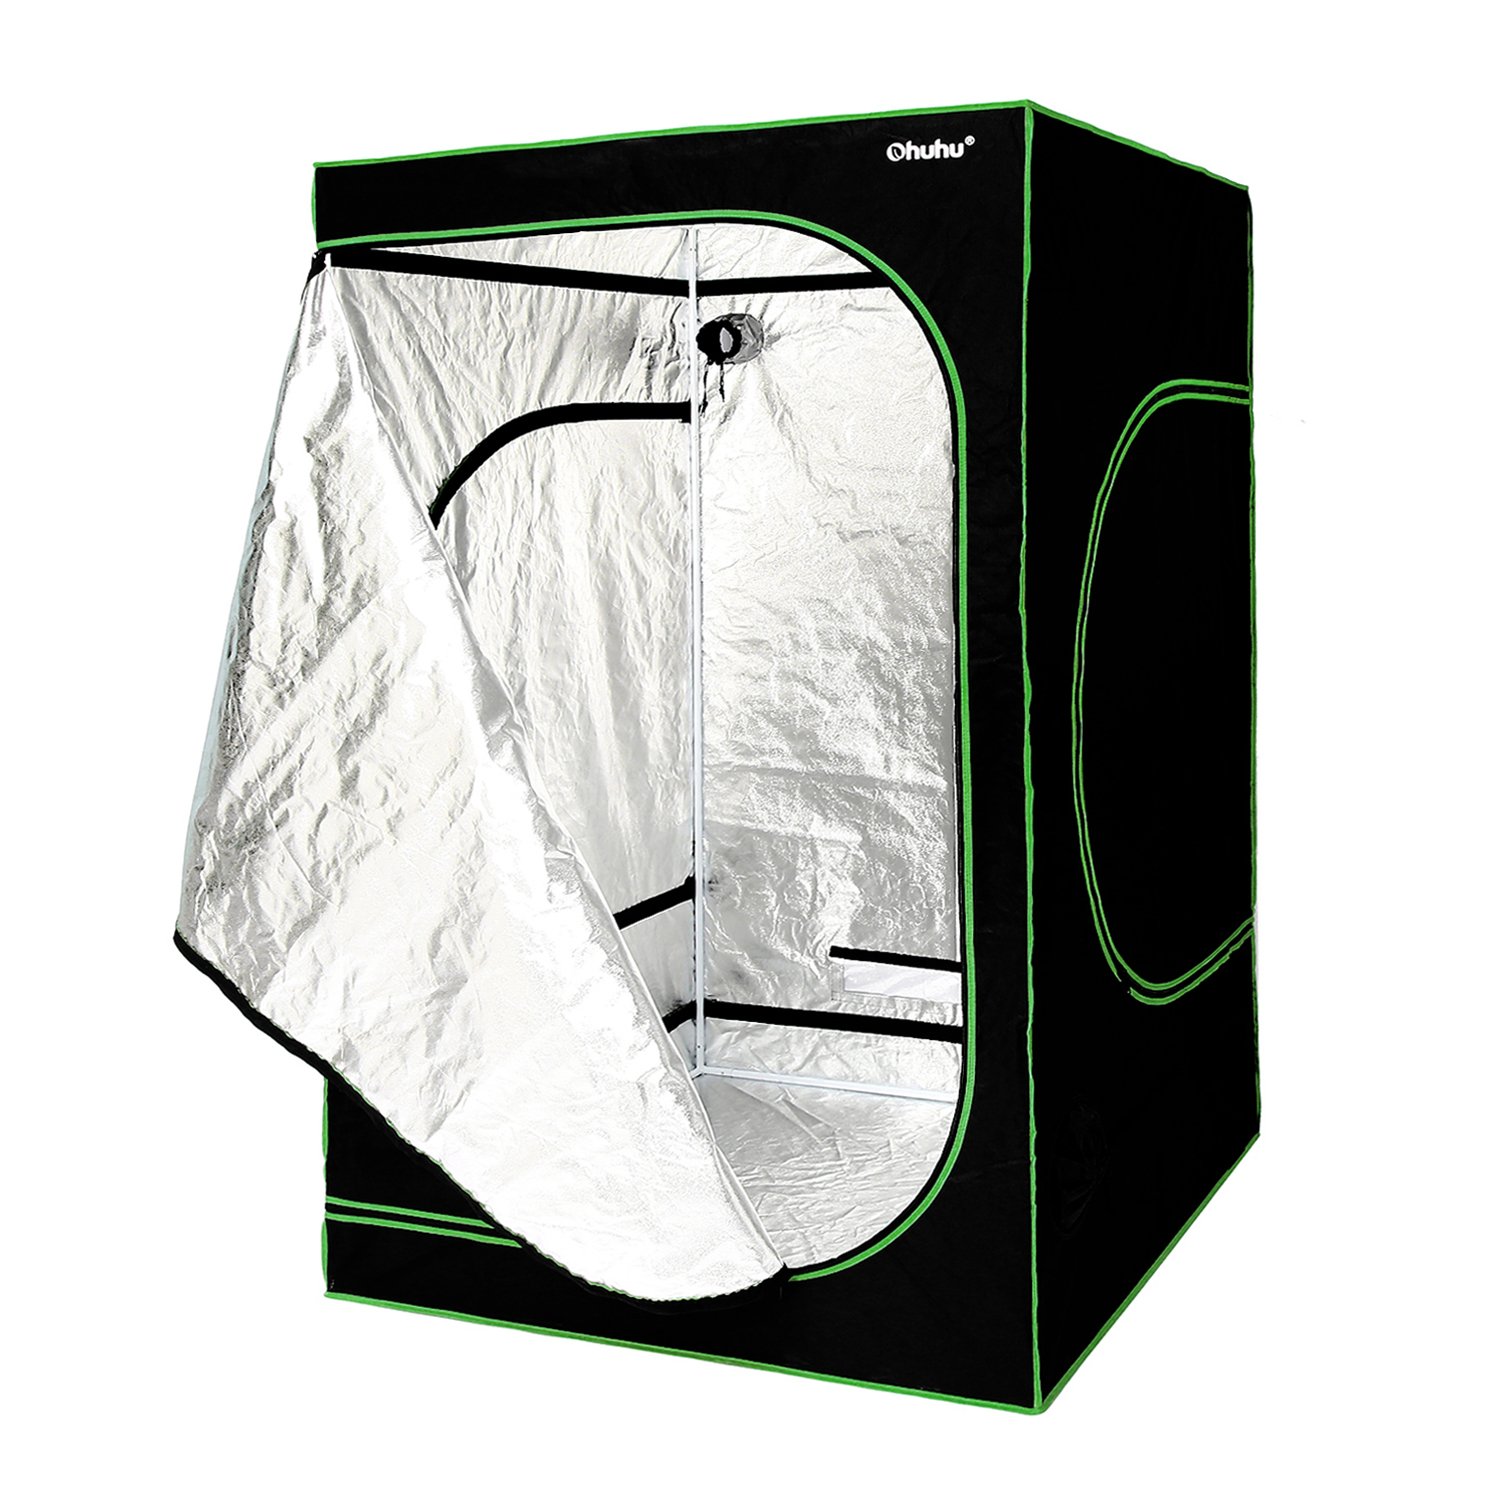
Image 1.1: Fully assembled Ohuhu Mylar Hydroponic Grow Tent.
2. భద్రతా సమాచారం
- Always ensure the grow tent is assembled on a flat, stable surface to prevent tipping.
- Keep all electrical components (lights, fans, pumps) away from water sources to prevent electrical hazards.
- Do not overload the support bars. Distribute weight evenly when hanging equipment.
- Ensure adequate ventilation to prevent heat buildup and maintain air quality inside the tent.
- Keep children and pets away from the grow tent, especially during operation.
- Do not use abrasive cleaners or sharp objects on the tent fabric, as this may damage the Mylar lining or cause light leaks.
3. ప్యాకేజీ విషయాలు
అసెంబ్లీకి ముందు, క్రింద జాబితా చేయబడిన అన్ని భాగాలు ఉన్నాయని మరియు పాడైపోలేదని ధృవీకరించండి:
- Tent Fabric (600D Oxford cloth with Mylar lining)
- Metal Frame Poles (various lengths)
- కార్నర్ కనెక్టర్లు
- తొలగించగల నీటి-నిరోధక అంతస్తు ట్రే
- టూల్ బ్యాగ్
- Hanging Bars for equipment

చిత్రం 3.1: ఉదాample of frame poles and connectors.
4. సెటప్ సూచనలు
Assembly is recommended with two people for ease, though it can be completed by one individual. No tools are required.
- ప్రాంతాన్ని సిద్ధం చేయండి: Choose a clean, flat, and stable location for your grow tent. Ensure sufficient overhead clearance for the 80-inch height.
- బేస్ ఫ్రేమ్ను సమీకరించండి: Connect the shortest metal poles with the appropriate corner connectors to form the base rectangle (60" x 60"). Ensure all poles are fully inserted into the connectors until they snap into place.
- నిలువు స్తంభాలను వ్యవస్థాపించండి: Insert the vertical poles into the corner connectors of the base frame.
- టాప్ ఫ్రేమ్ను సమీకరించండి: Connect the remaining shortest metal poles with the appropriate corner connectors to form the top rectangle. Carefully lift and place this top frame onto the vertical poles.
- టెంట్ ఫాబ్రిక్ను కప్పండి: Unfold the tent fabric and carefully drape it over the assembled metal frame. Ensure the main zipper opening is facing the desired direction.
- టెంట్ను భద్రపరచండి: Pull the tent fabric down over the frame, ensuring it fits snugly. Zip up the main door partially to help align the fabric.
- హ్యాంగింగ్ బార్లను ఇన్స్టాల్ చేయండి: Insert the longer hanging bars into the designated slots or hooks at the top of the frame inside the tent. These are for supporting lights, fans, and filters.
- Place Floor Tray: Lay the removable water-resistant floor tray inside the tent at the base.

Image 4.1: Illustrative step of pulling tent fabric over the frame.
5. ఆపరేటింగ్ సూచనలు
Once assembled, your Ohuhu grow tent is ready for use. Consider the following for optimal operation:
- వెంటిలేషన్: Utilize the multiple ventilation ports for intake and exhaust fans. The drawstring closures allow for adjustable airflow and light sealing.
- కేబుల్ నిర్వహణ: Use the dedicated cable ports to route electrical cords for lights, fans, and other equipment, minimizing light leaks.
- పరిశీలన విండో: The observation window allows you to check on your plants without opening the main door, helping to maintain a stable internal environment.
- Equipment Hanging: Securely hang your grow lights, carbon filters, and circulation fans from the provided hanging bars. Ensure weight is distributed evenly.
- జిప్పర్ వాడకం: Operate zippers smoothly. Avoid forcing them, especially around corners, to prevent damage and ensure light-tight closure.
6. నిర్వహణ
Regular maintenance will extend the life of your grow tent and ensure a healthy growing environment.
- శుభ్రపరచడం: Wipe down the interior Mylar lining with a damp cloth and mild soap solution as needed. Ensure the tent is dry before closing to prevent mold or mildew.
- ఫ్లోర్ ట్రే: Regularly remove and clean the water-resistant floor tray to prevent water accumulation and maintain hygiene.
- జిప్పర్లు: Periodically check zippers for smooth operation. If they become stiff, a small amount of zipper lubricant (e.g., beeswax or silicone spray) can be applied carefully.
- ఫ్రేమ్ తనిఖీ: Periodically check all frame connections to ensure poles are securely seated in connectors.
- ఫాబ్రిక్ తనిఖీ: Inspect the tent fabric for any tears, pinholes, or wear, especially around seams and zippers. Small pinholes can often be repaired with Mylar tape.
7. ట్రబుల్షూటింగ్
- లైట్ లీక్స్: If minor light leaks are observed, especially around zippers or seams, ensure all zippers are fully closed and the tent fabric is properly stretched over the frame. Small pinholes can be patched with Mylar tape.
- Sticky Zippers: Apply a small amount of zipper lubricant (e.g., beeswax or silicone spray) to the zipper teeth. Operate the zipper back and forth gently to distribute the lubricant. Avoid forcing the zipper.
- డేరా అస్థిరత: Ensure all frame poles are fully inserted into their connectors. Verify the tent is on a level surface.
- అసెంబ్లింగ్ కష్టం: Ensure you are using the correct poles for each section (e.g., shorter poles for horizontal sections, longer for vertical). Refer to the package contents and assembly steps.
8. స్పెసిఫికేషన్లు
| బ్రాండ్ | ఓహుహు |
| మోడల్ సంఖ్య | Y11-89000-02-YW |
| ఉత్పత్తి కొలతలు (L x W x H) | 60" x 60" x 80" |
| ఫ్రేమ్ మెటీరియల్ | మెటల్ |
| టెంట్ ఫ్యాబ్రిక్ | 600D Oxford with Mylar lining |
9. వారంటీ మరియు మద్దతు
Ohuhu products are designed for quality and durability. For any questions, concerns, or warranty inquiries regarding your Ohuhu Mylar Hydroponic Grow Tent, please contact Ohuhu customer support through their official website or the retailer where the product was purchased. Please have your model number (Y11-89000-02-YW) and purchase information ready when contacting support.