
Ciglow Ciglow0718pm9ik3-01
Ciglow Cloud-Shaped Digital Alarm Clock User Manual
Model: Ciglow0718pm9ik3-01
పరిచయం
ధన్యవాదాలు, ధన్యవాదాలు.asing the Ciglow Cloud-Shaped Digital Alarm Clock. This manual provides detailed instructions for setting up, operating, and maintaining your new clock. Please read this manual thoroughly before use to ensure proper function and longevity of the product.
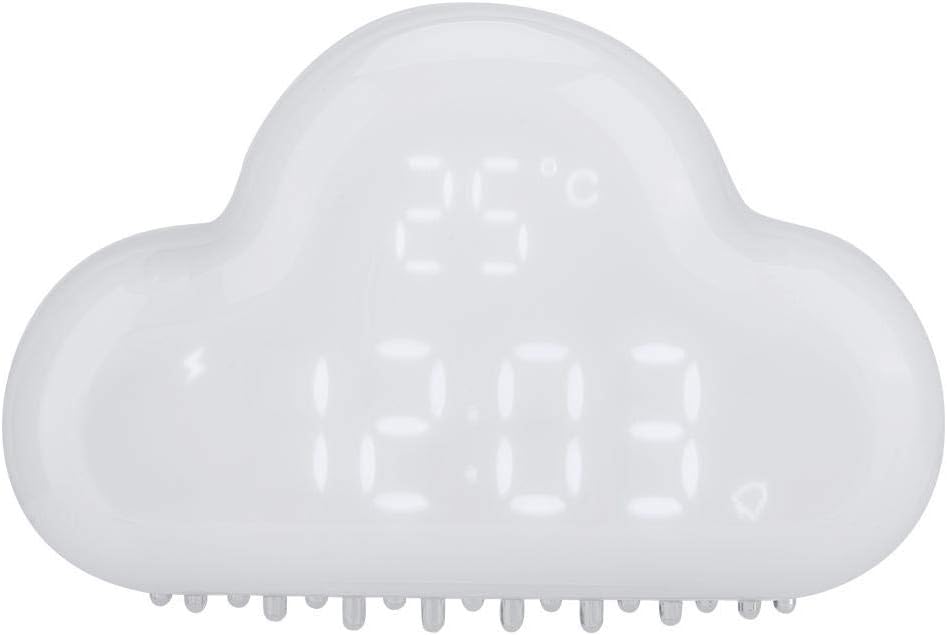
మూర్తి 1: ముందు view of the Ciglow Cloud-Shaped Digital Alarm Clock displaying time and temperature.
ప్యాకేజీ విషయాలు
- 1 x Ciglow Cloud Clock Alarm
- 1 x USB ఛార్జింగ్ కేబుల్
- 1 x యూజర్ మాన్యువల్ (ఈ పత్రం)

Figure 2: The included USB charging cable for the clock.
సెటప్
1. ప్రారంభ ఛార్జింగ్
Before first use, fully charge the clock. Connect the provided USB charging cable to the DC5V input port on the back of the clock and the other end to a standard USB power adapter (not included) or a computer USB port. The charging indicator will blink when the battery is low (20% energy left) and will stop blinking when fully charged.
2. పవర్ ఆన్/ఆఫ్
Locate the ON/OFF switch on the back of the clock. Slide it to the "ON" position to power on the device.
చిత్రం 3: వెనుక view of the clock, highlighting the power switch and charging port.
3. సమయం మరియు తేదీని సెట్ చేయడం
నొక్కండి సెట్ button (often represented by a gear or clock icon) on the back of the clock to enter time setting mode. Use the + మరియు - గంటను సర్దుబాటు చేయడానికి బటన్లను నొక్కి, ఆపై నొక్కండి సెట్ again to move to minutes, and so on for year, month, and day. The clock supports a 24-hour display format.
ఆపరేటింగ్ సూచనలు
డిస్ప్లే యాక్టివేషన్
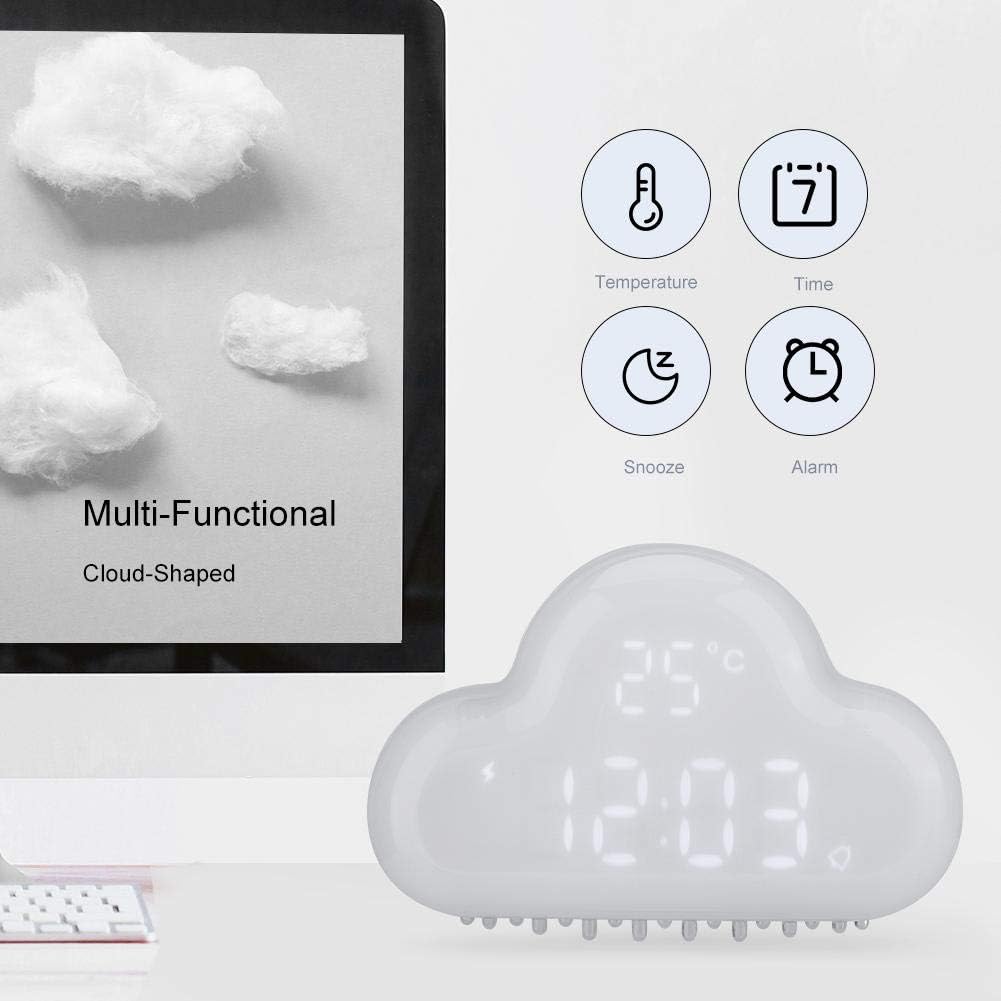
The clock display is designed to conserve power. It will show LED time, date, temperature, alarm, and snooze information by turn. To activate the display, you may need to make a sound (voice activation) or gently shake the clock. The display does not remain constantly on.

Figure 4: Icons representing the clock's multi-functional display capabilities.
అలారం సెట్ చేస్తోంది
నొక్కండి అలారం button (often represented by a bell icon) to enter alarm setting mode. Use the + మరియు - buttons to set the desired alarm time. Press అలారం again to confirm and activate the alarm. An alarm icon will appear on the display when the alarm is set.
స్నూజ్ ఫంక్షన్
When the alarm sounds, you can activate the snooze function by gently shaking the clock. This will provide a 5-minute snooze period. If no action is taken, the alarm will ring for 3 minutes and then automatically shut off for the day.

Figure 5: The clock on a bedside table, illustrating its alarm and snooze capabilities.
ఉష్ణోగ్రత ప్రదర్శన
The clock displays the real-time temperature, ranging from -30℃ to 50℃. This feature is integrated into the rotating display cycle.
అయస్కాంత మౌంటు
The clock features a strong magnet on its back, allowing it to be absorbed onto a refrigerator or other magnetic surfaces. This provides flexible placement options.

Figure 6: Demonstrating the strong magnet on the back of the clock for mounting on magnetic surfaces.
Time Memory Function
The built-in battery ensures that you do not need to reset the time when the power is off or when the clock is recharged, preserving your settings.
ఉత్పత్తి వీడియో
Video 1: A short demonstration of the Digital Clock Alarm's features and operation.
నిర్వహణ
క్లీనింగ్
To clean the clock, gently wipe the surface with a soft, dry cloth. Do not use abrasive cleaners, solvents, or immerse the clock in water. Keep the charging port free of dust and debris.
బ్యాటరీ సంరక్షణ
The clock is equipped with a built-in 900mAh polymer lithium battery. For optimal battery life, avoid fully discharging the battery frequently. Recharge the clock when the charging indicator blinks, signaling low battery.
ట్రబుల్షూటింగ్
| సమస్య | సాధ్యమైన కారణం | పరిష్కారం |
|---|---|---|
| Display is off or not visible. | Power saving mode is active. | Make a sound or gently shake the clock to activate the display. |
| అలారం మోగడం లేదు. | అలారం సెట్ చేయలేదు లేదా వాల్యూమ్ చాలా తక్కువగా ఉంది. | Ensure the alarm is set correctly and the alarm icon is visible. Check if there's a volume setting (if applicable, though not specified for this model). |
| Snooze function not working. | Clock not shaken correctly or too gently. | Ensure a clear, gentle shake is applied when the alarm is sounding. |
| Clock not charging. | Cable or power adapter issue; charging port obstructed. | USB కేబుల్ మరియు పవర్ అడాప్టర్ను తనిఖీ చేయండి. ఛార్జింగ్ పోర్ట్ శుభ్రంగా మరియు చెత్త లేకుండా ఉందని నిర్ధారించుకోండి. |
| తప్పు ఉష్ణోగ్రత రీడింగ్. | పర్యావరణ కారకాలు. | Ensure the clock is placed in a stable environment away from direct heat sources or drafts. |
స్పెసిఫికేషన్లు
| ఫీచర్ | వివరాలు |
|---|---|
| టైప్ చేయండి | క్లౌడ్ అలారం గడియారం |
| బ్రాండ్ | సిగ్లో |
| మోడల్ సంఖ్య | Ciglow0718pm9ik3-01 |
| మెటీరియల్ | ABS, PC (Acrylonitrile Butadiene Styrene) |
| ఇన్పుట్ వాల్యూమ్tage | DC5V / 1A |
| శక్తి మూలం | అంతర్నిర్మిత 900mAh పాలిమర్ లిథియం బ్యాటరీ |
| వస్తువు బరువు | 173గ్రా (సుమారు 6 ఔన్సులు) |
| అంశం పరిమాణం | సుమారుగా 12.2 x 7.9 x 3.5 సెం.మీ (4.8 x 3.1 x 1.4 అంగుళాలు) |
| రంగు | తెలుపు |
| ప్రదర్శన రకం | డిజిటల్ |
| ప్రత్యేక లక్షణాలు | Alarm, Calendar Display, Snooze, Temperature, Voice Activation, Magnetic Back |
| మౌంటు రకం | టాబ్లెట్ టాప్ |
| UPC | 736342900684 |

Figure 7: Product dimensions of the Cloud-Shaped Digital Alarm Clock.
వారంటీ మరియు మద్దతు
Specific warranty information for the Ciglow Cloud-Shaped Digital Alarm Clock is not provided in this manual. Please refer to the product packaging or contact your retailer for details regarding warranty coverage.
For technical support or further assistance, please contact the manufacturer or your point of purchase. Keep your purchase receipt as proof of purchase.
Ask a question about this manual
Ask about setup, troubleshooting, compatibility, parts, safety, or missing instructions. Manuals+ will review the question and use this page’s manual context to help answer it.