
పరిచయం
This manual provides detailed instructions for the installation, operation, and maintenance of your Foscam D2EP IP Camera. The D2EP is a high-definition 2-megapixel outdoor security camera designed for reliable surveillance with features such as infrared night vision, smart motion detection, and wired connectivity. Please read this manual thoroughly before using the product to ensure correct setup and optimal performance.
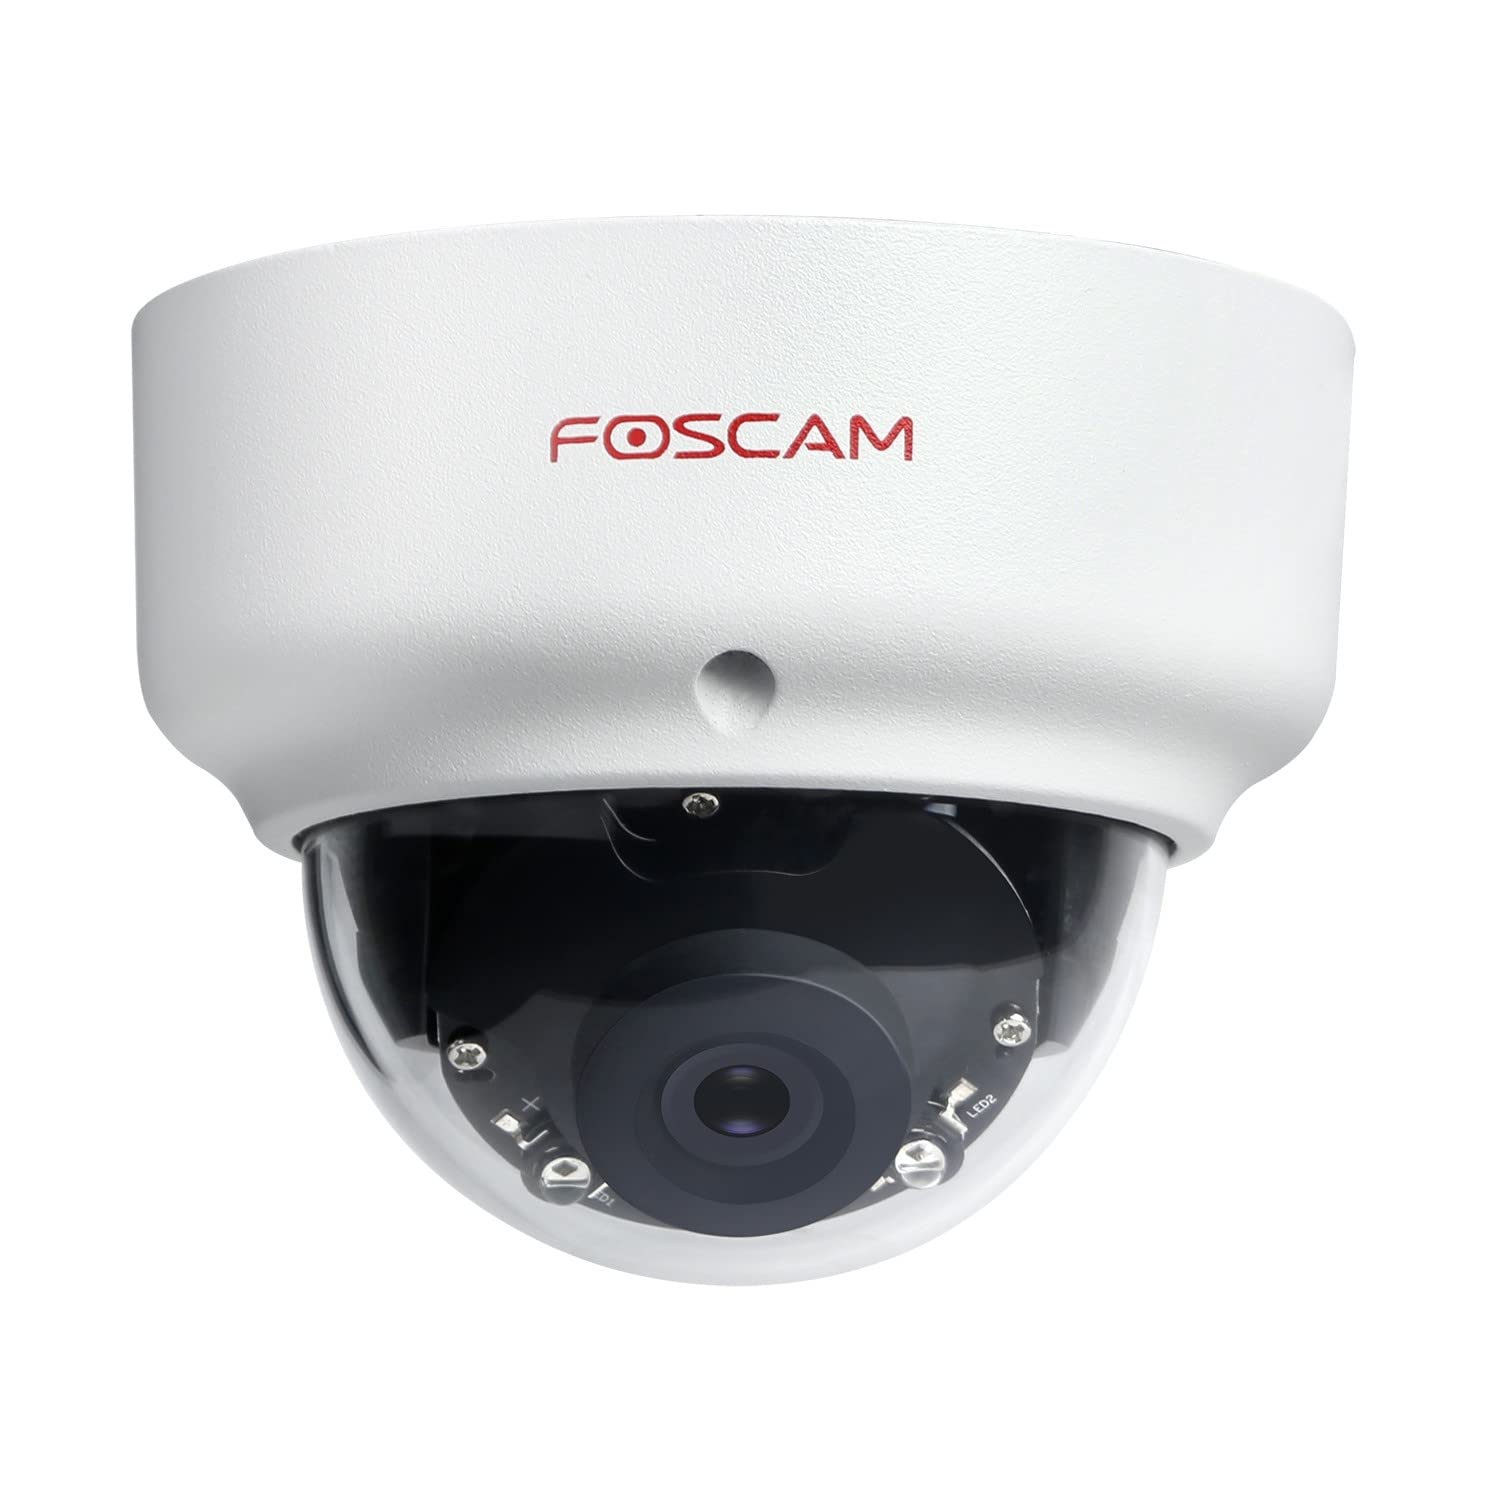
Image: The Foscam D2EP IP Camera, showcasing its compact, dome-shaped design suitable for outdoor environments.
1. సెటప్ మరియు ఇన్స్టాలేషన్
1.1 ప్యాకేజీ విషయాలు
ఇన్స్టాలేషన్ ప్రారంభించే ముందు, దయచేసి అన్ని భాగాలు ప్యాకేజీలో ఉన్నాయని ధృవీకరించండి:
- Foscam D2EP IP Camera
- మౌంటు స్క్రూలు మరియు వాల్ ప్లగ్లు
- ఈథర్నెట్ కేబుల్
- పవర్ అడాప్టర్
- త్వరిత సంస్థాపన గైడ్

Image: Foscam D2EP IP Camera with its power and Ethernet cables, illustrating the main components included in the box.
1.2 భౌతిక సంస్థాపన
The Foscam D2EP camera is designed for outdoor use with an IP66 waterproof rating. Choose a suitable location that provides the desired viewing angle and is within reach of a power source and network connection.
- మౌంటు స్థానం: Identify a secure mounting surface, such as a wall or ceiling, that offers a clear view మీరు పర్యవేక్షించాలనుకుంటున్న ప్రాంతం.
- డ్రిల్ రంధ్రాలు: Use the provided mounting template (if included) or the camera base to mark and drill pilot holes for the mounting screws. Insert wall plugs if mounting on masonry.
- సురక్షిత కెమెరా: Attach the camera base securely to the mounting surface using the provided screws.
- కోణాన్ని సర్దుబాటు చేయండి: Loosen the adjustment screws on the camera body to position the lens for the optimal viewing angle. Tighten the screws once the desired angle is achieved.

Image: Foscam D2EP IP Camera mounted under an outdoor patio roof, demonstrating a typical installation scenario for outdoor surveillance.
1.3 నెట్వర్క్ మరియు పవర్ కనెక్షన్
- ఈథర్నెట్ కేబుల్ను కనెక్ట్ చేయండి: Connect one end of the Ethernet cable to the camera's network port and the other end to your router or network switch.
- పవర్ అడాప్టర్ను కనెక్ట్ చేయండి: Plug the power adapter into the camera's power input and then into a suitable electrical outlet.
- సూచిక కాంతి: Wait for the camera's indicator light to show a stable status, indicating it is powered on and connected to the network. Refer to the Quick Installation Guide for specific indicator light behaviors.
1.4 ప్రారంభ కాన్ఫిగరేషన్
To access and configure your camera, download the Foscam app on your smartphone or use the Foscam client software on your computer.
- Download App/Software: కోసం వెతకండి "Foscam" in your app store (iOS/Android) or visit the official Foscam website for desktop software.
- కెమెరాను జోడించండి: Follow the in-app or software instructions to add your D2EP camera. This typically involves scanning a QR code on the camera or manually entering its UID.
- పాస్వర్డ్ని సెట్ చేయండి: For security, change the default password immediately upon first access.
- నెట్వర్క్ సెట్టింగ్లు: Configure any necessary network settings, such as static IP (if required by your network).
2. ఆపరేటింగ్ సూచనలు
2.1 ప్రత్యక్ష ప్రసారం View మరియు రికార్డింగ్
Once configured, you can access the live video feed from your Foscam D2EP camera through the Foscam app or desktop client.
- ప్రత్యక్షం View: పరికర జాబితా నుండి మీ కెమెరాను ఎంచుకోండి view the real-time 1080p HD video stream.
- మాన్యువల్ రికార్డింగ్: Most Foscam applications allow you to manually start and stop video recordings directly from the live view ఇంటర్ఫేస్.
- స్నాప్షాట్: లైవ్ ఫీడ్ నుండి స్టిల్ చిత్రాలను క్యాప్చర్ చేయండి.
2.2 మోషన్ డిటెక్షన్
The D2EP features smart motion detection to alert you to activity in the monitored area.
- మోషన్ డిటెక్షన్ను ప్రారంభించండి: Navigate to the camera settings in the Foscam app/software and enable motion detection.
- గుర్తింపు ప్రాంతాన్ని కాన్ఫిగర్ చేయండి: కెమెరాలోని నిర్దిష్ట ప్రాంతాలను నిర్వచించండి view where motion should be detected, ignoring irrelevant zones.
- సున్నితత్వాన్ని సర్దుబాటు చేయండి: Set the motion detection sensitivity to minimize false alarms while ensuring important events are captured.
- హెచ్చరిక సెట్టింగ్లు: Configure how you receive alerts (e.g., push notifications, email).
2.3 పగలు మరియు రాత్రి దృష్టి
The camera automatically switches between day (color) and night (infrared black and white) vision modes based on ambient light conditions. The infrared LEDs provide clear vision up to 20 meters in low-light environments.
2.4 అమెజాన్ అలెక్సా అనుకూలత
The Foscam D2EP camera is compatible with Amazon Alexa, allowing for voice control and integration into your smart home system. Refer to the Foscam website or Alexa app for detailed instructions on linking your Foscam account and controlling your camera via Alexa commands.
3. నిర్వహణ
3.1 కెమెరాను శుభ్రపరచడం
Regularly clean the camera lens and housing to ensure optimal image quality and prevent debris buildup, especially for outdoor installations.
- ఒక మృదువైన ఉపయోగించండి, డిamp cloth to wipe the camera body.
- లెన్స్ కోసం, గీతలు పడకుండా ఉండటానికి ప్రత్యేకమైన లెన్స్ క్లీనింగ్ క్లాత్ మరియు ద్రావణాన్ని ఉపయోగించండి.
- కఠినమైన రసాయనాలు లేదా రాపిడి పదార్థాలను ఉపయోగించవద్దు.
3.2 ఫర్మ్వేర్ నవీకరణలు
Foscam regularly releases firmware updates to improve camera performance, add new features, and enhance security. It is recommended to keep your camera's firmware up to date.
- Check for updates through the Foscam app or desktop client.
- Follow the on-screen instructions carefully during the update process. Do not power off the camera during an update.
4. ట్రబుల్షూటింగ్
4.1 కెమెరా నెట్వర్క్కు కనెక్ట్ కావడం లేదు
- కేబుల్లను తనిఖీ చేయండి: Ensure the Ethernet cable is securely connected to both the camera and the router/switch.
- శక్తి: Verify the camera is powered on and the power adapter is working correctly.
- రూటర్ స్థితి: Confirm your router is functioning and providing network access.
- IP చిరునామా వైరుధ్యం: If using a static IP, ensure it does not conflict with other devices on your network. Try DHCP first.
- కెమెరాను రీసెట్ చేయండి: If issues persist, perform a factory reset (refer to the Quick Installation Guide for reset button location and procedure).
4.2 పేలవమైన చిత్ర నాణ్యత
- క్లీన్ లెన్స్: Ensure the camera lens is clean and free from dirt or smudges.
- లైటింగ్: Verify adequate lighting in the monitored area during the day.
- రాత్రి దృష్టి: In night mode, ensure there are no obstructions blocking the infrared LEDs.
- రిజల్యూషన్ సెట్టింగ్లు: Check that the camera's resolution is set to 1080p (2MP) in the app/software settings.
4.3 మోషన్ డిటెక్షన్ పనిచేయకపోవడం లేదా చాలా తప్పుడు అలారాలు
- Enable Feature: Confirm motion detection is enabled in the camera settings.
- గుర్తింపు ప్రాంతం: Adjust the detection zone to cover only relevant areas.
- సున్నితత్వం: Increase sensitivity if events are missed; decrease if there are too many false alarms (e.g., from moving trees, shadows).
- షెడ్యూల్: Check if motion detection is scheduled to be active during the desired times.
5. స్పెసిఫికేషన్లు
| మోడల్ పేరు | D2EP |
| బ్రాండ్ | ఫోస్కామ్ |
| రిజల్యూషన్ | 2 Megapixel (1080p) |
| కనెక్టివిటీ టెక్నాలజీ | వైర్డు |
| సిఫార్సు ఉపయోగం | బహిరంగ భద్రతా కెమెరా |
| వాతావరణ నిరోధకత | IP66 జలనిరోధిత |
| నైట్ విజన్ రేంజ్ | 20 మీటర్ల వరకు (ఇన్ఫ్రారెడ్) |
| కీ ఫీచర్లు | Motion Sensor, Day/Night Vision, Amazon Alexa Compatible |
6. వారంటీ సమాచారం
The Foscam D2EP IP Camera comes with a 2 సంవత్సరాల వారంటీ from the date of purchase. This warranty covers manufacturing defects and ensures the product functions as described under normal use. Please retain your proof of purchase for warranty claims. For detailed warranty terms and conditions, please visit the official Foscam webసైట్.
7. కస్టమర్ మద్దతు
If you encounter any issues or have questions regarding your Foscam D2EP IP Camera that are not covered in this manual, please refer to the following resources:
- ఫోస్కామ్ అధికారి Webసైట్: సందర్శించండి www.foscam.com for FAQs, support articles, and the latest firmware.
- సాంకేతిక మద్దతు: Contact Foscam technical support directly via their webసైట్ లేదా మీ ఉత్పత్తి ప్యాకేజింగ్లో అందించిన సంప్రదింపు సమాచారం.