
1. పరిచయం
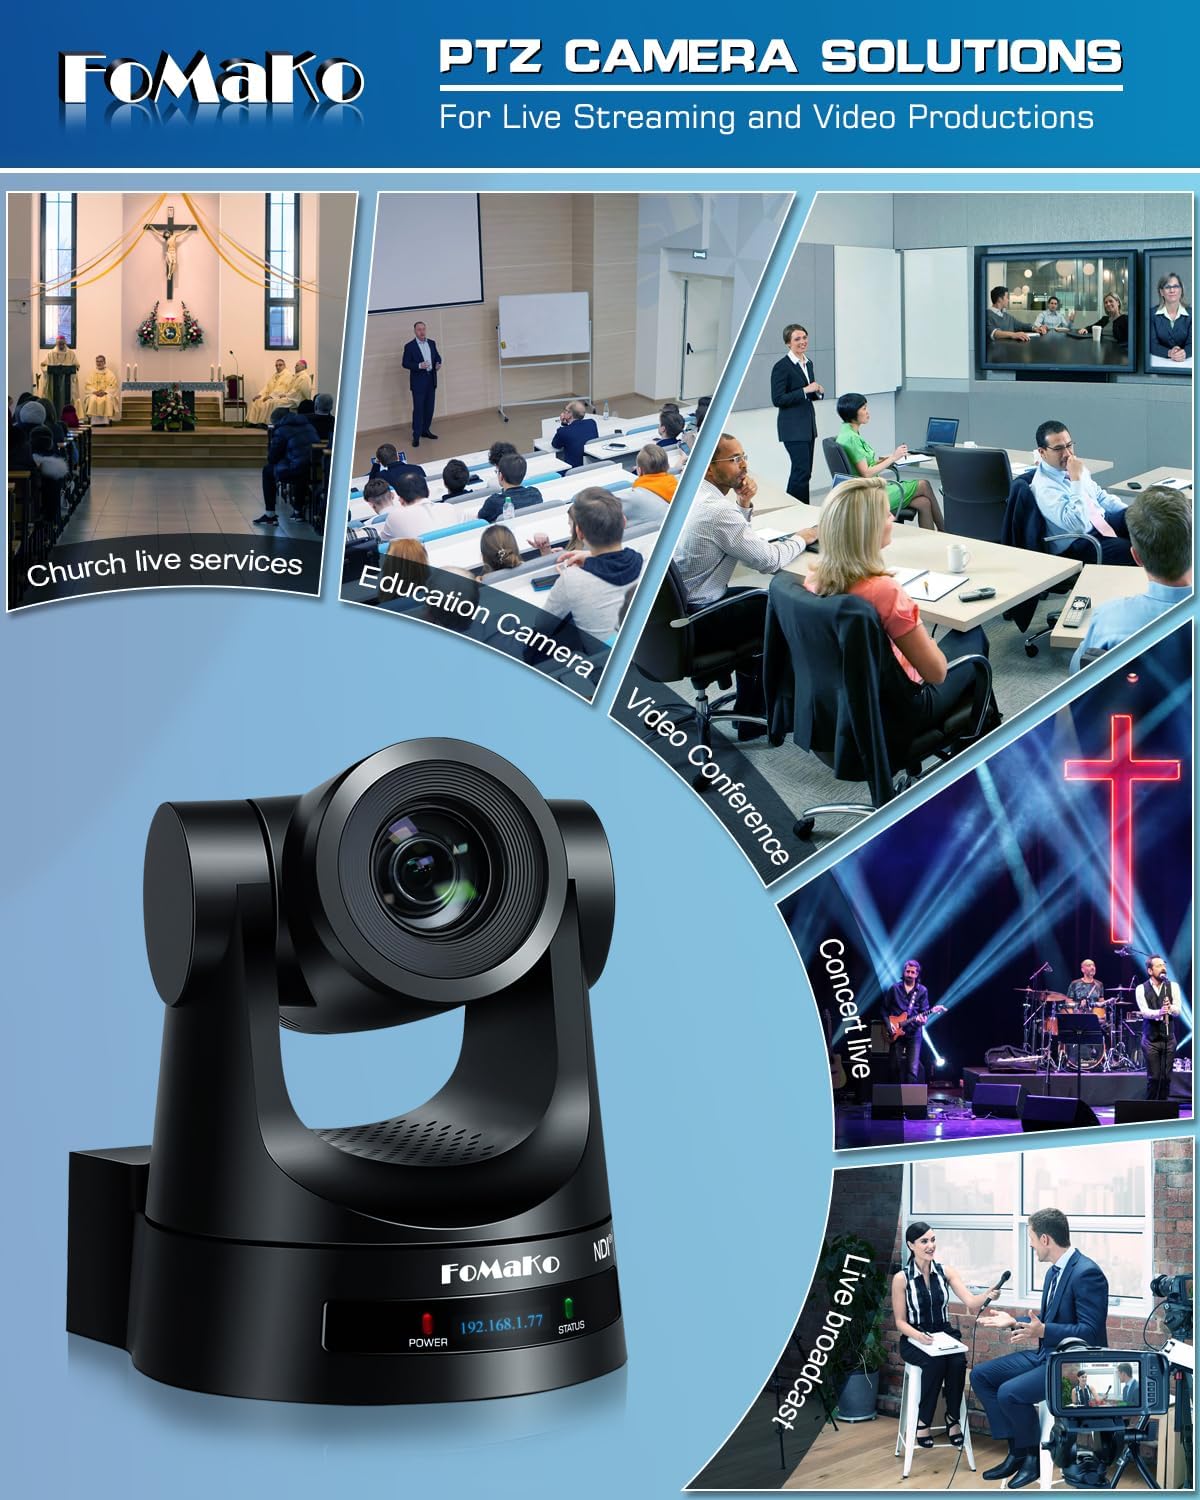
This manual provides detailed instructions for the installation, operation, and maintenance of your FoMaKo NDI PTZ Camera KN20A Pro. This camera features AI auto-tracking, 20x optical zoom, and multiple output interfaces including HDMI, 3G-SDI, IP, NDI, and USB3.0. It is designed for professional video production and live streaming in various environments such as churches, educational institutions, and event venues.
2. పెట్టెలో ఏముంది
ప్యాకేజీలో అన్ని అంశాలు ఉన్నాయని నిర్ధారించుకోండి:
- FoMaKo AI Tracking NDI PTZ Camera (20x optical zoom)
- IR రిమోట్ కంట్రోలర్
- వాల్ మౌంట్ బ్రాకెట్
- సీలింగ్ బ్రాకెట్
- USB కేబుల్
- పవర్ అడాప్టర్ (12V 2A)
- వినియోగదారు మాన్యువల్ (ఈ పత్రం)

Image 2.1: FoMaKo NDI PTZ Camera KN20A Pro and its standard accessories.
3. ఉత్పత్తి లక్షణాలు ఓవర్view
- Official NDI 6 & NDI HX3 Certification: Ensures stable and high-quality video transmission, even with limited bandwidth.
- 20x ఆప్టికల్ జూమ్: Provides clear, detailed images from a distance.
- Advanced AI Auto-Tracking (Gen 3): Offers customizable tracking modes, sensitivity, and target switching.
- బహుళ వీడియో అవుట్పుట్ ఇంటర్ఫేస్లు: Simultaneous 3G-SDI, HDMI, LAN/Ethernet, and USB3.0 for versatile connectivity.
- పవర్ ఓవర్ ఈథర్నెట్ (PoE) మద్దతు: ఒకే ఈథర్నెట్ కేబుల్ ద్వారా విద్యుత్ మరియు డేటాను అందించడం ద్వారా సంస్థాపనను సులభతరం చేస్తుంది.
- Efficient Video Encoding: Supports H.264/H.265 for fluent motion video under various bandwidth conditions.
- తక్కువ కాంతి పనితీరు: High SNR CMOS combined with 2D & 3D noise reduction for clear images in challenging lighting.
- Precise Gear Transmission Structure: Ensures accurate preset positioning and enhanced durability compared to belt-driven systems.
- బహుళ నియంత్రణ పద్ధతులు: Includes IR remote, dedicated PTZ controller, web interface, OBS/vMix PTZ plugins, and StreamDeck compatibility.

Image 3.1: Visual representation of the camera's core features.
4. సెటప్
4.1 భౌతిక సంస్థాపన
The FoMaKo NDI PTZ Camera supports three primary installation methods:
- వాల్ మౌంట్: Securely attach the camera to a vertical surface using the provided wall mount bracket.
- ట్రైపాడ్ మౌంట్: Mount the camera on a standard tripod for portable or temporary setups.
- సీలింగ్ మౌంట్: Install the camera inverted on a ceiling using the provided ceiling bracket. The camera automatically adjusts its image and control orientation when mounted upside down.

చిత్రం 4.1: ఉదాamples of camera installation methods.
4.2 కనెక్షన్లు
Connect the camera to your system using the appropriate ports on the rear panel:
- 3G-SDI అవుట్పుట్: For professional video transmission over coaxial cable.
- HDMI అవుట్పుట్: For direct connection to displays or video switchers.
- USB3.0 అవుట్పుట్: For direct connection to a computer for live streaming or recording.
- LAN/Ethernet Port: For IP streaming (NDI, RTSP, RTMP, SRT), control (VISCA over IP), and PoE power.
- RS232/RS485: For serial control using a PTZ controller.
- వరుసగా పేర్చండి: 3.5mm ఆడియో ఇన్పుట్.
- DC12V: Power input if not using PoE.
చిత్రం 4.2: వెనుక ప్యానెల్ కనెక్షన్లు.
4.3 నెట్వర్క్ కాన్ఫిగరేషన్
For IP-based control and streaming, configure the camera's network settings. This can typically be done via the camera's web interface or on-screen display (OSD) menu.
- DHCP: Enable DHCP for automatic IP address assignment or disable it to set a static IP.
- IP Address, Subnet Mask, Gateway: Manually configure these settings if DHCP is disabled.
కెమెరాను యాక్సెస్ చేయండి web దాని IP చిరునామాను a లోకి నమోదు చేయడం ద్వారా ఇంటర్ఫేస్ web browser. The default IP address is often printed on the camera or can be found using an NDI discovery tool.

Image 4.3: Network settings interface.
5. ఆపరేటింగ్ సూచనలు
5.1 ప్రాథమిక నియంత్రణలు
The camera can be controlled using the IR remote, a dedicated PTZ controller, or the web ఇంటర్ఫేస్.
- పాన్/టిల్ట్/జూమ్: Use the joystick on a PTZ controller or directional buttons on the IR remote/web interface to adjust the camera's view.
- వేగం సర్దుబాటు: Pan, tilt, and zoom speeds can be adjusted to achieve smooth camera movements. Preset speed is also adjustable.
- దృష్టి: The camera features fast auto-focus. Manual focus adjustment is also available.
5.2 AI ఆటో-ట్రాకింగ్
The third-generation AI auto-tracking system allows the camera to automatically follow a designated subject.
- యాక్టివేషన్: Press the F2 button on the IR remote control to activate automatic tracking.
- Target Switching: Press the F4 button on the IR remote to switch between detected tracking targets.
- అనుకూలీకరణ: Adjust tracking modes, sensitivity, figure size, AI-track speed, horizontal tracking only, character position, and lost target action via the camera's settings menu or web ఇంటర్ఫేస్.

Image 5.1: AI Tracking Gen 3 settings and capabilities.
5.3 ప్రీసెట్లు
The camera supports up to 255 preset positions, allowing quick recall of specific camera angles and zoom levels. Ten presets can be accessed directly via the IR remote control.
- అమరిక ప్రీసెట్లు: కెమెరాను మీకు కావలసిన స్థానంలో ఉంచండి view, then use the remote or controller to save the preset. Refer to the detailed manual for specific steps.
- ప్రీసెట్లను గుర్తుచేసుకుంటున్నారు: Use the preset buttons on the remote or controller to move the camera to a saved position.
6. నిర్వహణ
To ensure optimal performance and longevity of your FoMaKo NDI PTZ Camera, follow these maintenance guidelines:
- శుభ్రపరచడం: కెమెరా బాడీని శుభ్రం చేయడానికి మృదువైన, పొడి వస్త్రాన్ని ఉపయోగించండి. లెన్స్ కోసం, ప్రత్యేకమైన లెన్స్ శుభ్రపరిచే వస్త్రం మరియు ద్రావణాన్ని ఉపయోగించండి. రాపిడి పదార్థాలు లేదా కఠినమైన రసాయనాలను నివారించండి.
- పర్యావరణం: కెమెరాను శుభ్రమైన, పొడి వాతావరణంలో, తీవ్రమైన ఉష్ణోగ్రతలు, తేమ మరియు ప్రత్యక్ష సూర్యకాంతికి దూరంగా ఆపరేట్ చేయండి మరియు నిల్వ చేయండి.
- ఫర్మ్వేర్ నవీకరణలు: Periodically check the FoMaKo webమీ కెమెరా తాజా ఫీచర్లు మరియు పనితీరు మెరుగుదలలను కలిగి ఉందని నిర్ధారించుకోవడానికి ఫర్మ్వేర్ అప్డేట్ల కోసం సైట్.
- కేబుల్ నిర్వహణ: పోర్ట్లు లేదా కేబుల్లకు నష్టం జరగకుండా ఉండటానికి అన్ని కేబుల్లు సురక్షితంగా అనుసంధానించబడి ఉన్నాయని మరియు ఒత్తిడికి గురికాకుండా చూసుకోండి.
7. ట్రబుల్షూటింగ్
మీ కెమెరాతో మీకు సమస్యలు ఎదురైతే, ఈ క్రింది సాధారణ ట్రబుల్షూటింగ్ దశలను చూడండి:
- శక్తి లేదు: Ensure the power adapter is correctly connected or that your PoE switch is providing power if using PoE. Check power indicators on the camera.
- వీడియో అవుట్పుట్ లేదు: Verify all video cables (HDMI, SDI, USB, Ethernet) are securely connected. Check input selections on your display or switcher. Ensure the camera is powered on.
- నెట్వర్క్ కనెక్షన్ లేదు: Confirm Ethernet cable connection. Check network settings (IP address, subnet mask, gateway) in the camera's web interface. Ensure the camera and controlling device are on the same network segment.
- PTZ Control Not Responding: Check remote control batteries. Ensure the camera is receiving IR signals or that the network/serial control connection is active. Verify the correct camera ID is selected on the controller.
- Auto-Tracking Issues: Ensure AI auto-tracking is enabled (F2 on remote). Check tracking sensitivity and other settings in the menu. Ensure the subject is clearly visible and within the camera's tracking range.
- చిత్ర నాణ్యత సమస్యలు: Check lighting conditions. Ensure lens is clean. Adjust exposure and white balance settings if necessary.
For more detailed troubleshooting or issues not covered here, please refer to the full user manual PDF available online or contact FoMaKo customer support.
8. స్పెసిఫికేషన్లు
| ఫీచర్ | స్పెసిఫికేషన్ |
|---|---|
| బ్రాండ్ పేరు | ఫోమాకో |
| మోడల్ సంఖ్య | KN20A పరిచయం |
| వస్తువు బరువు | 2.64 పౌండ్లు |
| ఉత్పత్తి కొలతలు | 5.63 x 6.93 x 6.65 అంగుళాలు |
| రంగు | నలుపు |
| ప్రత్యేక లక్షణాలు | AI tracking NDI PTZ Camera |
| ఆప్టికల్ జూమ్ | 20x |
| వీడియో క్యాప్చర్ రిజల్యూషన్ | 1080p |
| షూటింగ్ మోడ్లు | ఆటోమేటిక్ |
| ఎక్స్పోజర్ నియంత్రణ రకం | ఆటోమేటిక్ |
| కనెక్టివిటీ | 3G-SDI, HDMI, IP (NDI 6 & NDI HX3), USB3.0, RS232, RS485, PoE |
9. వారంటీ మరియు మద్దతు
FoMaKo is committed to providing excellent customer service and product reliability.
- వారంటీ: The product includes a 3-Year Limited Warranty.
- మనీ-బ్యాక్ గ్యారెంటీ: A 30-Day No-Questions-Asked Money-Back Guarantee is provided for risk-free purchase.
- ఆన్లైన్ శిక్షణ: Free online training is available to help users get started easily.
- నిపుణుల సహాయం: 24/7 expert assistance is available, with responses typically within 24 hours. Please include your Order ID when contacting support.
- రిమోట్ సహాయం: Remote assistance for setup can be provided if necessary.
- జీవితకాల సాంకేతిక మద్దతు: Enjoy lifetime customer technical support for your product.

Image 9.1: FoMaKo customer support and warranty information.