
పరిచయం
This manual provides essential information for the safe and efficient operation of your Arafuna 10.5 Inch Dual Screen Portable DVD Player. Please read these instructions thoroughly before using the device and retain them for future reference. This system is designed for in-car entertainment, offering a main player and a secondary monitor for simultaneous viewing.
ప్యాకేజీ విషయాలు
క్రింద జాబితా చేయబడిన అన్ని వస్తువులు మీ ప్యాకేజీలో చేర్చబడ్డాయని ధృవీకరించండి:
- 1x Main DVD Player (10.5 Inch)
- 1x Slave Monitor (10.5 Inch)
- 2x మౌంటు బ్రాకెట్లు
- 1x రిమోట్ కంట్రోల్
- 2x Headrest Straps
- 1x కార్ ఛార్జర్
- 1x HDMI కేబుల్
- 1x ఎసి అడాప్టర్
- 1x DC Cable
- 1x RCA కేబుల్

మూర్తి 1: Included components in the Arafuna Dual Screen Portable DVD Player package.
సెటప్
1. ప్లేయర్లను అమర్చడం
The players can be mounted using either the provided mounting brackets or headrest straps.
- మౌంటు బ్రాకెట్లను ఉపయోగించడం:
- Attach the base of the mounting bracket to the headrest posts.
- Tighten the fixing screws to secure the base.
- Insert the DVD player or monitor onto the bracket until it clicks into place.
- హెడ్రెస్ట్ పట్టీలను ఉపయోగించడం:
- Securely fasten the headrest straps around the headrest and the back of the player/monitor.
- Ensure the player/monitor is stable and does not obstruct the driver's view.

మూర్తి 2: Step-by-step installation guide for the headrest mounting bracket.
2. Connecting the Players
To enable dual-screen playback, connect the main DVD player to the slave monitor.
- అందించిన వాటిని కనెక్ట్ చేయండి DC కేబుల్ from the DC OUT port on the main player to the DC IN port on the slave monitor.
- అందించిన వాటిని కనెక్ట్ చేయండి HDMI కేబుల్ from the HDMI OUT port on the main player to the HDMI IN port on the slave monitor. This ensures high-quality video and audio transmission to the secondary screen.
3. వ్యవస్థను శక్తివంతం చేయడం
The system can be powered via the car charger, AC adapter, or its internal rechargeable battery.
- కార్ ఛార్జర్: Plug the car charger into your vehicle's cigarette lighter socket and connect the other end to the DC IN port on the main player.
- ఎసి అడాప్టర్: For home use, connect the AC adapter to a standard wall outlet and the DC IN port on the main player.
- అంతర్గత బ్యాటరీ: The main player features a 5000mAh rechargeable battery, providing extended playback time when external power is unavailable. Ensure the battery is charged before use.

మూర్తి 3: Connection diagram for the dual screen system, showing power and signal flow.
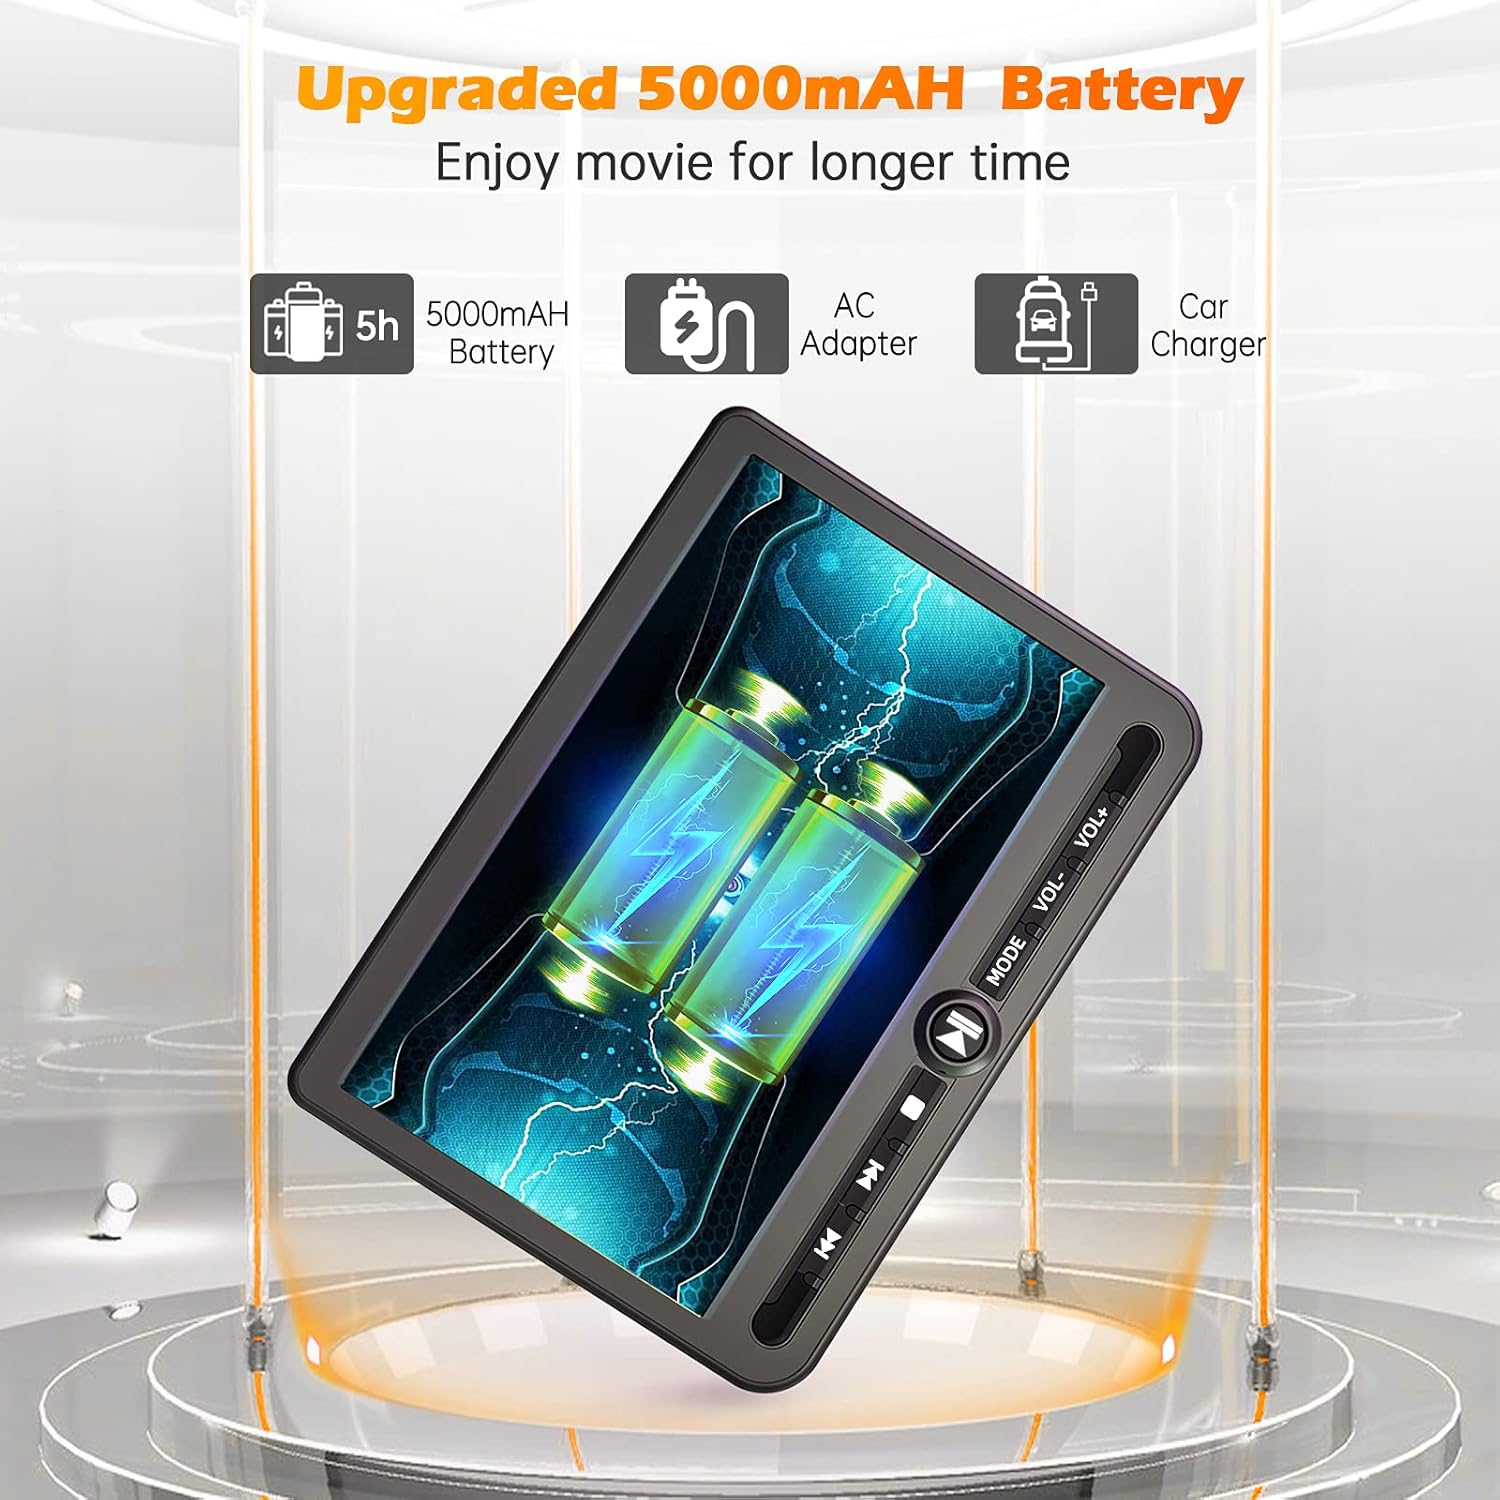
మూర్తి 4: Power options including the 5000mAh battery, AC adapter, and car charger.
ఆపరేటింగ్ సూచనలు
1. ప్రాథమిక నియంత్రణలు
The main player features control buttons on the unit and can also be operated via the included remote control.
- పవర్ బటన్: యూనిట్ ఆన్ / ఆఫ్ చేయడానికి నొక్కండి.
- ప్లే/పాజ్ బటన్: ప్లేబ్యాక్ను ప్రారంభిస్తుంది లేదా పాజ్ చేస్తుంది.
- బటన్ ఆపు: ప్లేబ్యాక్ను ఆపివేస్తుంది.
- మునుపటి/తదుపరి బటన్లు: మునుపటి లేదా తదుపరి ట్రాక్/అధ్యాయానికి వెళుతుంది.
- వాల్యూమ్ +/- బటన్లు: ఆడియో వాల్యూమ్ను సర్దుబాటు చేస్తుంది.
- మోడ్ బటన్: Switches between input sources (DVD, USB, SD).
2. Playing DVDs
- Insert a DVD disc into the main player's disc slot.
- The player will automatically detect the disc and begin playback. If not, press the 'Play' button or select 'DVD' mode.
- Use the control buttons or remote to navigate menus, play, pause, or stop.
3. USB/SD కార్డ్ ప్లేబ్యాక్
The player supports media playback from USB drives and SD cards.
- USB పోర్ట్లోకి USB డ్రైవ్ను లేదా SD కార్డ్ స్లాట్లోకి SD కార్డ్ను చొప్పించండి.
- Press the 'Mode' button to select 'USB' or 'SD' input.
- మీ ద్వారా నావిగేట్ చేయండి files using the control buttons or remote and select the desired media to play.
4. చివరి మెమరీ ఫంక్షన్
The player features a last memory function, which allows it to resume playback from where it was last stopped, even after being powered off.
5. Region Free & Multi-Format Support
This DVD player is region-free, allowing playback of DVDs from any region. It also supports multiple media formats from USB and SD cards.

మూర్తి 5: Features including USB/TF card support, region-free playback, and last memory function.
6. Sync Screen to TV
You can connect the main DVD player to a larger TV screen using the provided RCA cable for a home viewing అనుభవం.
- Connect one end of the RCA cable to the AV OUT port on the main DVD player.
- Connect the other end of the RCA cable to the corresponding AV IN ports on your television.
- Select the correct AV input source on your television.

మూర్తి 6: Connecting the portable DVD player to a TV using the RCA cable.
నిర్వహణ
1. శుభ్రపరచడం
- Use a soft, dry cloth to clean the exterior of the players.
- మొండి గుర్తుల కోసం, కొద్దిగా dampen గుడ్డను నీటితో తడిపివేయండి. కఠినమైన రసాయనాలు లేదా రాపిడి క్లీనర్లను ఉపయోగించకుండా ఉండండి.
- శుభ్రపరిచే ద్రావణాలను నేరుగా స్క్రీన్పై లేదా ఏదైనా రంధ్రాలలోకి పిచికారీ చేయవద్దు.
- To clean the disc lens, use a specialized DVD lens cleaning disc.
2. బ్యాటరీ సంరక్షణ
- బ్యాటరీ జీవితకాలాన్ని పొడిగించడానికి, బ్యాటరీని తరచుగా పూర్తిగా డిశ్చార్జ్ చేయకుండా ఉండండి.
- పరికరం ఎక్కువసేపు ఉపయోగంలో లేనప్పటికీ, బ్యాటరీని క్రమం తప్పకుండా ఛార్జ్ చేయండి.
- పరికరాన్ని ప్రత్యక్ష సూర్యకాంతి మరియు తీవ్రమైన ఉష్ణోగ్రతలు లేకుండా చల్లని, పొడి ప్రదేశంలో నిల్వ చేయండి.
ట్రబుల్షూటింగ్
If you encounter issues with your Arafuna DVD player, refer to the following common problems and solutions:
| సమస్య | సాధ్యమైన కారణం | పరిష్కారం |
|---|---|---|
| ప్లేయర్ పవర్ ఆన్ చేయదు. | No power supply; discharged battery; faulty power adapter/cable. | Ensure power cable is securely connected. Charge the battery using the AC adapter or car charger. Test with a different power source if available. |
| No picture or sound on slave monitor. | Loose or incorrect HDMI/DC cable connection. | Check that the HDMI and DC cables are securely connected between the main player and the slave monitor. Ensure they are connected to the correct IN/OUT ports. |
| DVD disc does not play or skips. | Disc is dirty, scratched, or inserted incorrectly; lens is dirty; incompatible disc format. | Clean the disc with a soft cloth. Ensure the disc is inserted correctly with the label side up. Use a lens cleaning disc. Try a different, known-good disc. |
| No sound from player. | Volume is too low or muted; headphones not properly connected; faulty audio settings. | Increase the volume. Check headphone connection. Ensure no mute function is active. |
| USB/SD కార్డ్ గుర్తించబడలేదు. | సరికాదు file format; card/drive not properly inserted; corrupted media. | మీడియాను నిర్ధారించుకోండి files are in a supported format. Reinsert the USB drive or SD card. Try a different USB drive or SD card. |
స్పెసిఫికేషన్లు
| ఫీచర్ | వివరాలు |
|---|---|
| బ్రాండ్ | అరఫునా |
| మోడల్ సంఖ్య | DM-12 |
| స్క్రీన్ పరిమాణం | 10.5 అంగుళాలు |
| ప్రదర్శన రకం | LCD |
| కనెక్టివిటీ టెక్నాలజీ | HDMI, USB |
| మద్దతు ఉన్న మీడియా రకాలు | DVD, USB, SD కార్డ్ |
| పునర్వినియోగపరచదగిన బ్యాటరీ | Yes (5000mAh Lithium-polymer) |
| UPC | 730096858222 |
వారంటీ
This Arafuna product is covered by a 1-సంవత్సరం తయారీదారు వారంటీ from the date of purchase. This warranty covers defects in materials and workmanship under normal use. It does not cover damage caused by misuse, accident, unauthorized modification, or external causes.
మద్దతు
For technical assistance, warranty claims, or further inquiries regarding your Arafuna 10.5 Inch Dual Screen Portable DVD Player, please refer to the contact information provided with your purchase or visit the official Arafuna support webసైట్.