
1. ఉత్పత్తి ముగిసిందిview
The Kaleinavi 2 Channels Multi-Function Wide Voltage Remote Control Switch is a versatile wireless control system designed for various applications. It operates on a wide voltage range of DC 12V-50V, making it suitable for controlling devices such as pumps, motors, lighting fixtures, fans, and more. The system includes a receiver and an industrial waterproof remote controller, offering stable signal transmission up to 300 meters in open areas.
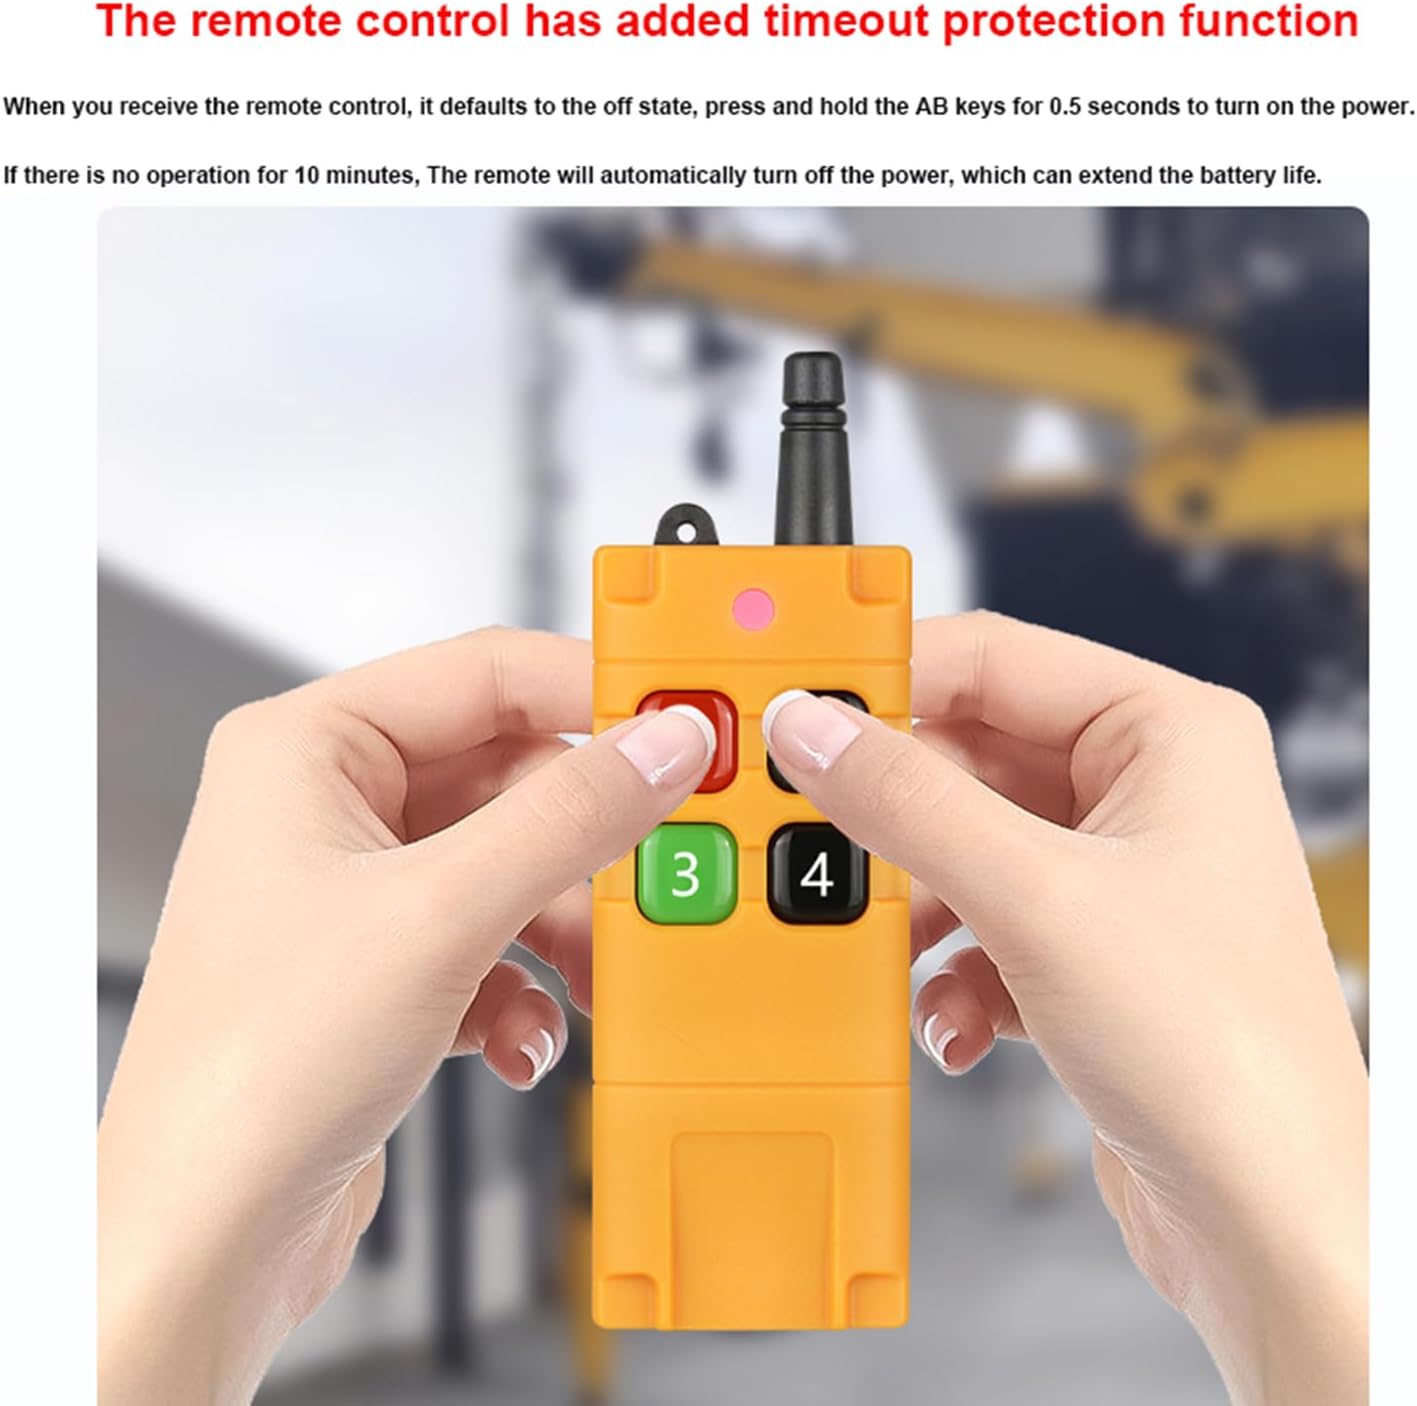
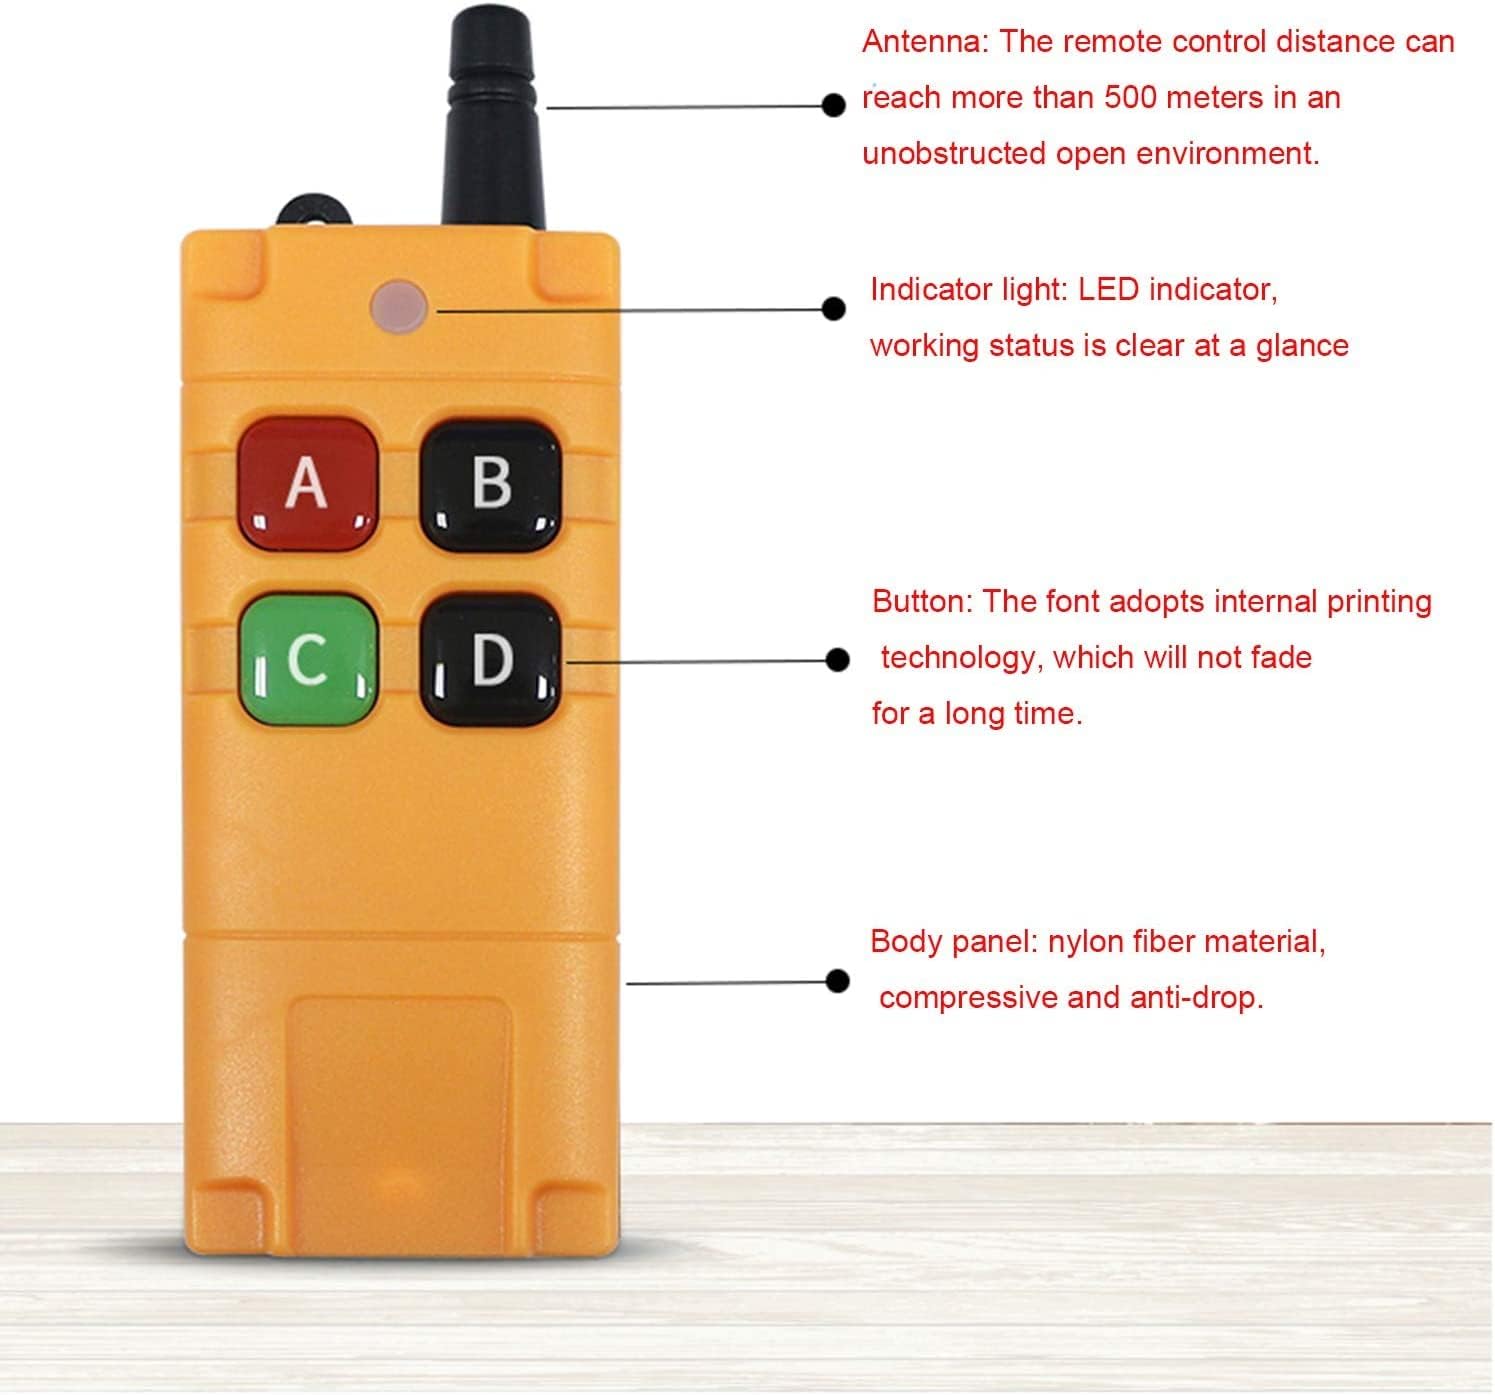
This remote control switch features three working modes: Toggle, Momentary, and Latched, which can be easily switched without complex procedures. The receiver provides a relay output with NO, NC, and COM terminals for flexible wiring. The remote controller is designed for durability with an ABS plastic back shell, sealing ring for dust and water resistance, and a timeout protection function to conserve battery life.

2. స్పెసిఫికేషన్లు
Detailed technical specifications for the receiver and remote control unit.
| ఫీచర్ | స్పెసిఫికేషన్ |
|---|---|
| వర్కింగ్ వాల్యూమ్tage (స్వీకర్త) | DC 12V-50V |
| Quiescent Condition (Receiver) | 6mA కంటే తక్కువ |
| పని ఉష్ణోగ్రత | -40°C నుండి +80°C |
| రిసీవర్ సున్నితత్వం | More than -105dBm |
| పని ఫ్రీక్వెన్సీ | 433MHz |
| అవుట్పుట్ వాల్యూమ్tage | DC and Switch Signal (optional) |
| మాక్స్ లోడ్ కరెంట్ | 10A కన్నా తక్కువ |
| రిసీవర్ పరిమాణం | 8.5 x 5.7 x 2.6 సెం.మీ |
| ఛానెల్లు | 2 ఛానెల్లు |
| కోడింగ్ విధానం | లెర్నింగ్ కోడ్ |
| రిమోట్ దూరం | 300మీ (ఫ్రీ ఫీల్డ్లో) |
| రిమోట్ కంట్రోల్ బ్యాటరీ | 1 x 9V బ్యాటరీ (చేర్చబడింది) |
| రిమోట్ కంట్రోల్ మెటీరియల్ | ABS plastic back shell, Nylon fiber body panel |
| ప్రత్యేక లక్షణాలు | Universal, Industrial, Waterproof, Timeout Protection |
| అనుకూల పరికరాలు | Lighting Fixtures, Fan, DC Motors, Pumps, Car Washing Machines, Dust Collectors |
3. సెటప్ మరియు ఇన్స్టాలేషన్
The Kaleinavi remote control switch system is pre-paired and tested by technicians before delivery. Upon receiving the product, no additional pairing operations are required. Simply install the system according to the wiring diagrams provided below.
3.1 కాంపోనెంట్ ఐడెంటిఫికేషన్

3.2 వైరింగ్ రేఖాచిత్రాలు
The radio receiver features a relay output (potential-free) with NO (Normally Open), NC (Normally Closed), and COM (Common) terminals. This allows control of devices with different voltages. Ensure all connections are secure and correct before applying power.


4. ఆపరేటింగ్ మోడ్లు
The controller supports three distinct working modes, which can be adjusted using the mode switching button on the receiver board.
4.1 Mode Descriptions
- టోగుల్: Press the button once to turn the device ON. Press the same button again to turn the device OFF.
- క్షణకాలం: Press and hold the button to turn the device ON. Release the button to turn the device OFF.
- తాళం వేయబడింది: Press one button to turn the device ON. Press another button (e.g., a different channel button) to turn the device OFF.
4.2 Adjusting Working Modes
Use the 'MODEL' button on the receiver board to cycle through the working modes:
- క్షణకాలం: Press the 'MODEL' button 1 time.
- తాళం వేయబడింది: Press the 'MODEL' button 2 times.
- టోగుల్: Press the 'MODEL' button 3 times.
- Delay 5 seconds: Press the 'MODEL' button 4 times. The indicator will flash four times and then turn off, indicating successful delay setting.

5. Learning and Cleaning Methods
The receiver has two main buttons for configuration: the Learning button ('LEARNING') and the Mode Switching button ('MODEL').
5.1 Learning Method
To pair a remote control with the receiver:
- Press the 'LEARNING' button once. The indicator light on the receiver will flash, indicating it has entered learning status.
- While the indicator light is flashing, press any button on the remote control you wish to pair. The indicator light will stop flashing and turn off, confirming successful pairing.
5.2 Cleaning (Clearing Paired Remotes)
To clear all paired remote controls from the receiver's memory:
- Press and hold the 'LEARNING' button for approximately 8 seconds.
- The indicator light will flash rapidly and then turn off, indicating that all stored remote control codes have been cleared.
6. నిర్వహణ
To ensure the longevity and optimal performance of your Kaleinavi remote control switch, follow these maintenance guidelines:
- శుభ్రపరచడం: Keep the receiver and remote control clean and free from dust and debris. Use a soft, dry cloth for cleaning. Avoid using harsh chemicals or abrasive cleaners.
- బ్యాటరీ భర్తీ: The remote control uses a 9V battery. Replace the battery when the remote's indicator light becomes dim or unresponsive. Ensure correct polarity when inserting the new battery.
- పర్యావరణ పరిరక్షణ: Although the remote control is industrial waterproof, avoid prolonged exposure to extreme temperatures, direct sunlight, or excessive moisture to prevent damage.
- కనెక్షన్ తనిఖీలు: Periodically inspect all wired connections to the receiver to ensure they are secure and free from corrosion.

7. ట్రబుల్షూటింగ్
If you encounter issues with your remote control switch, refer to the following common problems and solutions:
- పరికరం రిమోట్కు స్పందించడం లేదు:
- Check if the remote control's battery is dead. Replace the 9V battery if necessary.
- Ensure the remote control is powered on (press and hold A+B for 0.5 seconds).
- Verify that the receiver is powered correctly (DC 12V-50V).
- Re-pair the remote control with the receiver using the learning method described in Section 5.1.
- Check for strong interference sources nearby (e.g., other RF devices).
- తగ్గించబడిన రిమోట్ కంట్రోల్ పరిధి:
- Ensure there are no significant obstacles (thick walls, metal structures) between the remote and the receiver.
- రిమోట్ కంట్రోల్ బ్యాటరీ స్థాయిని తనిఖీ చేయండి.
- Ensure the receiver's antenna is not obstructed or damaged.
- Device stays ON/OFF or behaves unexpectedly:
- Verify the working mode setting (Toggle, Momentary, Latched) is correct for your application (refer to Section 4.2).
- Check the wiring connections to the receiver's NO, NC, and COM terminals for correctness (refer to Section 3.2).
- Clear all paired remotes (Section 5.2) and re-pair only the desired remote.
- Receiver indicator light not working:
- Check the power supply to the receiver.
- If the receiver is powered but the light is off, it might be in a normal operating state where the light is only active during learning or mode changes.
If you are unable to resolve the issue, please contact customer support for assistance.
8. వారంటీ మరియు మద్దతు
This product comes with a one-year warranty. If you encounter any product quality issues within one year of purchase, please contact our customer service team for support.
Our engineers are available to assist you with any wiring questions or technical difficulties you may experience.
For support, please refer to the contact information provided with your purchase or visit the Kaleinavi store on Amazon.