
1. పరిచయం
Thank you for choosing the HIACINTO ES502 Industrial Endoscope. This manual provides essential information for the safe and effective operation, maintenance, and troubleshooting of your device. Please read this manual thoroughly before use and retain it for future reference.
The HIACINTO ES502 is a versatile inspection camera designed for examining hard-to-reach areas. It features a 10-meter detachable cable, a triple-lens system for a 180-degree field of view, a 5-inch IPS display, 1080P resolution, and IP68 waterproofing, making it suitable for various industrial and household inspection tasks.
2. ఉత్పత్తి ముగిసిందిview
2.1 ప్యాకేజీ విషయాలు
- HIACINTO ES502 Industrial Endoscope Unit
- 10m Detachable Probe Cable with Triple Lens Camera
- 32GB TF కార్డ్
- USB ఛార్జింగ్ కేబుల్
- Accessory Kit (Magnets, Hooks)
- క్యారీయింగ్ కేసు
- వినియోగదారు మాన్యువల్
2.2 ముఖ్య లక్షణాలు
- ట్రిపుల్ లెన్స్ సిస్టమ్: Equipped with a main camera and two side cameras, providing a 180-degree field of view for comprehensive inspection.
- Detachable 10m Cable: Flexible and durable IP68 waterproof snake cable, easily detachable for replacement or storage.
- 5-అంగుళాల IPS డిస్ప్లే: Large, high-definition IPS screen for clear, real-time viewing of images and videos at 1080P resolution.
- సర్దుబాటు చేయగల LED ఇల్యూమినేషన్: 10 integrated LEDs with adjustable brightness levels to ensure clear visibility in dark environments.
- సుదీర్ఘ బ్యాటరీ జీవితం: Built-in 3000mAh rechargeable battery provides up to 4 hours of continuous operation.
- ఎర్గోనామిక్ డిజైన్: Designed for comfortable, single-handed operation.
2.3 ఉత్పత్తి రేఖాచిత్రం
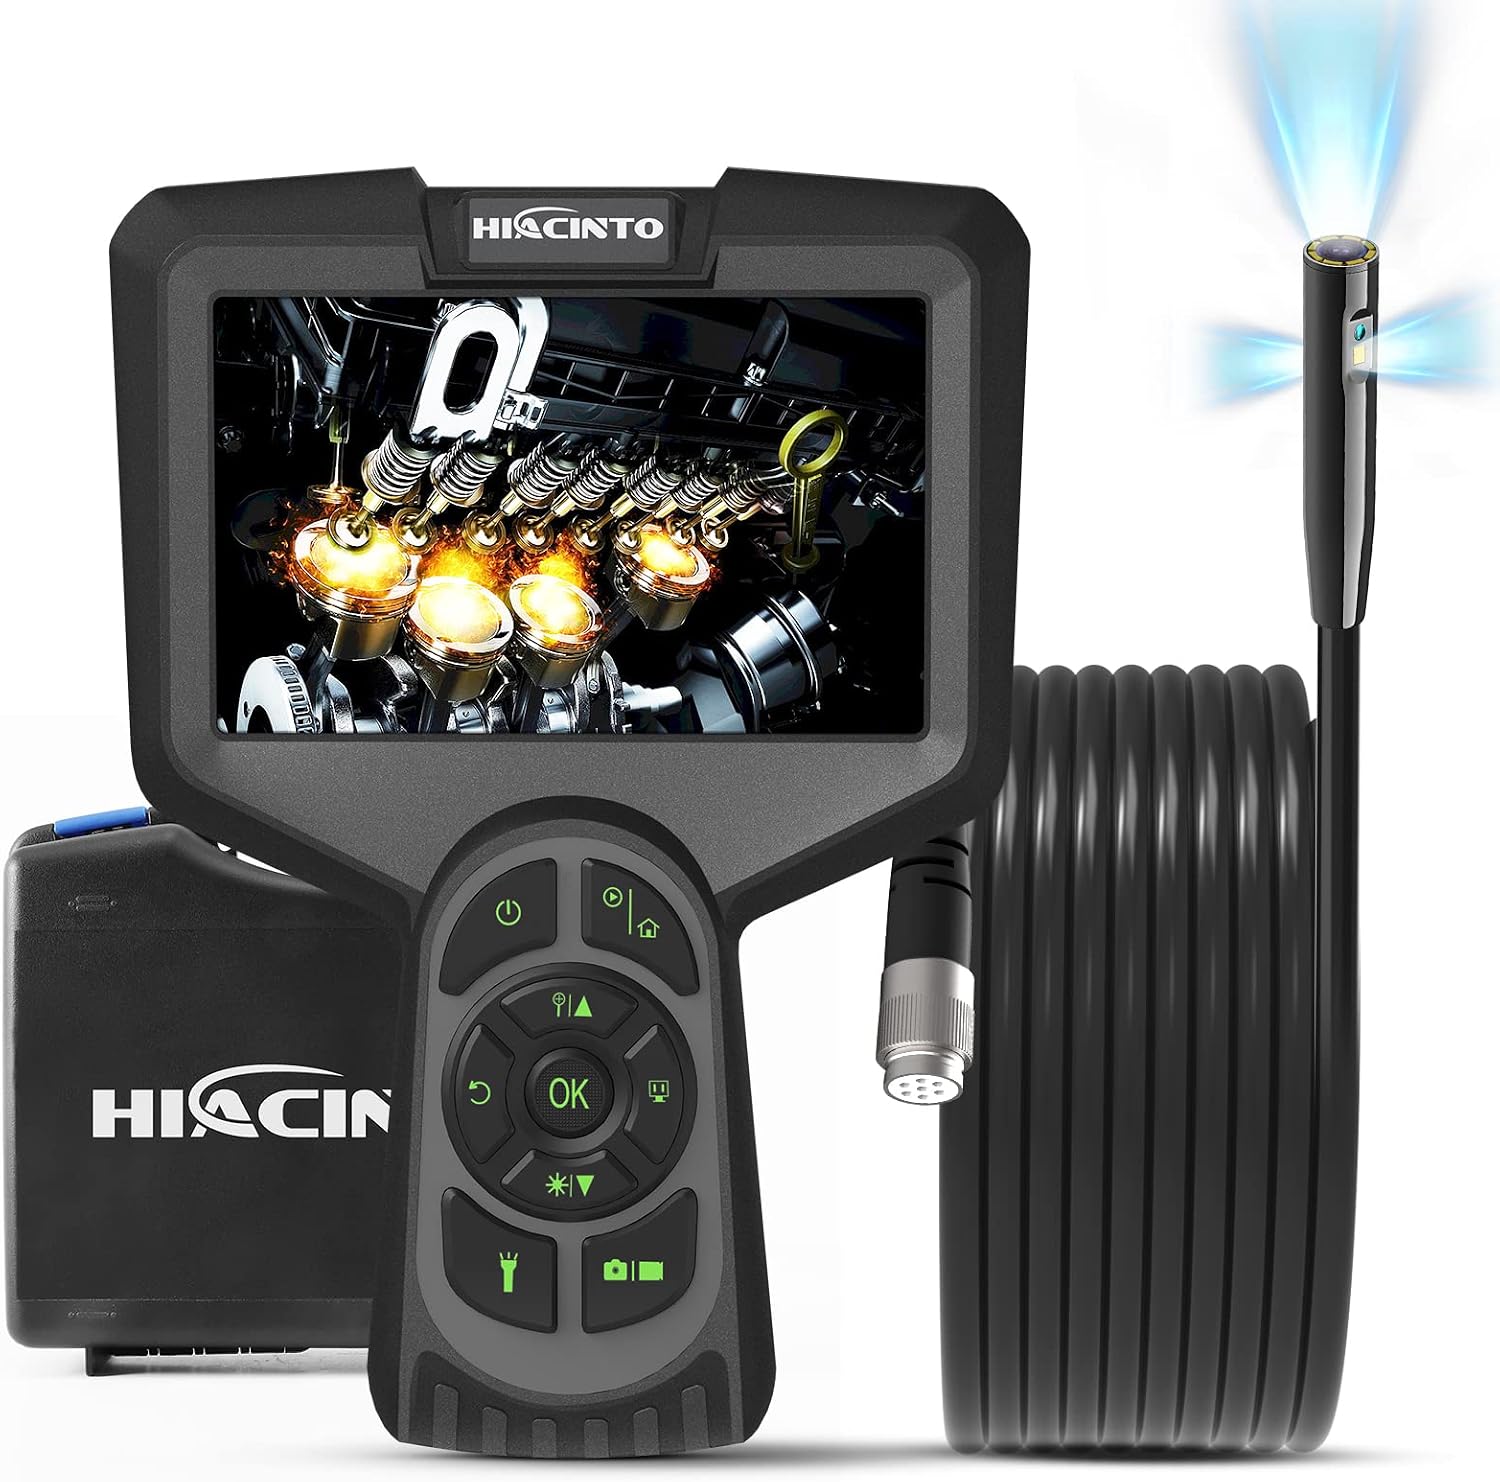
Figure 1: HIACINTO ES502 Industrial Endoscope. Shows the main unit with a 5-inch display, control buttons, and the coiled 10-meter probe cable.

Figure 2: ES502 Triple Lens Inspection Camera. An exploded view illustrating the main camera (A) and two side cameras (B and C) built into the end of the endoscope probe, providing a wider 180-degree clear field of view.
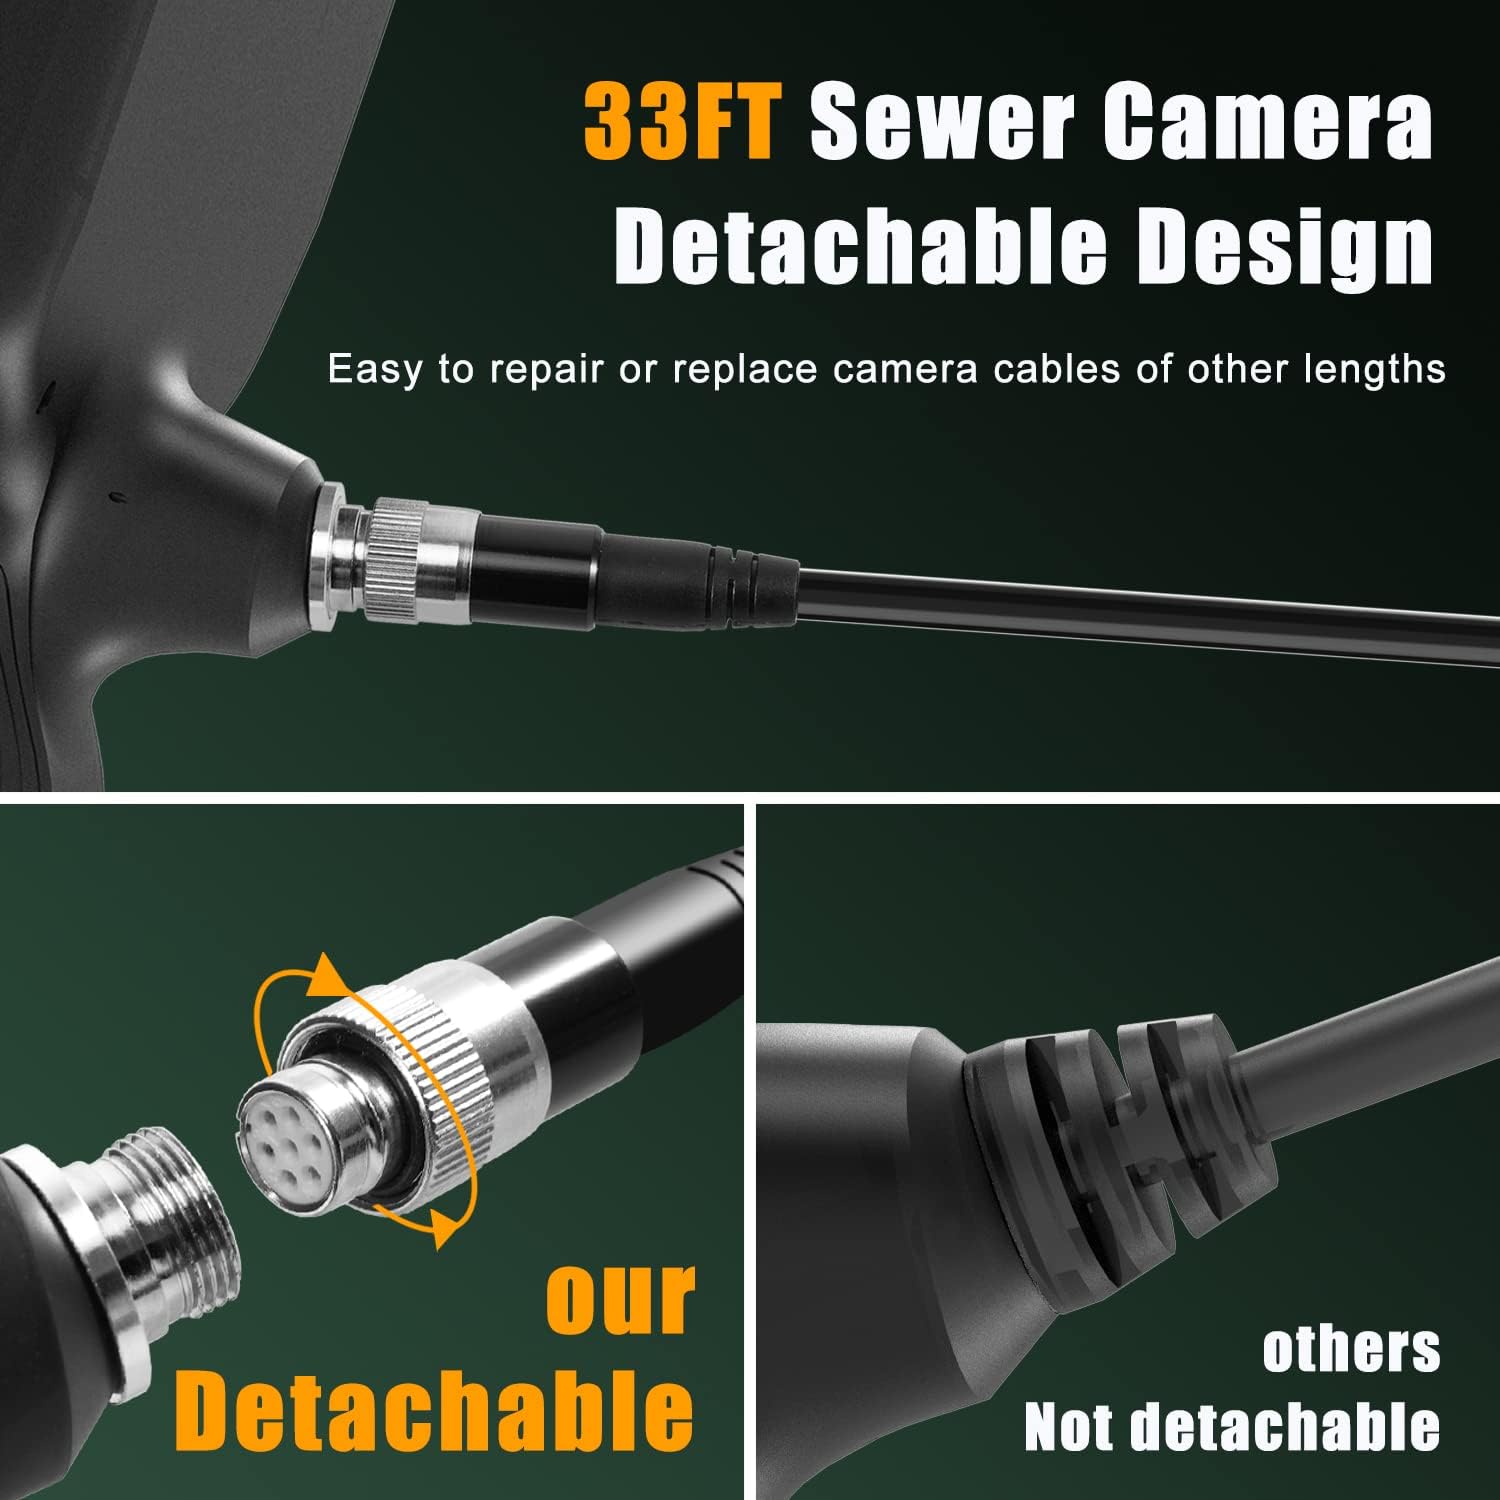
Figure 3: Detachable Cable Design. This image highlights the easy-to-connect and disconnect mechanism of the endoscope cable, allowing for simple repair or replacement with cables of different lengths.

Figure 4: IP68 Snake Camera Cable. The image shows the waterproof camera head with 10 adjustable LED lights, demonstrating three levels of light adjustment for optimal visibility in dark or wet conditions.

Figure 5: Large IPS Display. This image emphasizes the 5-inch HD screen, showcasing its features like 1080p resolution, 3x zoom, 3-10cm focal length, 30 FPS, and 3-camera switching capability.
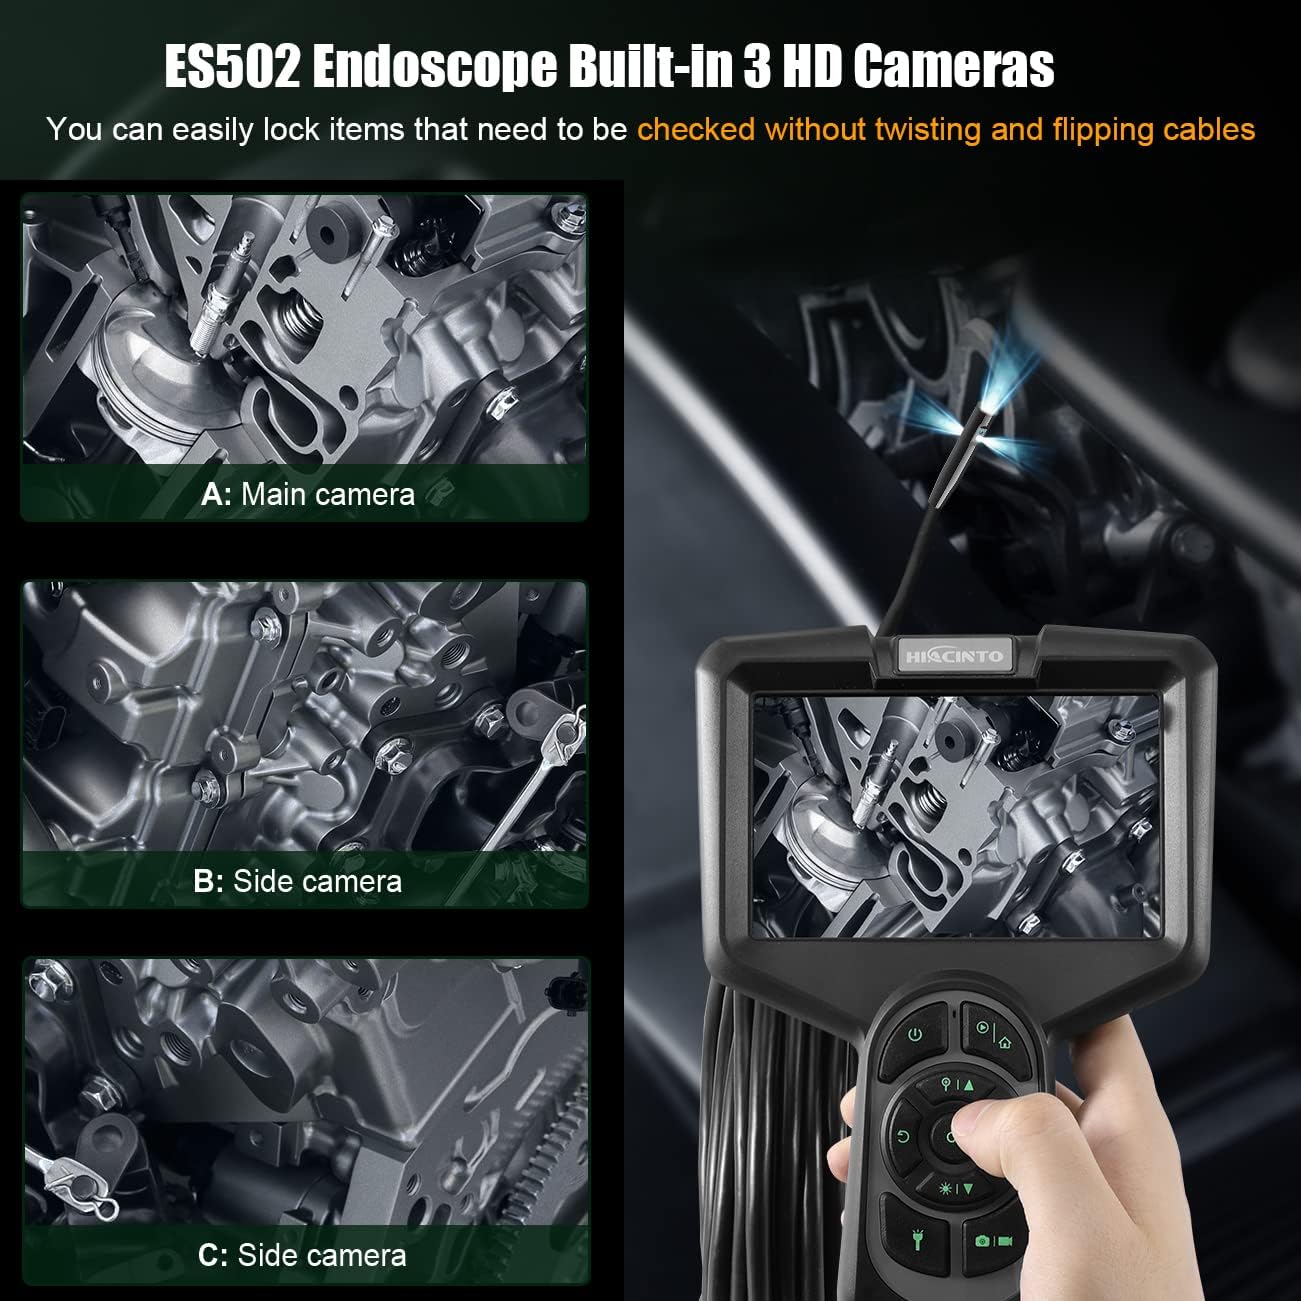
Figure 6: ES502 Endoscope Built-In 3 HD Cameras. The image displays the main unit with its screen showing an engine component, alongside three smaller inset images demonstrating the views from the main camera (A) and two side cameras (B and C).
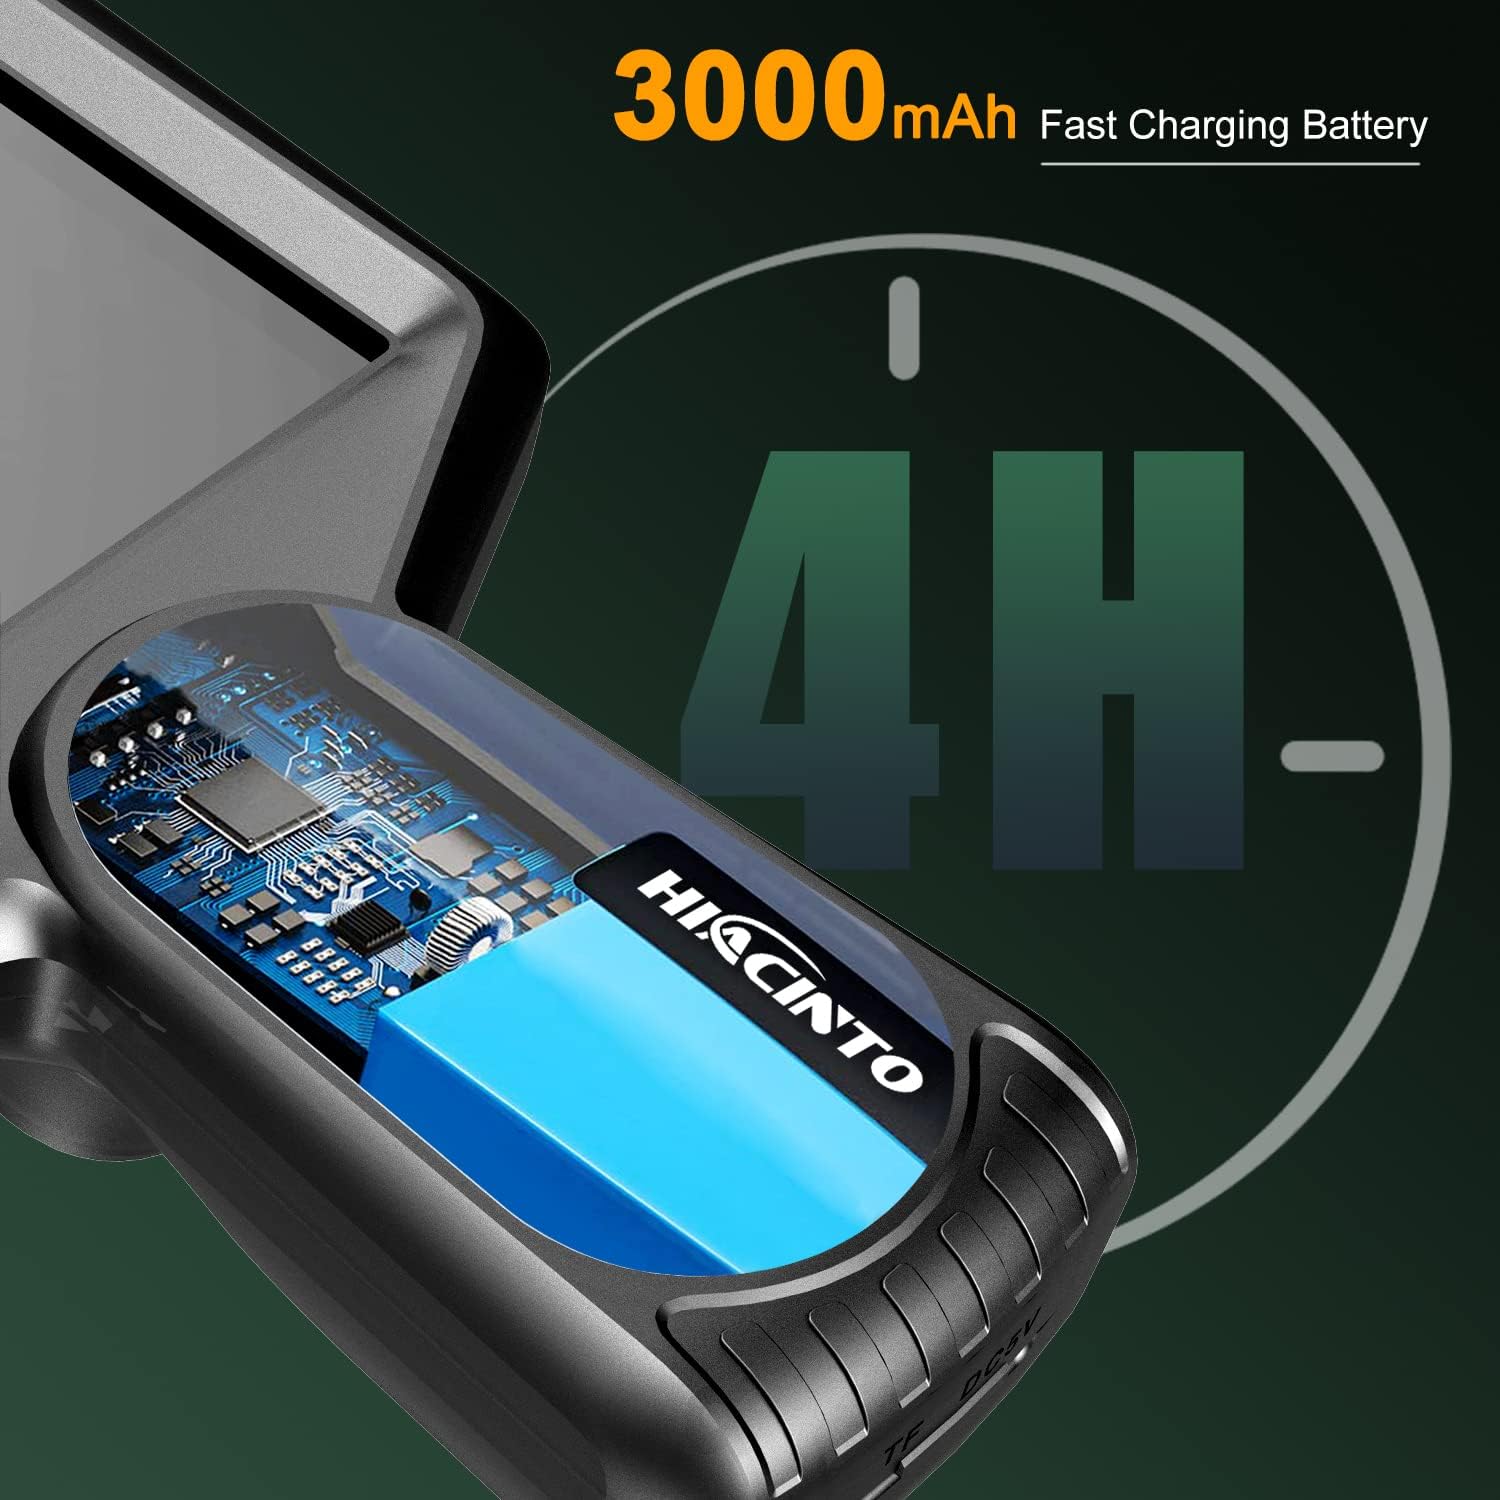
Figure 7: 3000mAh Fast Charging Battery. An illustration showing the internal battery of the endoscope, indicating a 4-hour operating time on a full charge.
3. సెటప్
3.1 పరికరాన్ని ఛార్జ్ చేస్తోంది
- Connect the provided USB charging cable to the charging port on the endoscope unit.
- USB కేబుల్ యొక్క మరొక చివరను ప్రామాణిక 5V/1A USB పవర్ అడాప్టర్ (చేర్చబడలేదు) లేదా కంప్యూటర్ యొక్క USB పోర్ట్లోకి ప్లగ్ చేయండి.
- The charging indicator light will illuminate during charging and turn off when fully charged. A full charge typically takes approximately 3-4 hours.
3.2 TF కార్డును చొప్పించడం
- Locate the TF card slot on the side of the endoscope unit.
- Gently insert the provided 32GB TF card into the slot with the gold contacts facing down until it clicks into place.
- తీసివేయడానికి, కార్డు బయటకు వచ్చే వరకు కొద్దిగా లోపలికి నెట్టండి.
3.3 Attaching the Probe Cable
- Align the connector of the probe cable with the port on the main unit.
- Push the connector firmly into the port and twist the locking ring clockwise to secure it.
- Ensure the connection is secure to maintain waterproofing and stable signal transmission.
4. ఆపరేటింగ్ సూచనలు
4.1 పవర్ చేయడం ఆన్/ఆఫ్
- పవర్ ఆన్: పవర్ బటన్ని నొక్కి పట్టుకోండి (⏻ ⏻ తెలుగు) for 2-3 seconds until the screen illuminates.
- పవర్ ఆఫ్: పవర్ బటన్ని నొక్కి పట్టుకోండి (⏻ ⏻ తెలుగు) for 2-3 seconds until the screen turns off.
4.2 మెనూను నావిగేట్ చేయడం
- మెను ఎంపికల ద్వారా నావిగేట్ చేయడానికి డైరెక్షనల్ బటన్లను (పైకి, క్రిందికి, ఎడమ, కుడి) ఉపయోగించండి.
- నొక్కండి OK ఎంపికను నిర్ధారించడానికి బటన్.
- నొక్కండి మెనూ button to access settings or return to the previous screen.
4.3 Switching Between Lenses
The ES502 features a triple-lens system. To switch between the main camera and the side cameras:
- లైవ్లో ఉండగా view, నొక్కండి OK button to cycle through the available camera views (Main, Side 1, Side 2, or combined viewలు).
4.4 LED ప్రకాశాన్ని సర్దుబాటు చేయడం
The camera probe is equipped with 10 adjustable LED lights.
- Press the LED brightness adjustment button (often marked with a light bulb icon or up/down arrows) to increase or decrease the illumination level. There are typically 3 levels of brightness.
4.5 ఫోటోలు మరియు వీడియోలను సంగ్రహించడం
- ఒక ఫోటో తీసుకుని: ప్రత్యక్ష ప్రసారంలో view, press the Photo button (often marked with a camera icon) to capture an image.
- వీడియో రికార్డ్ చేయండి: Press the Video button (often marked with a video camera icon) once to start recording. Press it again to stop recording.
- All captured media will be saved to the inserted TF card.
4.6 జూమ్ ఫంక్షన్
- లైవ్లో ఉండగా view, use the zoom buttons (often marked with '+' and '-' or magnifying glass icons) to digitally zoom in or out on the image. The ES502 supports up to 3x digital zoom.
4.7 రేviewing మీడియా
- Press the Playback button (often marked with a play icon) to enter the media gallery.
- Use the directional buttons to browse through your photos and videos.
- నొక్కండి OK కు view ఫోటో లేదా వీడియో ప్లే చేయండి.
- Press the Playback button again or the Menu button to exit the gallery.
5. నిర్వహణ
5.1 Cleaning the Lens and Cable
- After each use, especially in dirty or wet environments, gently wipe the camera lens with a soft, lint-free cloth. For stubborn dirt, use a small amount of lens cleaning solution.
- Clean the probe cable with a damp cloth. Ensure no debris is left on the cable, which could hinder future inspections.
- పరికరంలోని ఏ భాగంలోనూ రాపిడి క్లీనర్లు లేదా ద్రావకాలను ఉపయోగించవద్దు.
5.2 నిల్వ
- Store the endoscope and its accessories in the provided carrying case when not in use.
- పరికరాన్ని చల్లని, పొడి ప్రదేశంలో, ప్రత్యక్ష సూర్యకాంతి మరియు తీవ్రమైన ఉష్ణోగ్రతలకు దూరంగా ఉంచండి.
- Ensure the cable is neatly coiled to prevent kinks or damage.
5.3 బ్యాటరీ సంరక్షణ
- బ్యాటరీ జీవితకాలాన్ని పొడిగించడానికి, బ్యాటరీని తరచుగా పూర్తిగా డిశ్చార్జ్ చేయకుండా ఉండండి.
- If storing the device for an extended period, charge the battery to approximately 50% every 3-6 months.
6. ట్రబుల్షూటింగ్
| సమస్య | సాధ్యమైన కారణం | పరిష్కారం |
|---|---|---|
| పరికరం పవర్ ఆన్ చేయదు | బ్యాటరీ తక్కువగా ఉంది; పరికరం పనిచేయకపోవడం | Charge the device fully; Contact customer support if issue persists. |
| తెరపై చిత్రం లేదు | Cable not connected properly; Camera lens blocked; Software error | Ensure probe cable is securely connected; Clean the camera lens; Restart the device. |
| చిత్రం అస్పష్టంగా లేదా అస్పష్టంగా ఉంది | Lens is dirty; Insufficient lighting; Object too close/far | Clean the camera lens; Adjust LED brightness; Ensure object is within 3-10cm focal range. |
| ఫోటోలు/వీడియోలను సేవ్ చేయడం సాధ్యం కాలేదు | TF card full; TF card not inserted; TF card error | పాతదాన్ని తొలగించు files or replace TF card; Insert TF card correctly; Format TF card (backup data first). |
| తక్కువ బ్యాటరీ జీవితం | Battery not fully charged; Aging battery | Ensure full charge before use; Contact customer support for battery replacement if necessary. |
7. స్పెసిఫికేషన్లు
| ఫీచర్ | స్పెసిఫికేషన్ |
|---|---|
| బ్రాండ్ | హైసింటో |
| మోడల్ సంఖ్య | ES502 |
| ప్రదర్శించు | 5-అంగుళాల IPS HD స్క్రీన్ |
| కెమెరా రిజల్యూషన్ | 1080P |
| లెన్సులు | Triple Lens (Main + 2 Side Cameras) |
| ఫీల్డ్ View | 180 డిగ్రీలు |
| కేబుల్ పొడవు | 10 మీటర్లు (వేరు చేయగలిగినది) |
| నీటి నిరోధకత | IP68 (కెమెరా ప్రోబ్) |
| ప్రకాశం | 10 సర్దుబాటు LED లైట్లు |
| బ్యాటరీ | 3000mAh Lithium-polymer |
| ఆపరేటింగ్ సమయం | 4 గంటల వరకు |
| డిజిటల్ జూమ్ | 3x |
| ఫోకల్ రేంజ్ | 3-10 సెం.మీ |
| ఫ్రేమ్ రేట్ | 30 FPS |
| నిల్వ | TF కార్డ్కు మద్దతు ఇస్తుంది (32GB చేర్చబడింది) |
| కనెక్టివిటీ | USB |
| ఉత్పత్తి కొలతలు | 26.67 x 7.62 x 22.86 సెం.మీ |
| వస్తువు బరువు | 1.07 కిలోలు |
8. వారంటీ మరియు మద్దతు
8.1 వారంటీ సమాచారం
The HIACINTO ES502 Industrial Endoscope comes with a 24-month money-back guarantee from the date of purchase. This warranty covers manufacturing defects and ensures product quality. Please retain your proof of purchase for warranty claims.
8.2 కస్టమర్ మద్దతు
For any questions, technical assistance, or warranty claims, please contact HIACINTO customer support through the platform where you purchased the product. Our support team is available to assist you with any issues you may encounter.