1. పరిచయం
This manual provides essential information for the safe and efficient operation of your DUODUOGO S2 10-inch Android WiFi Tablet. Please read it thoroughly before using the device and keep it for future reference.
2. భద్రతా సమాచారం
- టాబ్లెట్ను తీవ్రమైన ఉష్ణోగ్రతలు, ప్రత్యక్ష సూర్యకాంతి లేదా అధిక తేమకు గురిచేయవద్దు.
- టాబ్లెట్ను పడవేయడం లేదా బలమైన ప్రభావాలకు గురిచేయడం మానుకోండి.
- పరికరంతో పాటు అందించబడిన ఒరిజినల్ ఛార్జర్ మరియు ఉపకరణాలను మాత్రమే ఉపయోగించండి.
- Do not attempt to disassemble or repair the tablet yourself. Contact customer support for assistance.
- టాబ్లెట్ను నీరు మరియు ఇతర ద్రవాలకు దూరంగా ఉంచండి.
- స్థానిక నిబంధనల ప్రకారం బ్యాటరీ మరియు పరికరాన్ని పారవేయండి.
3. ప్యాకేజీ విషయాలు
ప్యాకేజీలో అన్ని అంశాలు ఉన్నాయని నిర్ధారించుకోండి:
- DUODUOGO S2 Tablet
- USB టైప్-సి కేబుల్
- పవర్ అడాప్టర్
- వినియోగదారు మాన్యువల్ (ఈ పత్రం)
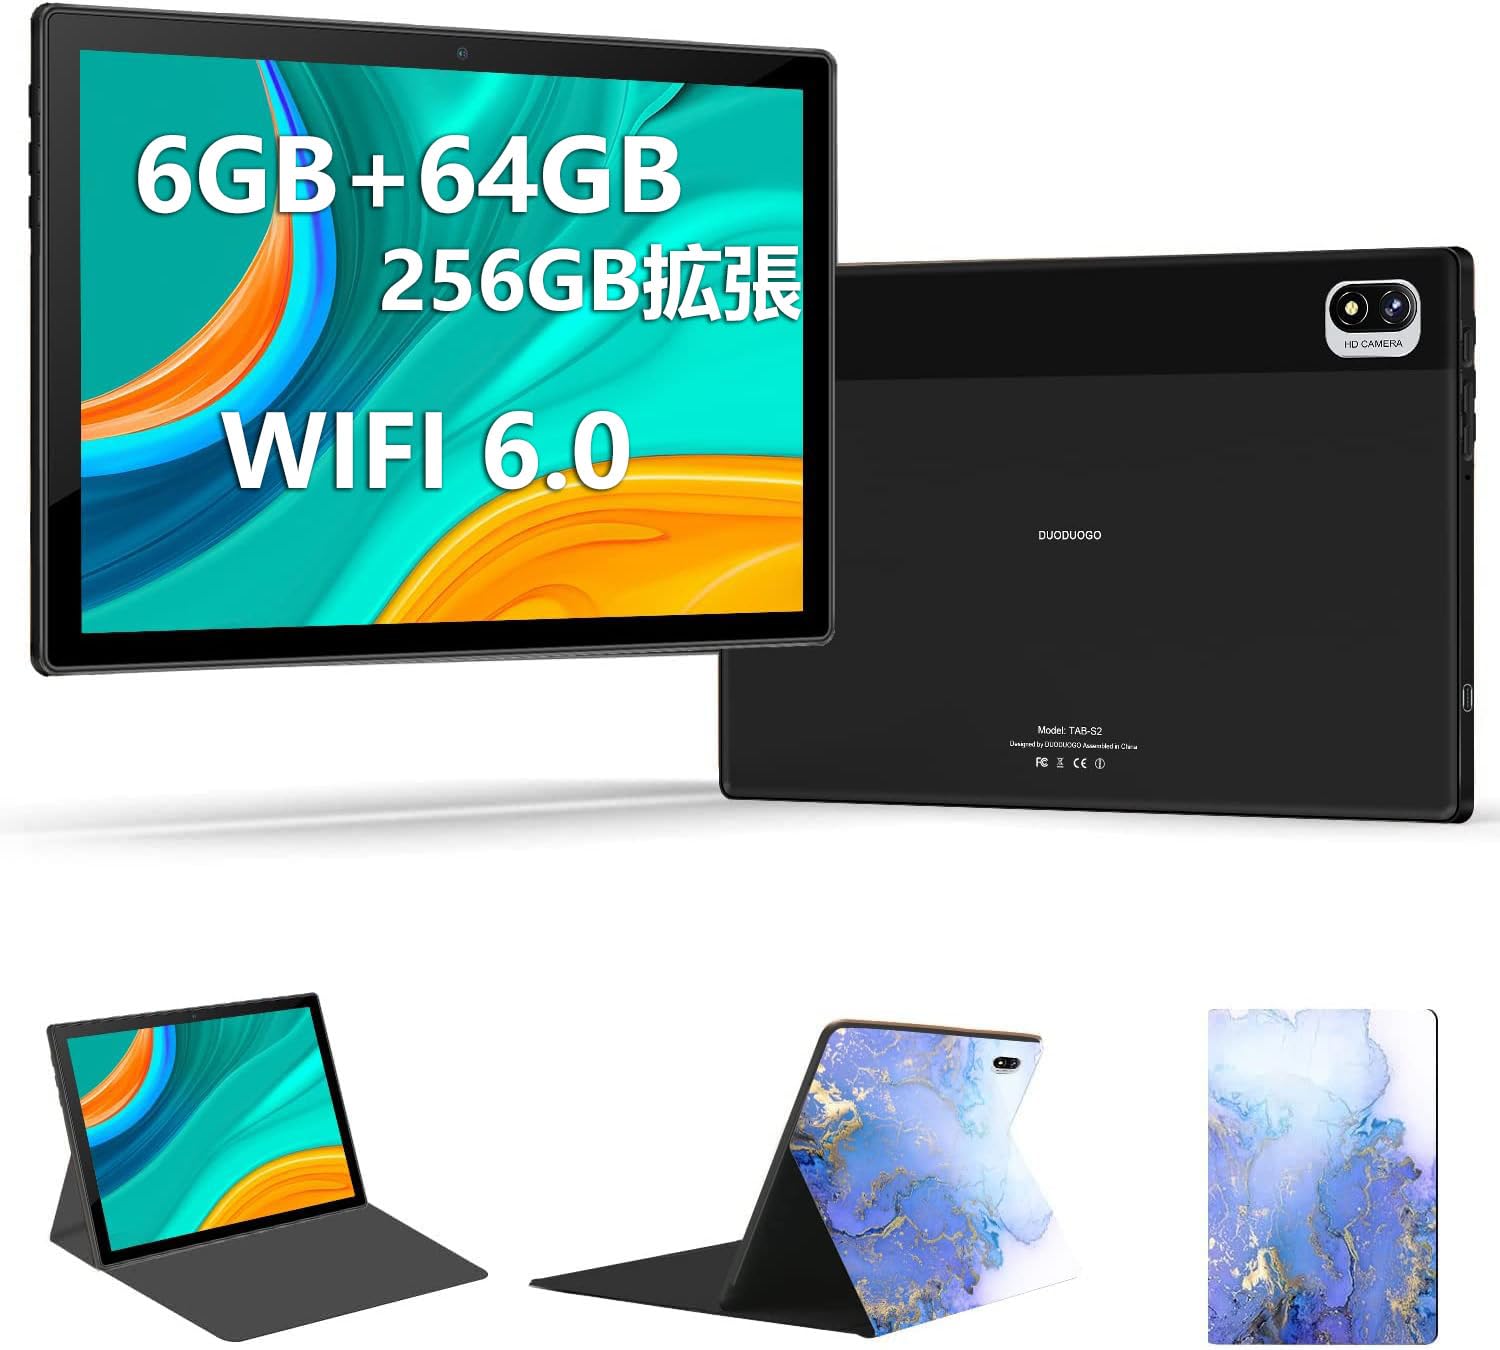
Image: DUODUOGO S2 Tablet and included accessories.
4 పరికర లేఅవుట్
Familiarize yourself with the physical features and ports of your DUODUOGO S2 tablet.

Image: Diagram showing the tablet's side view with labels for the power button, volume buttons (Vol+, Vol-), Type-C port, headphone jack, and TF card slot. The front and rear cameras are also indicated.
- పవర్ బటన్: Press and hold to power on/off or restart. Press briefly to turn the screen on/off.
- Volume Buttons (Vol+, Vol-): ఆడియో వాల్యూమ్ను సర్దుబాటు చేయండి.
- టైప్-సి పోర్ట్: ఛార్జింగ్ మరియు డేటా బదిలీ కోసం.
- హెడ్ఫోన్ జాక్: 3.5mm హెడ్ఫోన్లను కనెక్ట్ చేయండి.
- TF కార్డ్ స్లాట్: Insert a microSD card for expandable storage (up to 256GB).
- ముందు కెమెరా: 5MP camera for video calls and selfies.
- వెనుక కెమెరా: 8MP camera for photos and videos.
- ద్వంద్వ స్పీకర్లు: Located on the sides for enhanced audio output.
5. సెటప్
5.1 ప్రారంభ ఛార్జ్
Before first use, fully charge the tablet using the provided USB Type-C cable and power adapter. The battery indicator on the screen will show charging progress.
5.2 పవర్ ఆన్/ఆఫ్
- పవర్ ఆన్ చేయడానికి: Press and hold the Power Button until the DUODUOGO logo appears.
- పవర్ ఆఫ్ చేయడానికి: Press and hold the Power Button, then select "Power Off" from the options on the screen.
- పునఃప్రారంభించడానికి: Press and hold the Power Button, then select "Restart" from the options.
5.3 ప్రారంభ సెటప్ విజార్డ్
మొదటిసారి పవర్-ఆన్ చేసినప్పుడు, టాబ్లెట్ ప్రారంభ సెటప్ ప్రక్రియ ద్వారా మిమ్మల్ని మార్గనిర్దేశం చేస్తుంది. ఇందులో ఇవి ఉంటాయి:
- భాష ఎంపిక
- Wi-Fi నెట్వర్క్ కనెక్షన్
- Google account setup (optional, but recommended for app downloads)
- తేదీ మరియు సమయ సెట్టింగ్లు
5.4 Wi-Fiకి కనెక్ట్ చేస్తోంది
Wi-Fi నెట్వర్క్కి కనెక్ట్ చేయడానికి:
- వెళ్ళండి సెట్టింగ్లు > నెట్వర్క్ & ఇంటర్నెట్ > Wi-Fi.
- Wi-Fiని ఆన్ చేయండి.
- జాబితా నుండి మీకు కావలసిన నెట్వర్క్ను ఎంచుకోండి.
- ప్రాంప్ట్ చేయబడితే పాస్వర్డ్ను నమోదు చేసి, నొక్కండి కనెక్ట్ చేయండి.

Image: The tablet screen showing a video playback, highlighting its dual-band 2.4G/5G WiFi capability for stable internet connection.
6. ఆపరేటింగ్ సూచనలు
6.1 ఆండ్రాయిడ్ ఇంటర్ఫేస్ను నావిగేట్ చేయడం
The DUODUOGO S2 runs on Android 11. Common gestures include:
- నొక్కండి: ఒక అంశాన్ని ఎంచుకోండి లేదా యాప్ను తెరవండి.
- స్వైప్: స్క్రీన్లు లేదా జాబితాల ద్వారా స్క్రోల్ చేయండి.
- చిటికెడు: చిత్రాలను జూమ్ ఇన్ లేదా అవుట్ చేయండి మరియు web పేజీలు.
- లాంగ్ ప్రెస్: సందర్భోచిత మెనూలను యాక్సెస్ చేయండి లేదా చిహ్నాలను తరలించండి.

Image: The tablet displaying the Android 11 home screen with various application icons, demonstrating the user interface.
6.2 అప్లికేషన్లను ఇన్స్టాల్ చేస్తోంది
You can download and install applications from the Google Play Store. Ensure you are logged in with a Google account.
- తెరవండి ప్లే స్టోర్ అనువర్తనం.
- కోసం వెతకండి the desired app.
- నొక్కండి ఇన్స్టాల్ చేయండి.
6.3 కెమెరా ఆపరేషన్
ఈ టాబ్లెట్లో 5MP ముందు కెమెరా మరియు 8MP వెనుక కెమెరా ఉన్నాయి.
- తెరవండి కెమెరా అనువర్తనం.
- ఫోటో తీయడానికి షట్టర్ బటన్ను నొక్కండి.
- కెమెరా స్విచ్ చిహ్నాన్ని ఉపయోగించి ముందు మరియు వెనుక కెమెరాల మధ్య మారండి.

Image: The tablet displaying a high-resolution image, illustrating the 10.1-inch IPS HD screen and indicating the 5MP front and 8MP rear camera capabilities.
6.4 నిల్వ నిర్వహణ
The tablet comes with 64GB of internal storage. You can expand this by inserting a TF (microSD) card up to 256GB.
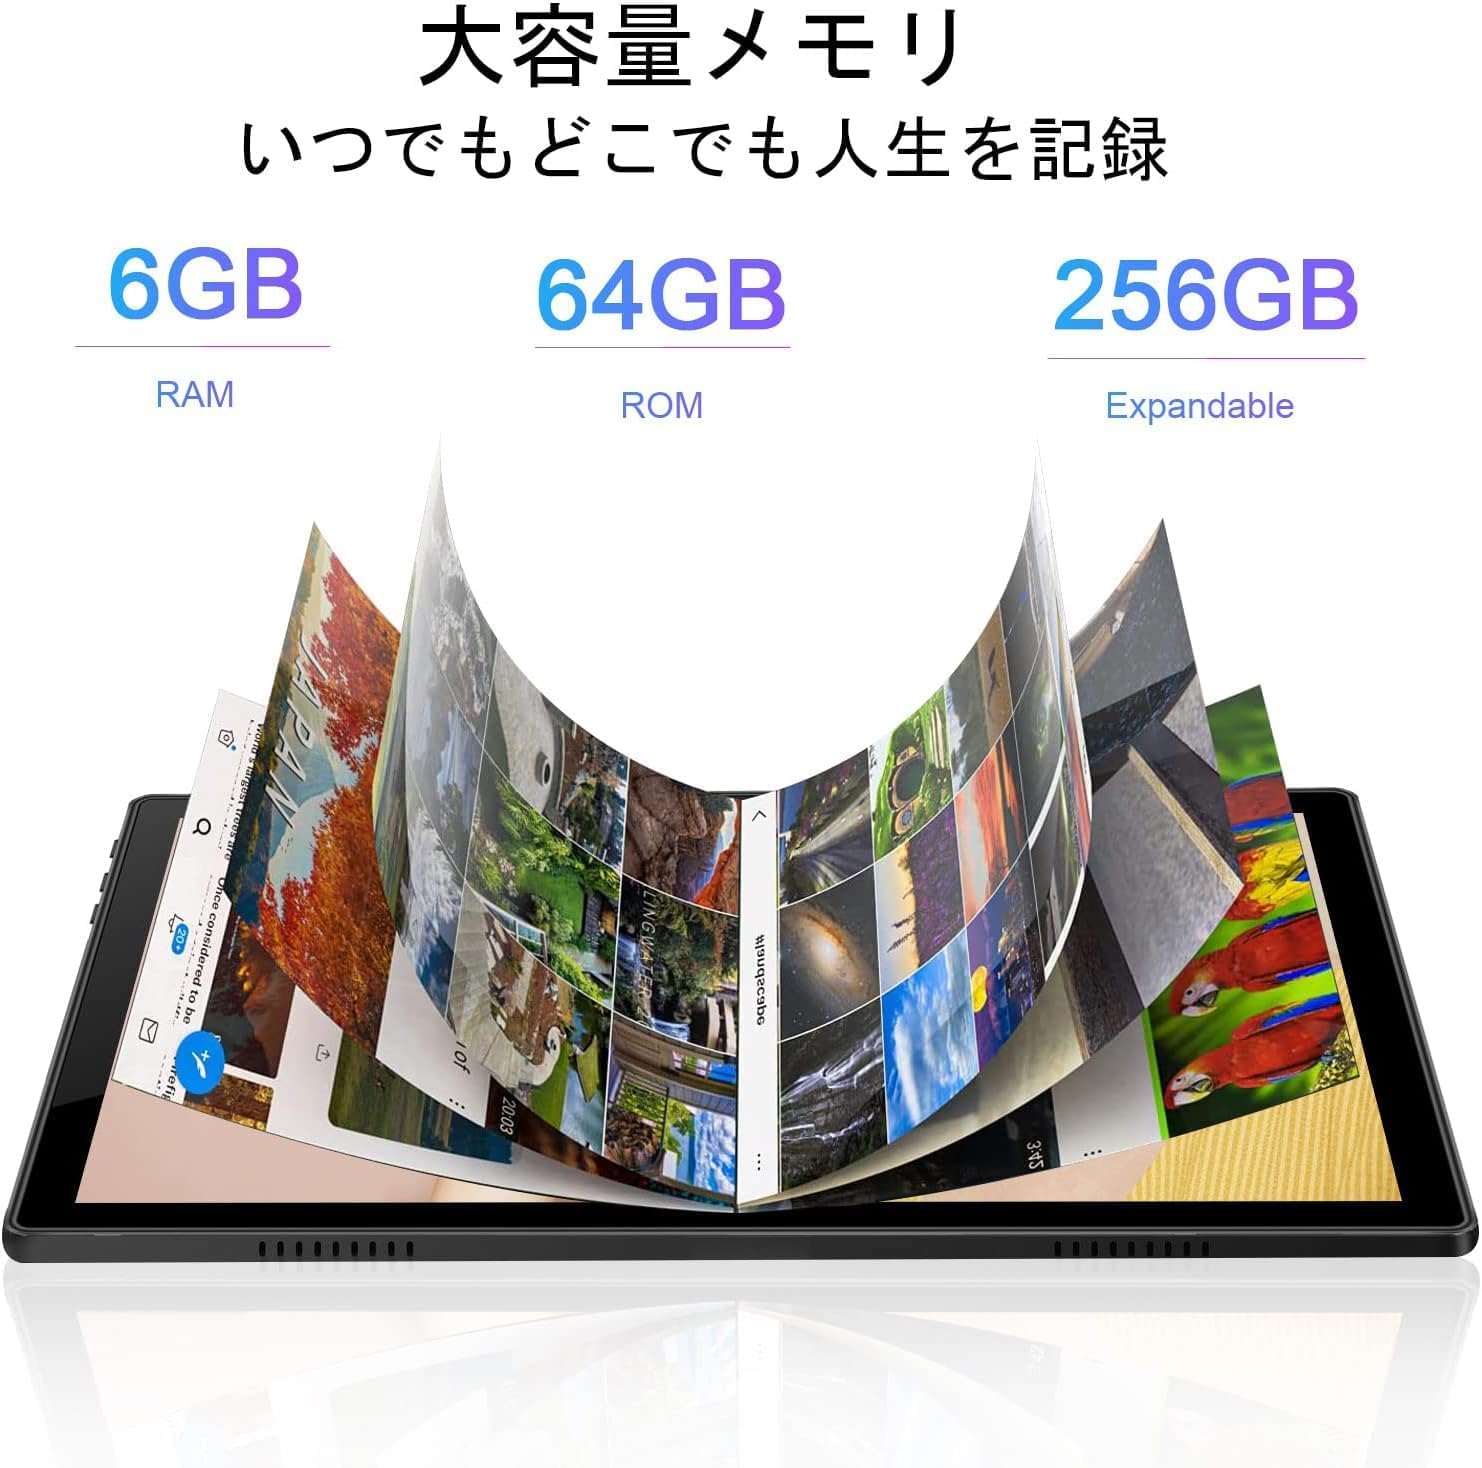
Image: A visual representation of the tablet's memory, showing 6GB RAM, 64GB internal storage (ROM), and the option to expand storage up to 256GB with a TF card.
7. నిర్వహణ
- శుభ్రపరచడం: టాబ్లెట్ స్క్రీన్ మరియు బాడీని శుభ్రం చేయడానికి మృదువైన, మెత్తటి బట్టను ఉపయోగించండి. రాపిడి క్లీనర్లు లేదా ద్రావకాలను ఉపయోగించవద్దు.
- సాఫ్ట్వేర్ అప్డేట్లు: సరైన పనితీరు మరియు భద్రతను నిర్ధారించుకోవడానికి సిస్టమ్ నవీకరణలను క్రమం తప్పకుండా తనిఖీ చేసి, ఇన్స్టాల్ చేయండి. వెళ్ళండి సెట్టింగ్లు > వ్యవస్థ > సిస్టమ్ నవీకరణ.
- బ్యాటరీ సంరక్షణ: To prolong battery life, avoid fully discharging the battery frequently. Charge the tablet when the battery level is low.
- నిల్వ ఆప్టిమైజేషన్: కాలానుగుణంగా అనవసరమైన వాటిని క్లియర్ చేయండి files and uninstall unused apps to free up storage space and improve performance.
8. ట్రబుల్షూటింగ్
| సమస్య | సాధ్యమైన పరిష్కారం |
|---|---|
| టాబ్లెట్ ఆన్ అవ్వదు. | Ensure the battery is charged. Connect the charger and wait a few minutes before attempting to power on again. If it still doesn't turn on, perform a forced restart by holding the power button for 10-15 seconds. |
| స్క్రీన్ స్పందించడం లేదు. | టాబ్లెట్ను పునఃప్రారంభించండి. సమస్య కొనసాగితే, స్క్రీన్ శుభ్రంగా మరియు చెత్త లేకుండా ఉందని నిర్ధారించుకోండి. |
| Wi-Fiకి కనెక్ట్ చేయడం సాధ్యపడదు. | Check if Wi-Fi is enabled in settings. Ensure the Wi-Fi password is correct. Restart your router and the tablet. Try connecting to a different Wi-Fi network to isolate the issue. |
| యాప్లు క్రాష్ అవుతున్నాయి లేదా నెమ్మదిగా నడుస్తున్నాయి. | నేపథ్య అనువర్తనాలను మూసివేయండి. అనువర్తన కాష్ను క్లియర్ చేయండి (సెట్టింగ్లు > యాప్లు > యాప్ని ఎంచుకోండి > నిల్వ & కాష్ > కాష్ని క్లియర్ చేయండి). తగినంత నిల్వ స్థలం అందుబాటులో ఉందని నిర్ధారించుకోండి. టాబ్లెట్ను పునఃప్రారంభించండి. |
| బ్యాటరీ త్వరగా అయిపోతుంది. | Reduce screen brightness. Close unused apps. Turn off Wi-Fi or Bluetooth when not in use. Check battery usage in సెట్టింగ్లు > బ్యాటరీ శక్తి దాహం ఉన్న యాప్లను గుర్తించడానికి. |
9. స్పెసిఫికేషన్లు
| ఫీచర్ | వివరాలు |
|---|---|
| బ్రాండ్ | DUODUOGO |
| మోడల్ | S2 |
| ఆపరేటింగ్ సిస్టమ్ | ఆండ్రాయిడ్ 11 |
| ప్రాసెసర్ | 8-కోర్, 2.0 GHz |
| RAM | 6 GB |
| అంతర్గత నిల్వ | 64 GB |
| విస్తరించదగిన నిల్వ | Up to 256 GB via TF (microSD) card |
| స్క్రీన్ పరిమాణం | 10.1 అంగుళాలు |
| ప్రదర్శన రకం | ఐపిఎస్ హెచ్డి |
| రిజల్యూషన్ | 1280 x 800 పిక్సెల్లు |
| వెనుక కెమెరా | 8 ఎంపీ |
| ఫ్రంట్ కెమెరా | 5 ఎంపీ |
| కనెక్టివిటీ | Wi-Fi (2.4G/5G, 802.11a/b/g/n), Bluetooth 4.3 |
| బ్యాటరీ కెపాసిటీ | 6000 mAh లిథియం పాలిమర్ |
| ఓడరేవులు | USB Type-C, 3.5mm Headphone Jack, TF Card Slot |

చిత్రం: ఒక ఓవర్view of the DUODUOGO S2 tablet, visually summarizing its main features and specifications.
10. వారంటీ మరియు మద్దతు
DUODUOGO is committed to providing quality products and user experience. If you encounter any issues or have questions regarding your DUODUOGO S2 tablet, please contact our customer support.
- కస్టమర్ మద్దతు: Refer to the contact information provided with your purchase or on the official DUODUOGO webసైట్.
- వారంటీ: This product comes with a standard manufacturer's warranty. Please retain your proof of purchase for warranty claims.
Our support team aims to respond within 24 hours to assist you with any concerns.