1. పరిచయం
ధన్యవాదాలు, ధన్యవాదాలు.asing the GAGGIA Besana Automatic Espresso Machine HD8651. This compact, Italian-designed machine offers simple operation for authentic espresso and coffee beverages. This manual provides essential information for safe and efficient use, including setup, operation, maintenance, and troubleshooting.
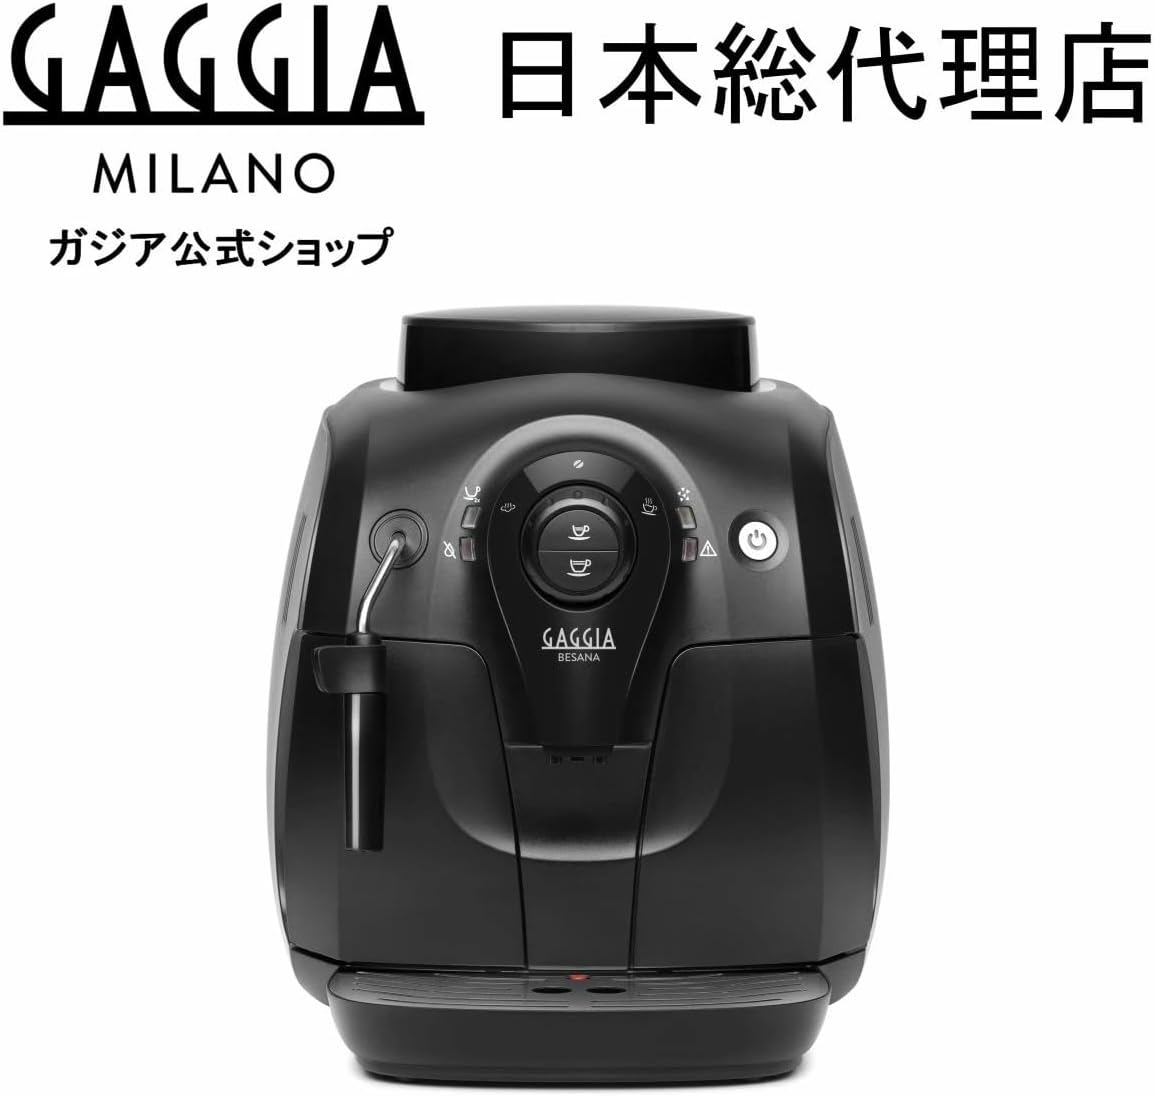
మూర్తి 1: ముందు view of the GAGGIA Besana Automatic Espresso Machine HD8651.
2. భద్రతా సమాచారం
ఉపకరణాన్ని ఉపయోగించే ముందు దయచేసి అన్ని భద్రతా సూచనలను జాగ్రత్తగా చదవండి. భవిష్యత్తు సూచన కోసం ఈ మాన్యువల్ని ఉంచండి.
- ఉపకరణం సరైన వాల్యూమ్తో గ్రౌండెడ్ పవర్ అవుట్లెట్కు కనెక్ట్ చేయబడిందని నిర్ధారించుకోండి.tage (100V, 50/60Hz).
- ఉపకరణం, పవర్ కార్డ్ లేదా ప్లగ్ను నీటిలో లేదా ఇతర ద్రవాలలో ముంచవద్దు.
- ఆపరేషన్ సమయంలో పిల్లలను పరికరం నుండి దూరంగా ఉంచండి.
- శుభ్రపరిచే లేదా నిర్వహణకు ముందు ఎల్లప్పుడూ యంత్రాన్ని అన్ప్లగ్ చేయండి.
- పవర్ కార్డ్ లేదా ప్లగ్ దెబ్బతిన్నట్లయితే యంత్రాన్ని ఆపరేట్ చేయవద్దు.
- Use only original GAGGIA accessories and spare parts.
3. ప్యాకేజీ విషయాలు
పెట్టెలో అన్ని అంశాలు ఉన్నాయని నిర్ధారించుకోండి:
- GAGGIA Besana Automatic Espresso Machine HD8651
- పవర్ కార్డ్ (1.2మీ)
- ఇన్స్ట్రక్షన్ మాన్యువల్
- Periodic Maintenance Booklet
- Grinder Adjustment Key
- క్లీనింగ్ బ్రష్
- Brewing Unit Grease (5g)
- Descaling Solution (MEL-F2000)
4. సెటప్
4.1 అన్ప్యాకింగ్ మరియు ప్లేస్మెంట్
- యంత్రం నుండి అన్ని ప్యాకేజింగ్ పదార్థాలను తొలగించండి.
- Place the machine on a stable, level surface, away from heat sources and water.
- యంత్రం చుట్టూ వెంటిలేషన్ మరియు భాగాలకు ప్రాప్యత కోసం తగినంత స్థలం ఉండేలా చూసుకోండి.
4.2 వాటర్ ట్యాంక్ నింపడం
- యంత్రం నుండి నీటి ట్యాంక్ను తొలగించండి.
- ట్యాంక్ను తాజా, చల్లని కుళాయి నీటితో MAX స్థాయి సూచిక వరకు నింపండి.
- వాటర్ ట్యాంక్ను యంత్రంలోకి సురక్షితంగా తిరిగి చొప్పించండి.
4.3 కాఫీ గింజలను జోడించడం
- కాఫీ గింజల కంటైనర్ మూత తెరవండి.
- Pour fresh whole coffee beans into the container. Do not fill above the MAX level.
- మూత గట్టిగా మూసివేయండి.

Figure 2: Adding coffee beans to the machine's bean hopper.
4.4 ప్రారంభ శుభ్రం చేయు చక్రం
Before first use or after a long period of inactivity, perform a rinse cycle:
- కాఫీ చిమ్ము కింద ఒక కంటైనర్ ఉంచండి.
- యంత్రాన్ని ఆన్ చేయడానికి పవర్ బటన్ను నొక్కండి.
- The machine will automatically perform a rinse cycle, dispensing hot water.
- Once the cycle is complete, the machine is ready for use.
4.5 సెటప్ వీడియో గైడ్
For a visual guide on setting up your GAGGIA Besana, please watch the video below:
Video 1: Detailed setup and initial operation guide for the GAGGIA Besana.
5. ఆపరేటింగ్ సూచనలు
5.1 కంట్రోల్ ప్యానెల్ ఓవర్view
The GAGGIA Besana features a simple control panel for ease of use.

Figure 3: The control panel features two coffee buttons and a steam/hot water dial.
- Single Espresso Button: Press once for a single shot of espresso.
- Double Espresso Button: Press once for a double shot of espresso.
- ఆవిరి/వేడి నీటి డయల్: Turn to activate the steam wand for milk frothing or to dispense hot water.
- పవర్ బటన్: యంత్రాన్ని ఆన్ లేదా ఆఫ్ చేస్తుంది.
5.2 ఎస్ప్రెస్సో/కాఫీ తయారు చేయడం
- నీటి ట్యాంక్ నిండిపోయి, కాఫీ గింజలు తొట్టిలో ఉన్నాయని నిర్ధారించుకోండి.
- కాఫీ చిమ్ము కింద ఒక కప్పు ఉంచండి.
- Press either the single or double espresso button. The machine will grind the beans and brew your coffee automatically.
5.3 పాలు నురుగు కోసం ఆవిరి దండాన్ని ఉపయోగించడం
- ఒక పాల పాత్రను చల్లని పాలతో నింపండి.
- Turn the steam/hot water dial to the steam position. Wait for the steam indicator light to illuminate steadily.
- స్టీమ్ వాండ్ కొనను పాల ఉపరితలం క్రింద ముంచండి.
- Open the steam valve by turning the dial further. Froth the milk until desired texture and temperature are reached.
- Close the steam valve and clean the steam wand immediately after use with a damp గుడ్డ.
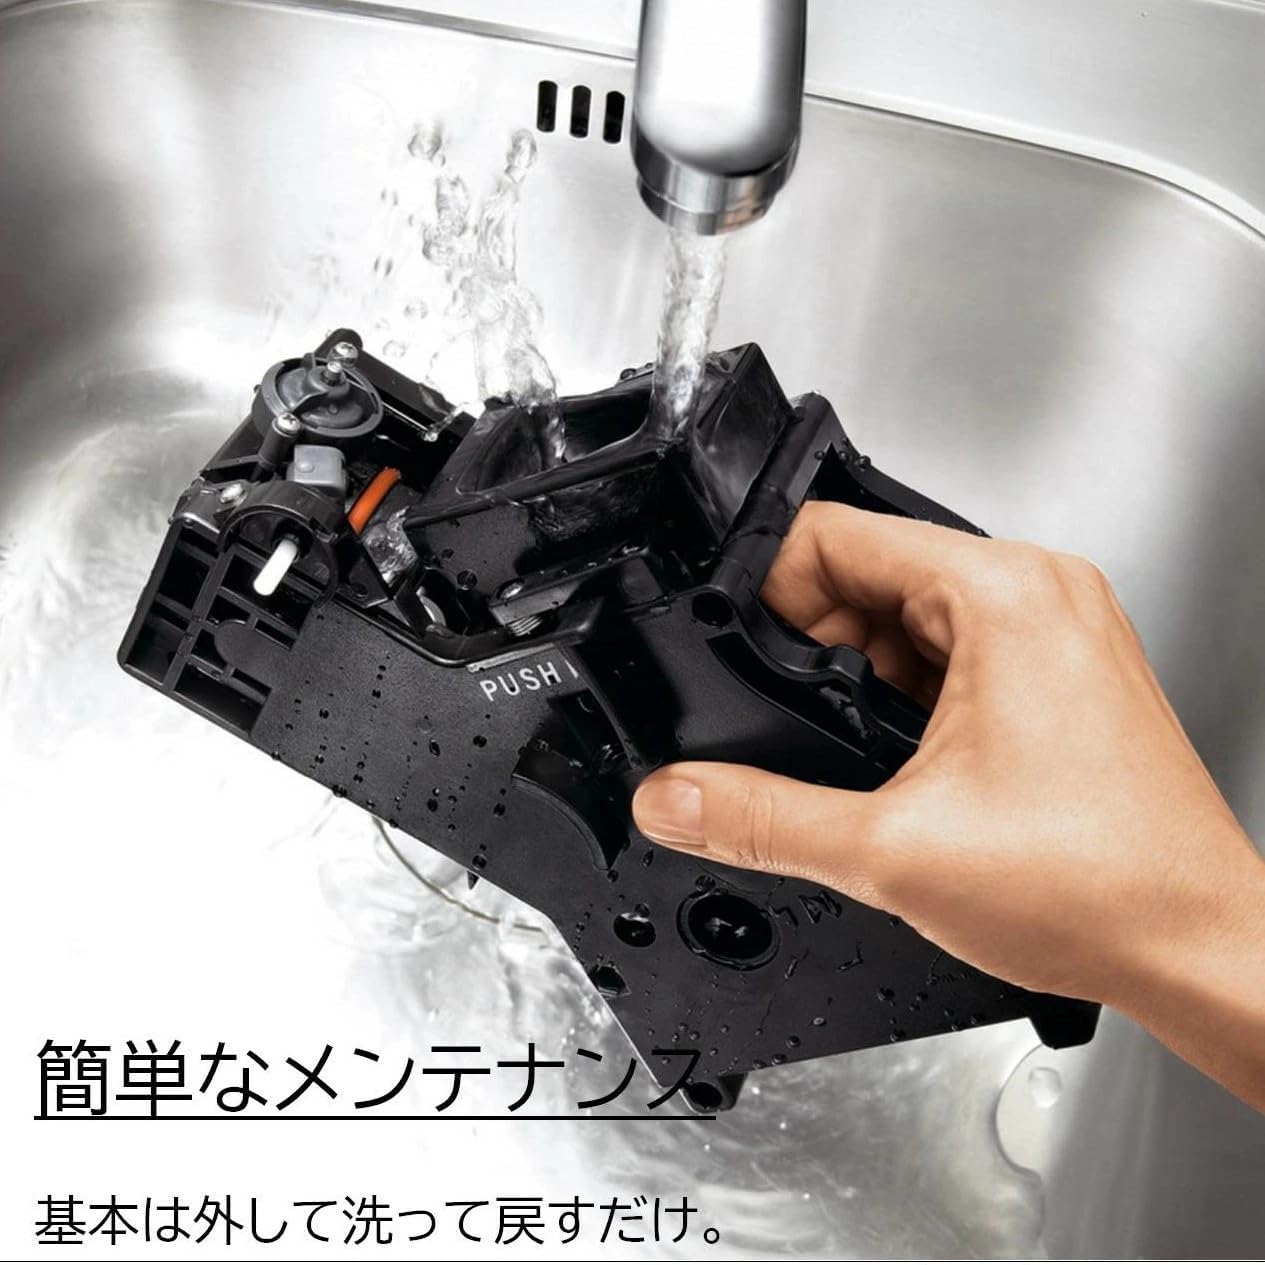
Figure 4: Frothing milk using the integrated steam wand.
5.4 హాట్ వాటర్ ఫంక్షన్
వేడి నీటిని పంపిణీ చేయడానికి:
- ఆవిరి మంత్రదండం కింద ఒక కప్పు ఉంచండి.
- Turn the steam/hot water dial to the hot water position.
- Hot water will be dispensed. Turn the dial back to stop.
6. నిర్వహణ
Regular maintenance ensures optimal performance and longevity of your GAGGIA Besana machine.
6.1 రోజువారీ శుభ్రపరచడం
- డ్రిప్ ట్రే మరియు కాఫీ గ్రౌండ్స్ కంటైనర్: ప్రతిరోజూ ఖాళీ చేసి శుభ్రం చేసుకోండి.
- నీటి ట్యాంక్: ప్రతిరోజూ శుభ్రం చేసుకోండి మరియు మంచినీటితో నింపండి.
- కాఫీ చిమ్ము: ప్రకటనతో తుడవండిamp గుడ్డ.
6.2 బ్రూయింగ్ యూనిట్ శుభ్రపరచడం
The brewing unit should be rinsed weekly under running water.
- ఆపివేసి యంత్రాన్ని అన్ప్లగ్ చేయండి.
- Open the service door and remove the brewing unit by pressing the 'PUSH' button and pulling it out.
- Rinse the brewing unit thoroughly under lukewarm running water until all coffee residues are removed.
- తిరిగి చొప్పించే ముందు గాలికి ఆరనివ్వండి.

Figure 5: Rinsing the brewing unit under running water.
6.3 గ్రైండర్ సర్దుబాటు
The ceramic grinder allows for adjustment of coffee fineness. Use the provided grinder adjustment key.
- Adjust the grinder only when the grinder is operating (e.g., during grinding for a coffee).
- Insert the adjustment key into the grinder adjustment knob inside the bean hopper.
- Turn the knob one click at a time to adjust fineness. Turning clockwise makes the grind finer, counter-clockwise makes it coarser.

Figure 6: Ceramic grinder components, ensuring fresh aroma and durability.
6.4 డెస్కలింగ్
Descale the machine when prompted by the descaling indicator light, or approximately every 2-3 months depending on water hardness. Use the provided GAGGIA descaling solution (MEL-F2000).
Refer to the dedicated 'Periodic Maintenance Booklet' for detailed descaling instructions.
6.5 గ్రీasing the Brewing Unit
Apply the provided brewing unit grease (5g) to the moving parts of the brewing unit every few months, or as indicated in the maintenance booklet.
6.6 Maintenance Video Guide
For a visual guide on maintaining your GAGGIA Besana, please watch the video below:
Video 2: Guide to cleaning and maintaining the GAGGIA Besana brewing unit and other components.
7. ట్రబుల్షూటింగ్
మీ యంత్రంతో మీకు సమస్యలు ఎదురైతే, సాధారణ సమస్యలు మరియు పరిష్కారాల కోసం క్రింది పట్టికను చూడండి.
| సమస్య | సాధ్యమైన కారణం | పరిష్కారం |
|---|---|---|
| కాఫీ పంపిణీ చేయలేదు | Water tank empty; no coffee beans; brewing unit blocked. | నీటి ట్యాంక్ నింపండి; కాఫీ గింజలు జోడించండి; బ్రూయింగ్ యూనిట్ శుభ్రం చేయండి. |
| బలహీనమైన కాఫీ | Grind too coarse; insufficient coffee dose. | Adjust grinder to a finer setting; ensure sufficient beans in hopper. |
| యంత్రం నీటిని లీక్ చేస్తుంది | Water tank not properly inserted; brewing unit seal damaged. | Reinsert water tank correctly; contact support if seal is damaged. |
| స్టీమ్ వాండ్ ఆవిరిని ఉత్పత్తి చేయదు | Steam wand blocked; machine not heated to steam temperature. | Clean steam wand nozzle; wait for steam indicator light to stabilize. |
ఈ పరిష్కారాలను ప్రయత్నించిన తర్వాత కూడా సమస్య కొనసాగితే, దయచేసి కస్టమర్ మద్దతును సంప్రదించండి.
8. స్పెసిఫికేషన్లు
| ఫీచర్ | స్పెసిఫికేషన్ |
|---|---|
| మోడల్ సంఖ్య | HD8651 |
| వాల్యూమ్tage | 100V |
| విద్యుత్ వినియోగం | 1000W |
| విద్యుత్ సరఫరా | 50/60Hz |
| కొలతలు (W x H x D) | 295 x 325 x 420 మిమీ |
| బరువు | 6.9 కిలోలు |
| బాడీ మెటీరియల్ | ప్లాస్టిక్ |
| నీటి ట్యాంక్ సామర్థ్యం | 1.0 ఎల్ |
| కాఫీ గింజల కంటైనర్ సామర్థ్యం | 200 గ్రా |
| పంప్ ఒత్తిడి | గరిష్టంగా 15 బార్ |
| బాయిలర్ మెటీరియల్ | స్టెయిన్లెస్ స్టీల్ |
| Coffee Grinder Type | సిరామిక్ |
| Coffee Bean Amount per Cup | సుమారు 10 గ్రా |
| కాఫీ గ్రౌండ్స్ కంటైనర్ కెపాసిటీ | 8 కప్పులు |
| భద్రతా పరికరం | ఉష్ణోగ్రత ఫ్యూజ్ |
| Usable Cup Height | 95 మిమీ వరకు |
| Coffee Settings | 2 రకాలు |
| ఆవిరి ఫంక్షన్ | అవును |
| హాట్ వాటర్ ఫంక్షన్ | అవును |
9. వారంటీ మరియు మద్దతు
The GAGGIA Besana Automatic Espresso Machine HD8651 comes with a 1-సంవత్సరం తయారీదారు వారంటీ కొనుగోలు చేసిన తేదీ నుండి.
Fuji Sangyo Co., Ltd. is the official Japanese distributor for GAGGIA products. They ensure that all imported products comply with Japanese laws and regulations, providing reliable support and service.

Figure 7: GAGGIA official distributor information.
ముఖ్యమైన గమనిక: Support and warranty services are only provided for products purchased through official channels. Parallel imported products are not covered by the manufacturer's warranty or local support services. Please ensure your purchase is from an authorized retailer.
For technical assistance, warranty claims, or spare parts, please contact your authorized GAGGIA service center or the official distributor.


