
1. పరిచయం మరియు భద్రతా మార్గదర్శకాలు
Welcome to the Kidzone Smart Bumper Car experience! This manual provides essential information for the safe assembly, operation, and maintenance of your new electric ride-on toy. Please read all instructions carefully before use and retain this manual for future reference.
ముఖ్యమైన భద్రతా సమాచారం:
- వయస్సు పరిధి: 18 నెలల నుండి 6 సంవత్సరాల పిల్లలకు తగినది.
- బరువు సామర్థ్యం: Maximum weight capacity is 66 lbs (30 kg).
- పెద్దల పర్యవేక్షణ: Always ensure an adult supervises children during operation.
- సేఫ్టీ హానెస్: Always use the adjustable 5-point safety harness.
- ఆపరేటింగ్ ఎన్విరాన్మెంట్: Use on flat, dry surfaces. Avoid slopes, uneven terrain, water, or busy streets.
- ఛార్జింగ్: The vehicle must be OFF and cannot be operated when charging. Fully charge the battery for 8-12 hours, but not more than 20 hours. Charge the battery at least once a month even if not operating the vehicle to maximize battery life.
- మెటీరియల్ భద్రత: Made from durable and non-toxic plastic, complying with ASTM/CPSIA/CPSC/CA Prop 65/FCC safety regulations.
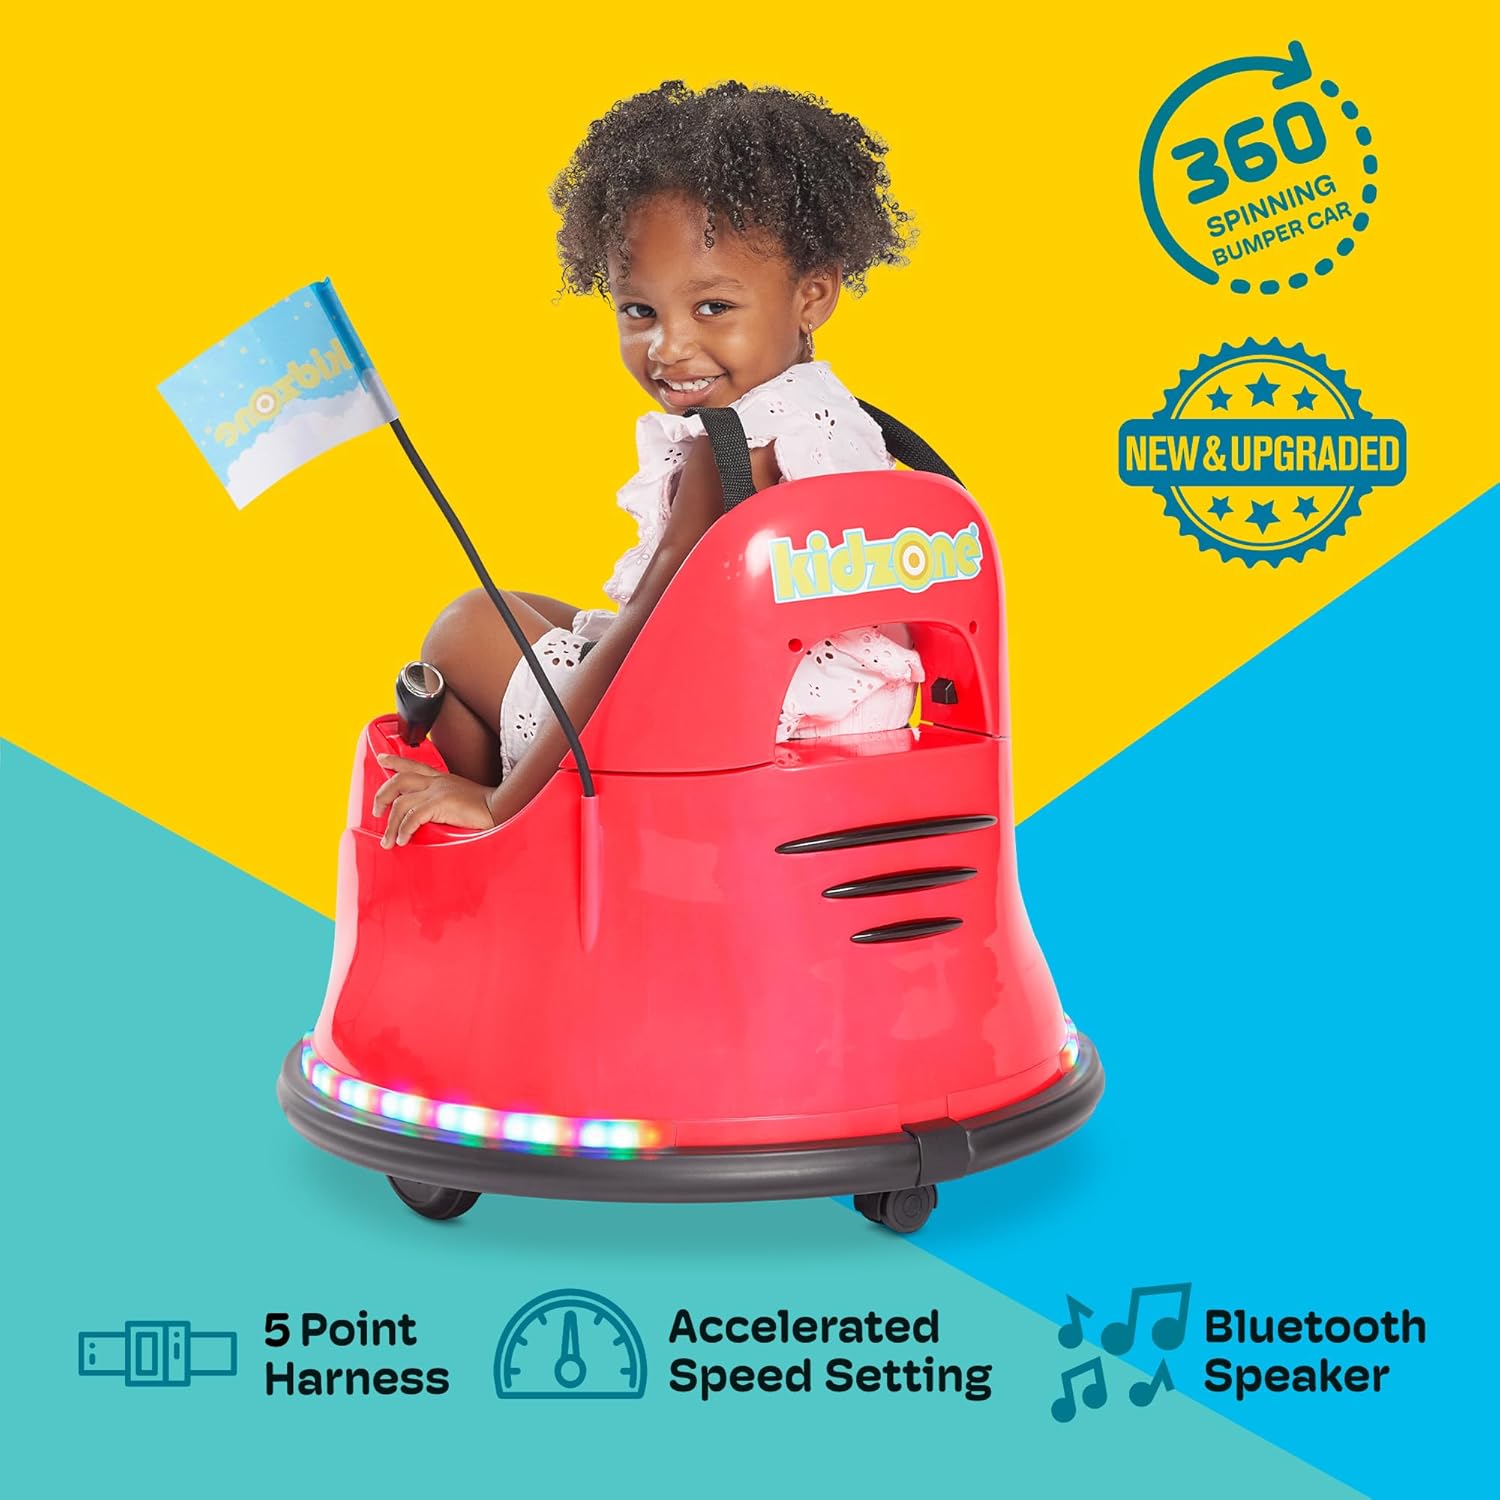
2. పెట్టెలో ఏముంది
Upon opening your package, please ensure all the following components are present:
- 1 x Kidzone Smart Bumper Car
- 1 x ఛార్జర్
- 1 x రిమోట్ కంట్రోల్
- 1 x ఇన్స్ట్రక్షన్ మాన్యువల్ (ఈ డాక్యుమెంట్)
- DIY Sticker Sheets
- రేసింగ్ జెండా
3. సెటప్ మరియు అసెంబ్లీ
Follow these steps to assemble your Kidzone Smart Bumper Car:
- బ్యాటరీ కనెక్షన్: The bumper car's battery will be detached for shipping. Locate the battery compartment (usually under the seat). Use a Phillips head screwdriver to open the compartment, connect the battery terminals, and secure the compartment cover.
- బ్యాక్రెస్ట్ అటాచ్మెంట్: Carefully attach the backrest to the main body of the car. Ensure any internal wiring for lights is properly connected and tucked away to prevent pinching when securing the backrest.
- రిమోట్ కంట్రోల్ బ్యాటరీలు: The remote control requires 2 AAA batteries (not included). Use a small Phillips head screwdriver to open the battery compartment on the back of the remote, insert the batteries, and secure the cover.
- Attach Racing Flag: Insert the racing flag into its designated slot on the rear of the bumper car.
- ప్రారంభ ఛార్జ్: Fully charge the bumper car for 8-12 hours before its first use. Refer to the 'Maintenance' section for detailed charging instructions.

సెటప్ వీడియో:
4. ఆపరేటింగ్ సూచనలు
కంట్రోల్ ప్యానెల్ ఓవర్view:
The control panel, located inside the bumper car, allows you to manage various functions:

- పవర్ బటన్: Press to turn the car ON/OFF.
- Mode Selector (Remote/Joystick): Switch between child-controlled joystick mode and parent-controlled remote mode.
- Speed Selection (Fast/Slow): Adjust the driving speed.
- కాంతి నియంత్రణలు: Cycle through various multi-colored light patterns for both upper and lower LED strips.
- బ్యాటరీ సూచిక: Displays the current battery charge level.
- బ్లూటూత్ బటన్: Activates Bluetooth for music playback.
- ఛార్జింగ్ పోర్ట్: Connect the charger here.
డ్రైవింగ్ మోడ్లు:
- Joystick Input Mode (Child Control):
For children capable of independent control. Push both joysticks forward to move forward, pull both back to move backward. Push one forward and one back to spin. Ensure the mode selector is set to 'Joystick'.

Figure 4: Child operating the bumper car with joysticks. - 2.4G Remote Control Mode (Parental Control):
For younger children or when parental supervision is desired. Ensure the mode selector is set to 'Remote'. Use the remote control's directional buttons to steer the bumper car. The remote also features a 'P' button for emergency braking and an 'S' button for speed adjustment.

Figure 5: Parent using the remote control. - APP Control Mode:
Download the free Kidzone APP on iOS or Android. Connect the app via Wi-Fi to control the direction, speed, lights, and music. The app also includes 'Play Mode' with games and rewards for an enhanced interactive experience.

Figure 6: Kidzone mobile application interface for smart control.
Light Settings and Customization:
- బహుళ రంగు LED లైట్లు: Use the light control buttons on the panel to cycle through various colors and flashing patterns on the upper and lower LED strips.
- DIY స్టిక్కర్లు: Personalize your bumper car with the included DIY sticker sheets (letters, numbers, and fun designs).


5. నిర్వహణ
- ఛార్జింగ్: Connect the provided charger to the charging port on the control panel. A full charge takes 8-12 hours and provides approximately 40 minutes of playtime. Do not charge for more than 20 hours. Charge the battery at least once a month to prolong its lifespan.
- శుభ్రపరచడం: Wipe the bumper car with a damp గుడ్డ. కఠినమైన రసాయనాలు లేదా రాపిడి క్లీనర్లను ఉపయోగించడం మానుకోండి.
- నిల్వ: Store the bumper car in a dry, cool place away from direct sunlight when not in use.
6. ట్రబుల్షూటింగ్
- కారు ఆన్ చేయడం లేదు: Check if the battery is properly connected and fully charged. Ensure the power button is pressed.
- కారు కదలడం లేదు: Verify that the correct driving mode (Remote or Joystick) is selected on the control panel. If using the remote, ensure its batteries are fresh.
- లైట్లు పనిచేయడం లేదు: Check the light control buttons on the panel. Ensure the battery has sufficient charge.
- రిమోట్ స్పందించడం లేదు: Ensure the remote control has fresh AAA batteries and is properly paired with the bumper car.
7. స్పెసిఫికేషన్లు
| ఫీచర్ | వివరాలు |
|---|---|
| మోడల్ | Kidzone Smart Bumper Car (B0CM5L6BD1) |
| ఉత్పత్తి కొలతలు | 22.4"డి x 22.4"వా x 20.3"హ |
| వస్తువు బరువు | 12.4 పౌండ్లు |
| సిఫార్సు చేసిన వయస్సు | 18 నెలలు - 6 సంవత్సరాలు |
| బరువు సామర్థ్యం | 66 పౌండ్లు (30 కిలోలు) |
| మోటార్లు | Two 15W motors |
| బ్యాటరీ | 12V Rechargeable Lead-acid Battery |
| ఛార్జ్ సమయం | 8-12 గంటలు |
| ఛార్జీకి ప్లేటైమ్ | సుమారు 40 నిమిషాలు |
| స్పీడ్ మోడ్లు | Fast (1.3 mph) / Slow (0.75 mph) |
| నియంత్రణ ఎంపికలు | Joystick, 2.4G Remote Control, Kidzone APP |
| భద్రతా లక్షణాలు | Adjustable 5-point seat belt, Anti-flat tires, Cushioned rubber bumper, Slow start safety feature |
8. వారంటీ మరియు మద్దతు
For warranty information, technical support, or any questions regarding your Kidzone Smart Bumper Car, please refer to the contact details provided on the product packaging or visit the official Kidzone webవారంటీ క్లెయిమ్ల కోసం కొనుగోలు రుజువుగా మీ కొనుగోలు రసీదును ఉంచండి.