
1. పరిచయం
Thank you for choosing the TechniSat DIGITRADIO 52 BT. This DAB+ FM alarm clock radio is designed to provide reliable timekeeping, radio reception, and Bluetooth audio streaming. This manual will guide you through the setup, operation, and maintenance of your device.
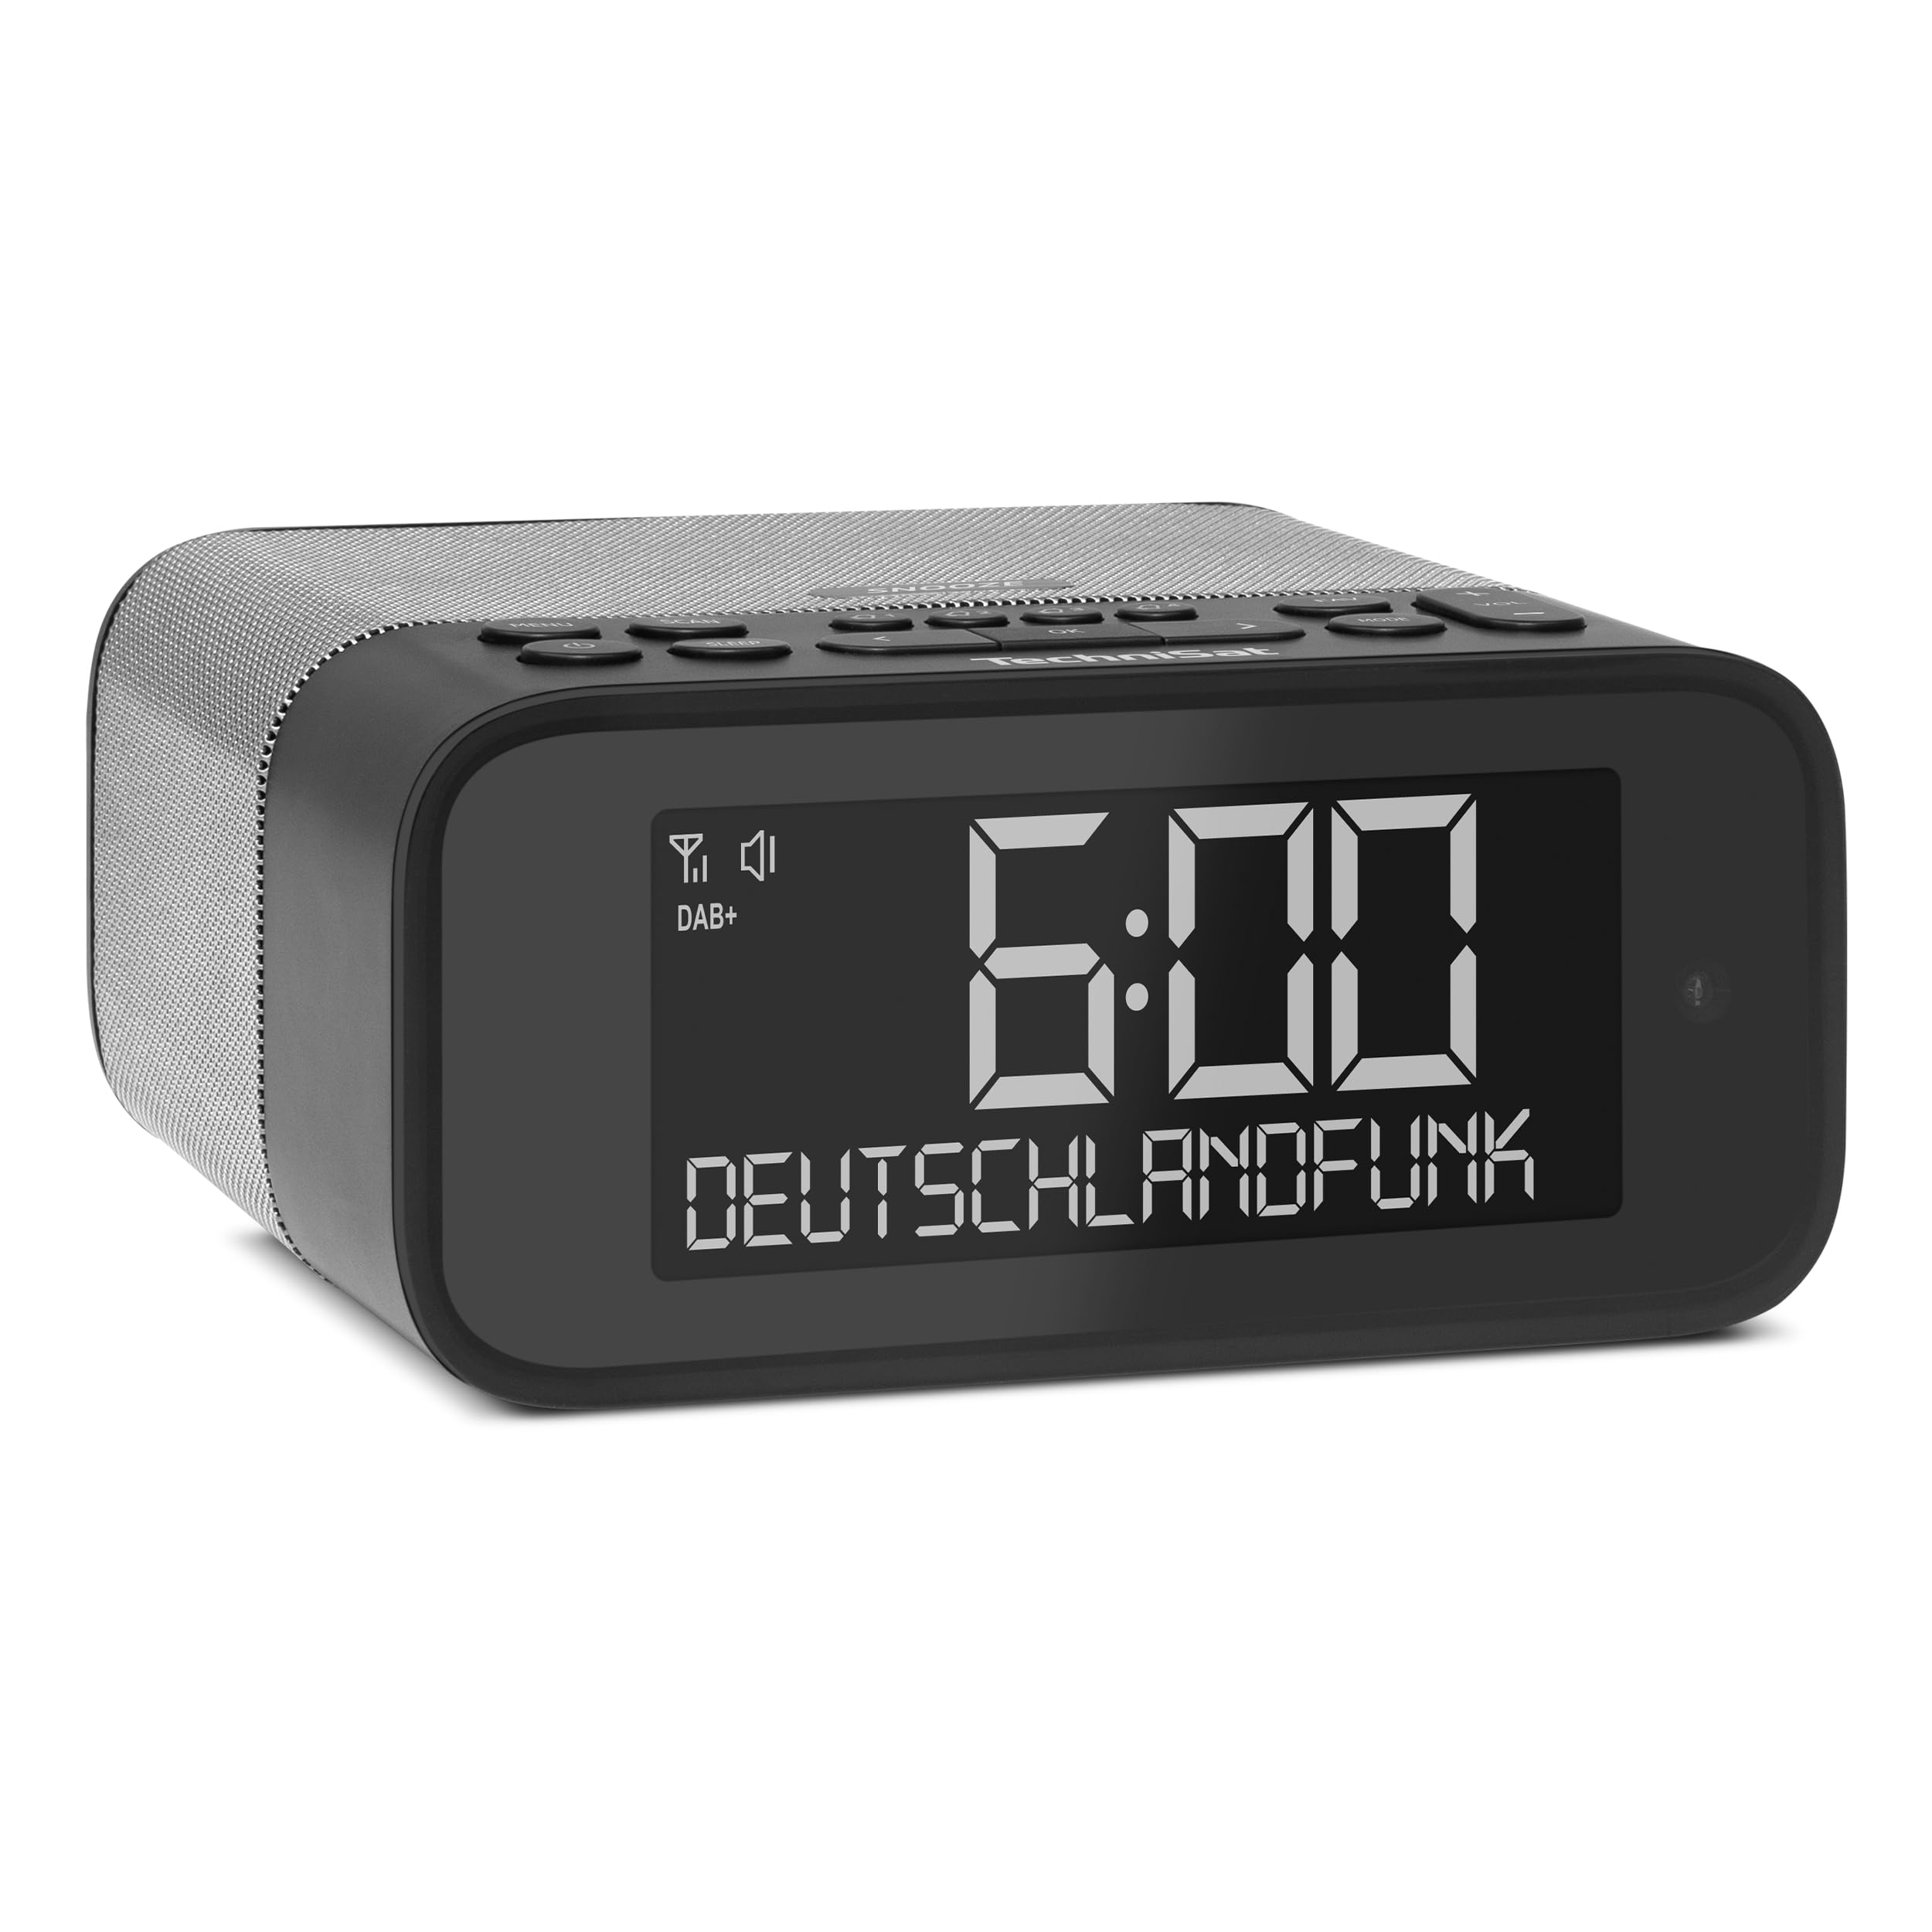
చిత్రం 1: ముందు view of the TechniSat DIGITRADIO 52 BT. The device is black with a large digital display showing "6:00" and "DEUTSCHLANDFUNK". Control buttons are visible on the top panel.
2. భద్రతా సమాచారం
- ఉపయోగం ముందు అన్ని సూచనలను జాగ్రత్తగా చదవండి.
- Keep the device away from water, moisture, and direct heat sources.
- పరికరాన్ని విడదీయడానికి లేదా సవరించడానికి ప్రయత్నించవద్దు. అన్ని సర్వీసింగ్లను అర్హత కలిగిన సిబ్బందికి సూచించండి.
- అందించిన పవర్ అడాప్టర్ను మాత్రమే ఉపయోగించండి.
- పరికరం చుట్టూ సరైన వెంటిలేషన్ ఉండేలా చూసుకోండి.
- మెత్తటి, పొడి గుడ్డతో పరికరాన్ని శుభ్రం చేయండి. లిక్విడ్ క్లీనర్లను ఉపయోగించవద్దు.
3. ప్యాకేజీ విషయాలు
దయచేసి ఈ క్రింది అంశాల కోసం ప్యాకేజీని తనిఖీ చేయండి:
- TechniSat DIGITRADIO 52 BT unit
- పవర్ అడాప్టర్
- వినియోగదారు మాన్యువల్
4. ఉత్పత్తి ముగిసిందిview
4.1. నియంత్రణలు మరియు ప్రదర్శన
The DIGITRADIO 52 BT features an intuitive layout for easy access to all functions.
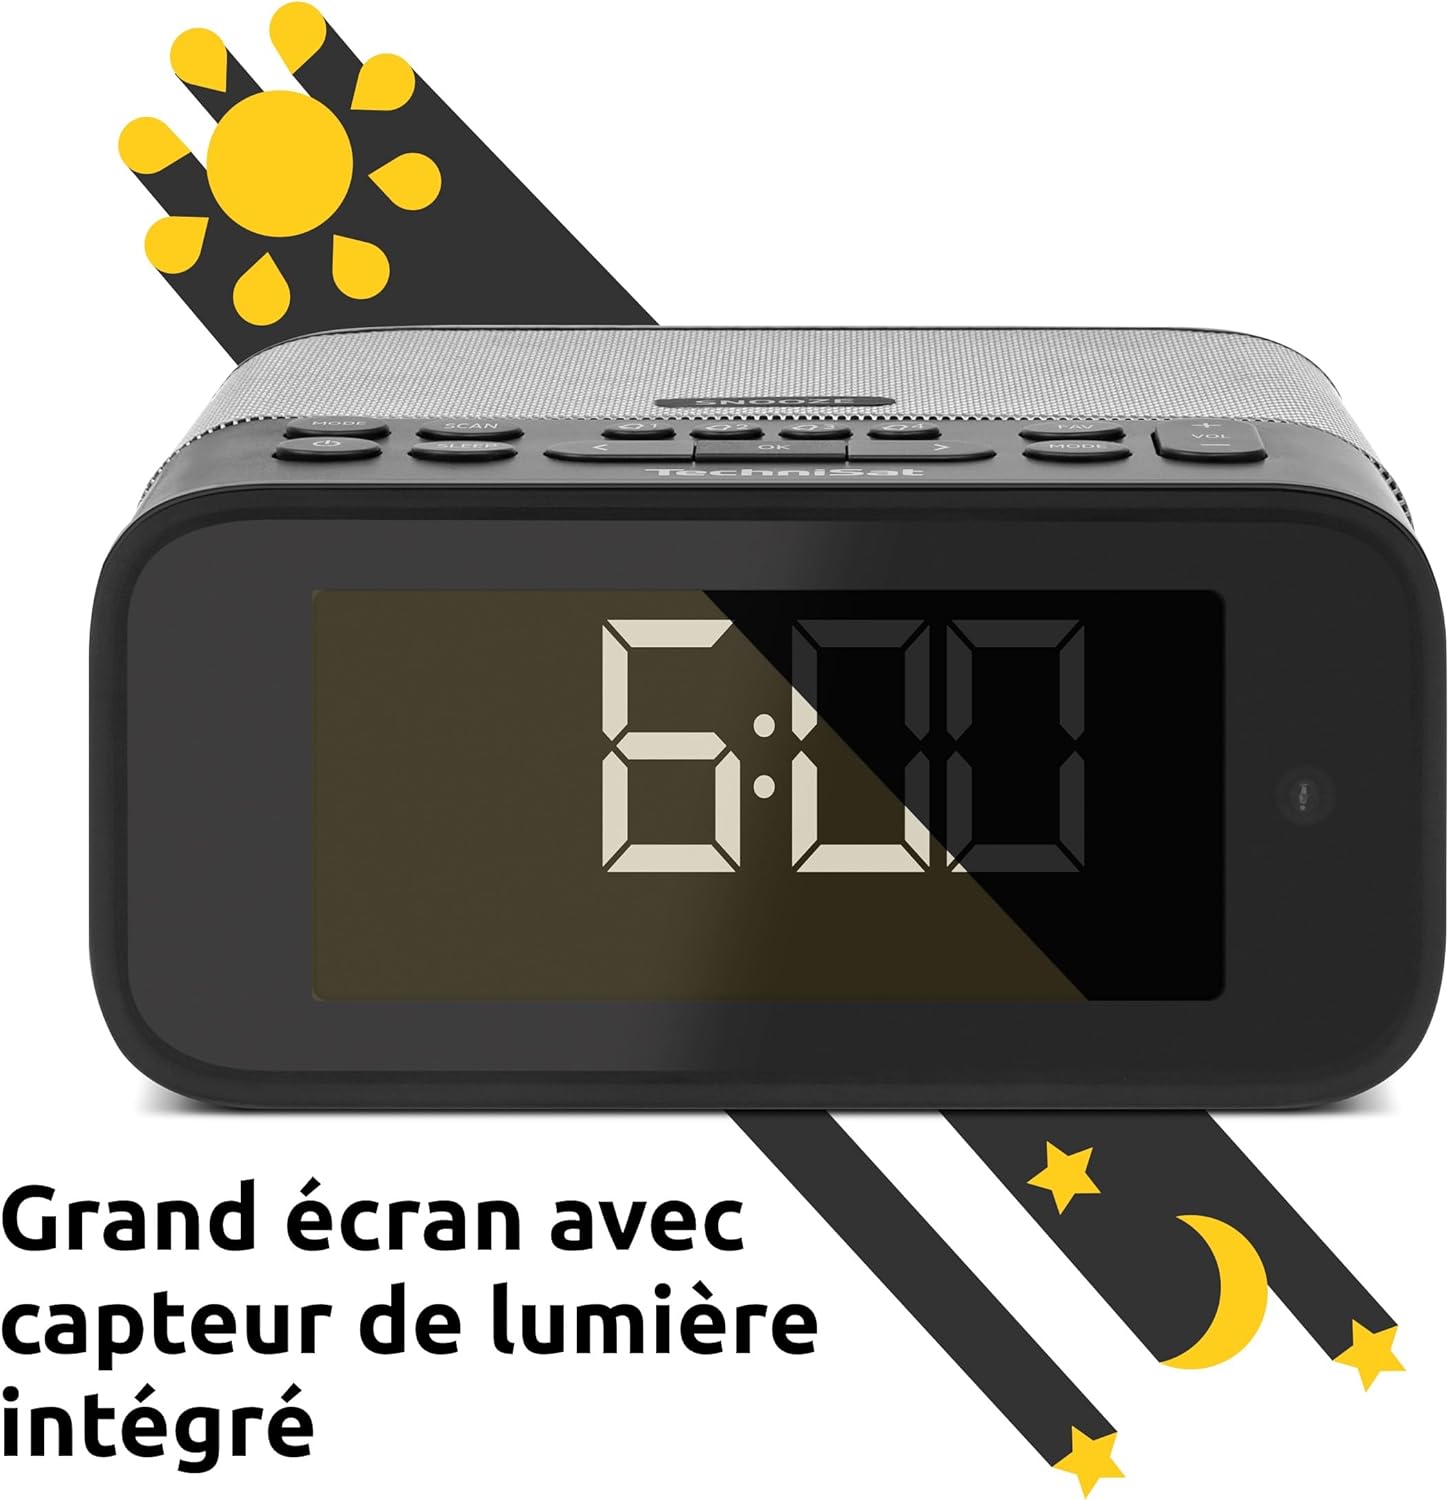
Image 2: Close-up of the large display with integrated light sensor. The display shows "6:00". The light sensor automatically adjusts screen brightness based on ambient light.
4.2. వెనుక ప్యానెల్ కనెక్షన్లు
The rear panel provides essential connectivity options.
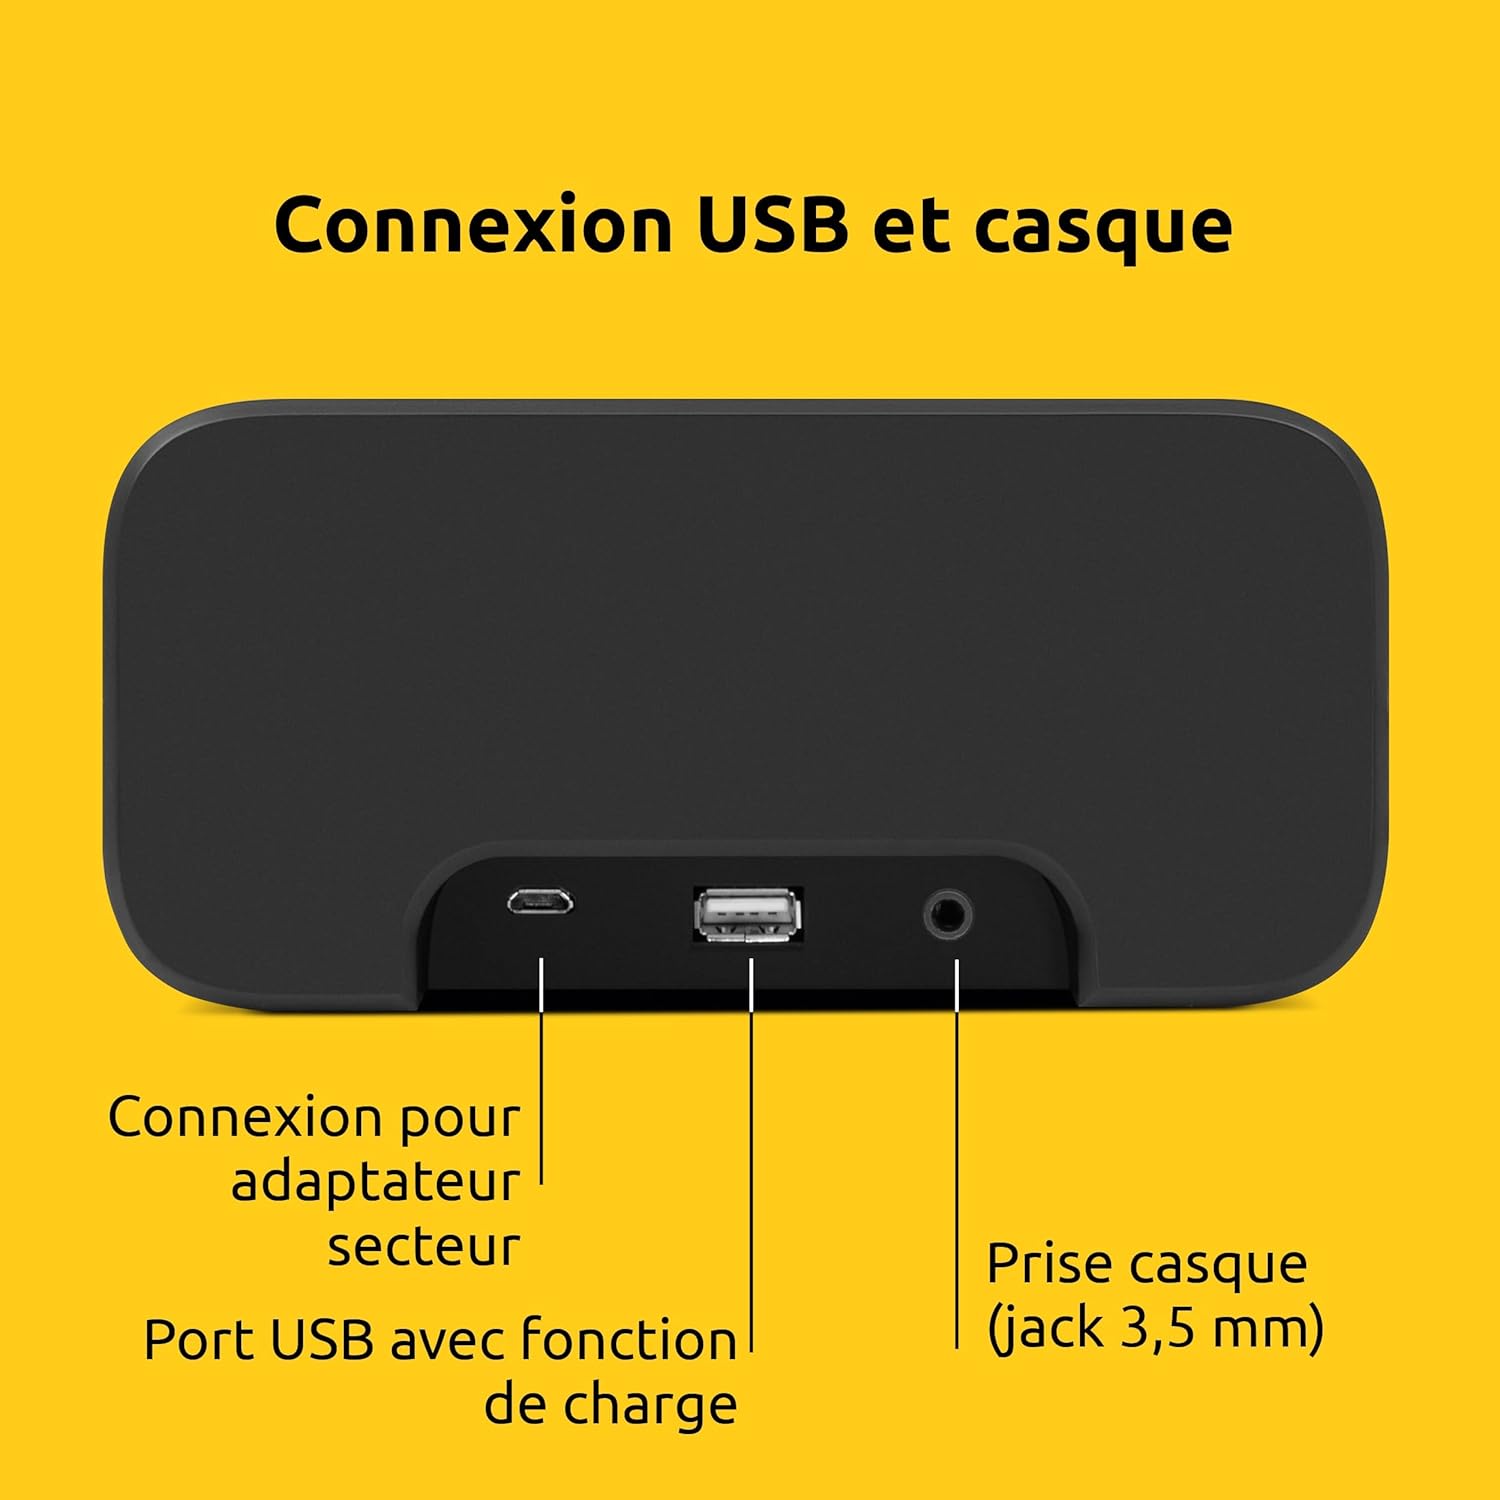
చిత్రం 3: వెనుక view of the device showing the power adapter connection, a USB port with charging function, and a 3.5mm headphone jack.
- పవర్ కనెక్షన్: ఇక్కడ సరఫరా చేయబడిన పవర్ అడాప్టర్ను కనెక్ట్ చేయండి.
- USB పోర్ట్: బాహ్య పరికరాలను ఛార్జ్ చేయడానికి (ఉదా. స్మార్ట్ఫోన్లు, టాబ్లెట్లు).
- హెడ్ఫోన్ జాక్ (3.5 మిమీ): ప్రైవేట్ వినడం కోసం.
5. సెటప్
5.1. పవర్ కనెక్షన్
- Connect the power adapter to the DC input on the rear of the DIGITRADIO 52 BT.
- Plug the power adapter into a standard wall outlet (230 Volts).
- The device will power on and enter standby mode or begin initial setup.
5.2. Initial Scan (DAB+ and FM)
Upon first power-on, the radio will automatically scan for available DAB+ and FM stations. This process may take a few minutes.

Image 4: The radio display showing "DAB+" and "6:00 DEUTSCHLANDFUNK", indicating successful reception of a DAB+ station.
5.3. సమయం మరియు తేదీని సెట్ చేయడం
The time and date are usually synchronized automatically via DAB+ or FM signals. If manual adjustment is needed, refer to the "Operating" section for menu navigation.
6. ఆపరేషన్
6.1. పవర్ ఆన్/ఆఫ్ మరియు స్టాండ్బై
- నొక్కండి శక్తి పరికరాన్ని ఆన్ లేదా ఆఫ్ చేయడానికి బటన్.
- In standby mode, the display shows the current time.
6.2. Radio Tuning (DAB+ / FM)
- నొక్కండి మోడ్ button to select DAB+ or FM radio.
- ఉపయోగించండి ట్యూన్/ఎంచుకోండి knob or buttons to scan for stations.
- To save a favorite station, press and hold the ప్రీసెట్ button, then select a preset number.
- To recall a favorite station, press the ప్రీసెట్ button, then select the desired preset number. Up to 20 favorite stations can be stored for both DAB+ and FM.
6.3. బ్లూటూత్ ఆడియో స్ట్రీమింగ్
- నొక్కండి మోడ్ button to select Bluetooth mode. The display will show "Bluetooth Pairing".
- On your Bluetooth-enabled device (e.g., smartphone, tablet), search for "DIGITRADIO 52 BT" in the Bluetooth settings.
- Select the device to pair. Once paired, you can stream audio from your device to the radio.
6.4. వాల్యూమ్ నియంత్రణ
- ఉపయోగించండి వాల్యూమ్ buttons or knob to adjust the audio output level.
7. అలారం విధులు
The DIGITRADIO 52 BT supports up to four programmable alarms, a snooze function, and a sleep timer.

Image 5: Visual representation of the alarm features: 4 adjustable alarms, adjustable alarm rhythm, sleep timer, and a tactile snooze button.
7.1. అలారాలను అమర్చడం
- నొక్కండి అలారం button to enter alarm setup.
- Select one of the four available alarms (Alarm 1-4).
- Set the desired alarm time, alarm source (radio or beep), and alarm volume.
- Choose the alarm rhythm: daily, weekdays (Mon-Fri), or weekends (Sat-Sun).
- అలారంను సక్రియం చేయడానికి సెట్టింగ్లను నిర్ధారించండి.
7.2. స్నూజ్ ఫంక్షన్
- When an alarm sounds, gently touch the తాత్కాలికంగా ఆపివేయండి area on the top of the device to temporarily silence the alarm. The alarm will sound again after a set interval.
7.3. స్లీప్ టైమర్
- నొక్కండి నిద్రించు button to activate the sleep timer.
- Select the desired duration (e.g., 15, 30, 60 minutes). The radio will play for the set duration and then automatically switch to standby.
8. ప్రదర్శన సెట్టింగ్లు
The large display's brightness can be adjusted manually or automatically.
- స్వయంచాలక ప్రకాశం: The integrated light sensor automatically adjusts the display brightness based on ambient light conditions. This ensures comfortable viewing during the day and minimal disturbance at night.
- Manual Brightness: Access the display settings through the menu to manually set the desired brightness level.
9. USB ఛార్జింగ్
The USB port on the rear panel can be used to charge external devices.
- Connect your smartphone, tablet, or other USB-powered device to the USB port using a compatible charging cable.
- పరికరం స్వయంచాలకంగా ఛార్జ్ అవ్వడం ప్రారంభమవుతుంది.
10. ట్రబుల్షూటింగ్
| సమస్య | సాధ్యమైన కారణం | పరిష్కారం |
|---|---|---|
| శక్తి లేదు | పవర్ అడాప్టర్ కనెక్ట్ కాలేదు లేదా అవుట్లెట్ తప్పుగా ఉంది. | పవర్ అడాప్టర్ సురక్షితంగా కనెక్ట్ చేయబడిందని మరియు అవుట్లెట్ పనిచేస్తుందని నిర్ధారించుకోండి. |
| పేలవమైన రేడియో రిసెప్షన్ | Weak signal, antenna position. | Adjust the antenna position. Try moving the radio to a different location. Perform a new station scan. |
| బ్లూటూత్ జత చేయడం విఫలమైంది | Device not in pairing mode, out of range, or already paired. | Ensure the radio is in Bluetooth pairing mode. Move your device closer. Disconnect from other Bluetooth devices. |
| అలారం మోగడం లేదు | Alarm not activated, volume too low. | Check alarm settings to ensure it is enabled and the volume is adequate. |
| చాలా మసకగా/ప్రకాశవంతంగా ప్రదర్శించు | Automatic brightness setting, manual override needed. | Adjust manual brightness settings or ensure the light sensor is not obstructed. |
11. స్పెసిఫికేషన్లు
| ఫీచర్ | వివరాలు |
|---|---|
| బ్రాండ్ | టెక్నీశాట్ |
| మోడల్ | DR 52 (0000/2938) |
| రేడియో ట్యూనర్ | DAB+, FM |
| బ్లూటూత్ | అవును (బ్లూటూత్ 5) |
| అవుట్పుట్ పవర్ | 3W RMS (mono) |
| ప్రదర్శించు | 4.2-inch Dimmable LCD with Light Sensor |
| అలారాలు | 4 programmable alarms (radio/beep) |
| స్నూజ్ ఫంక్షన్ | Yes (tactile button) |
| స్లీప్ టైమర్ | అవును |
| కనెక్టివిటీ | USB (charging), 3.5mm Headphone Jack |
| శక్తి మూలం | Electric Cable (230V input) |
| కొలతలు (L x H x D) | 15 cm x 7 cm x 14 cm |
| బరువు | 606 గ్రాములు |
| మెటీరియల్ | ప్లాస్టిక్ |

Image 6: The compact design of the radio with its dimensions indicated as 15 cm (length), 7 cm (height), and 14 cm (depth).
12. వారంటీ మరియు మద్దతు
12.1. తయారీదారు వారంటీ
The TechniSat DIGITRADIO 52 BT comes with a 2-సంవత్సరం పరిమిత వారంటీ కొనుగోలు చేసిన తేదీ నుండి. ఈ వారంటీ సాధారణ ఉపయోగంలో మెటీరియల్స్ మరియు పనితనంలో లోపాలను కవర్ చేస్తుంది. వారంటీ క్లెయిమ్ల కోసం దయచేసి మీ కొనుగోలు రుజువును ఉంచుకోండి.
12.2. కస్టమర్ మద్దతు
For technical assistance, troubleshooting, or warranty inquiries, please contact TechniSat customer support. Refer to the official TechniSat webసంప్రదింపు వివరాలు మరియు మరిన్ని వివరాల కోసం సైట్.
Note: Software updates are not guaranteed. Information on spare parts availability is not provided.