
1. పరిచయం
This manual provides essential information for the safe and efficient operation, maintenance, and troubleshooting of your OMTech 60W CO2 Laser Engraver, Model SH-G570. Please read this manual thoroughly before operating the machine to ensure proper usage and to prevent injury or damage.
2. ఉత్పత్తి ముగిసిందిview
The OMTech 60W CO2 Laser Engraver is a versatile machine designed for precision cutting and engraving across a wide range of materials. It features a 28"x20" working area, autofocus, air assist, and 4-way pass-through capabilities, making it suitable for various creative and industrial applications.
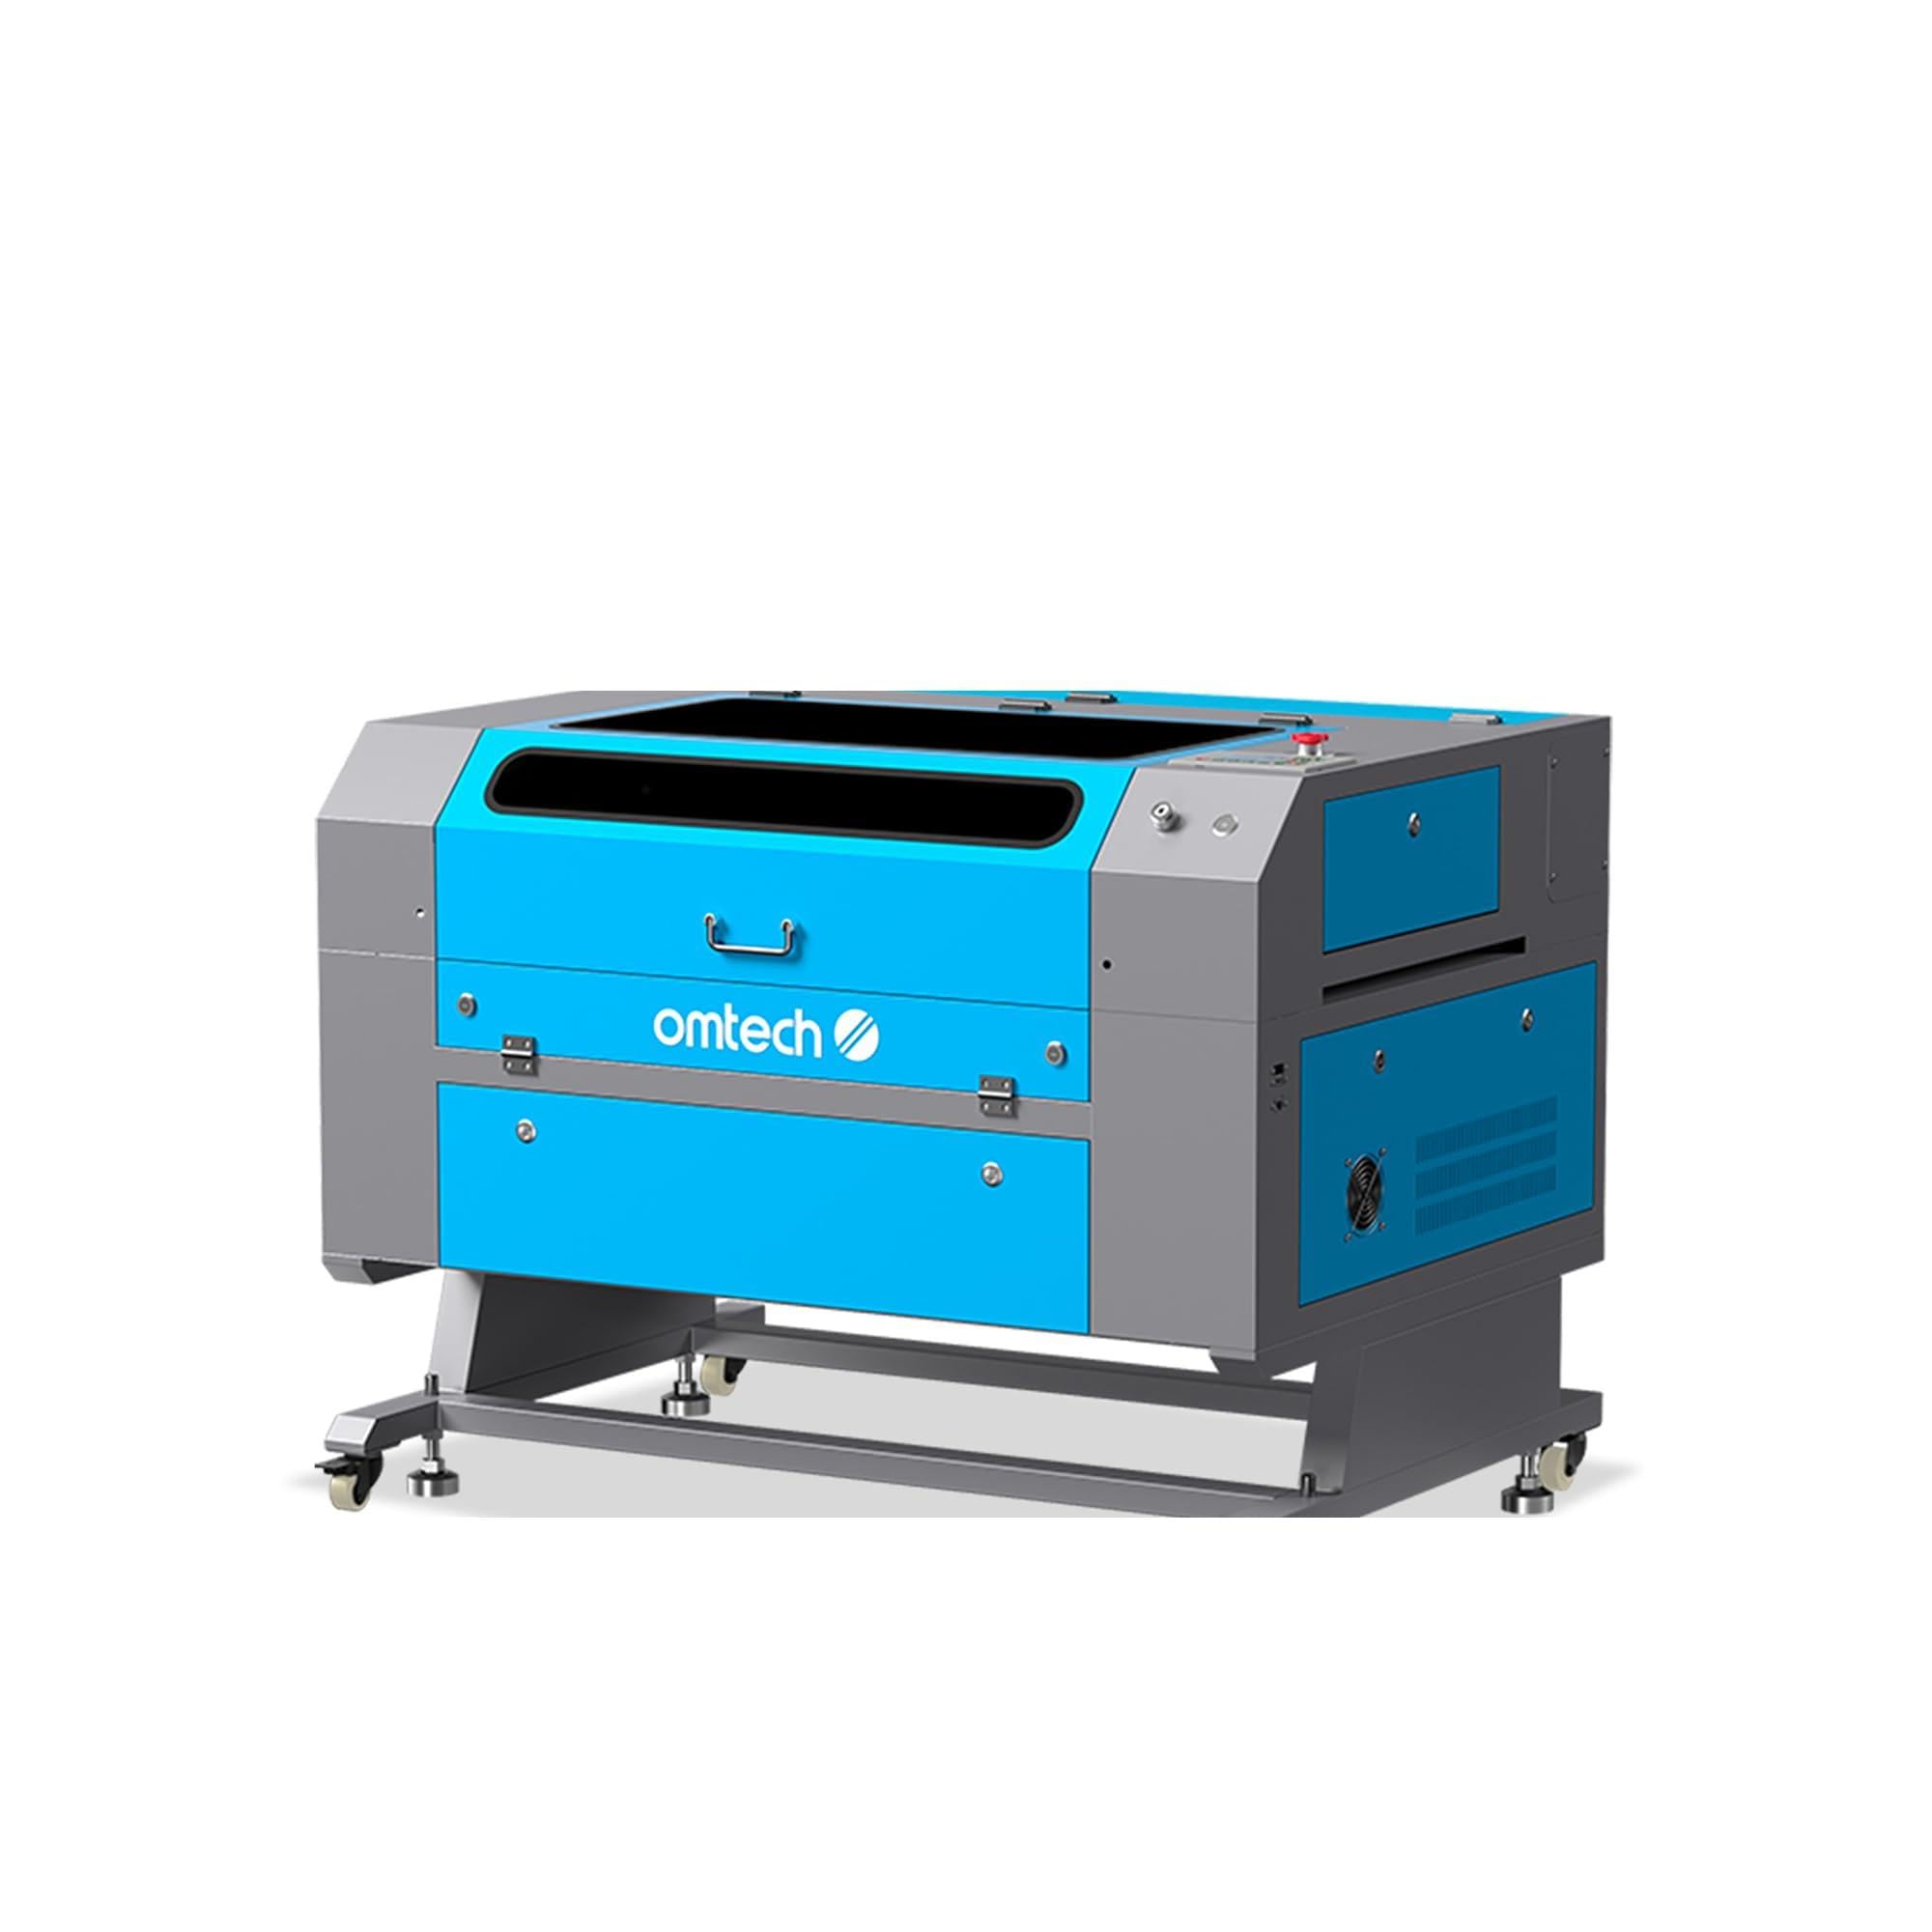
Figure 2.1: OMTech 60W CO2 Laser Engraver, Model SH-G570.
ముఖ్య లక్షణాలు:
- 60W CO2 Laser Tube: Provides sufficient power for engraving and cutting various materials.
- 28"x20" Working Area: Accommodates a wide range of project sizes.
- Autofocus Function: Simplifies setup by automatically adjusting the laser focal distance.
- ఎయిర్ అసిస్ట్: Helps to clear debris and reduce scorching during operation, resulting in cleaner cuts and engravings.
- 4-Way Pass-Through: Allows for processing of oversized materials.
- సాఫ్ట్వేర్ అనుకూలత: Supports LightBurn, RDWorks, CorelDRAW, and AutoCAD.

చిత్రం 2.2: పైగాview of the laser engraver's main features including laser power, working area, engraving speed, autofocus, and software compatibility.

Figure 2.3: The built-in autofocus and air assist system ensures precise focusing and efficient debris removal for optimal results.

Figure 2.4: The machine offers wide compatibility with popular software like RDWorks, LightBurn, CorelDRAW, and AutoCAD.
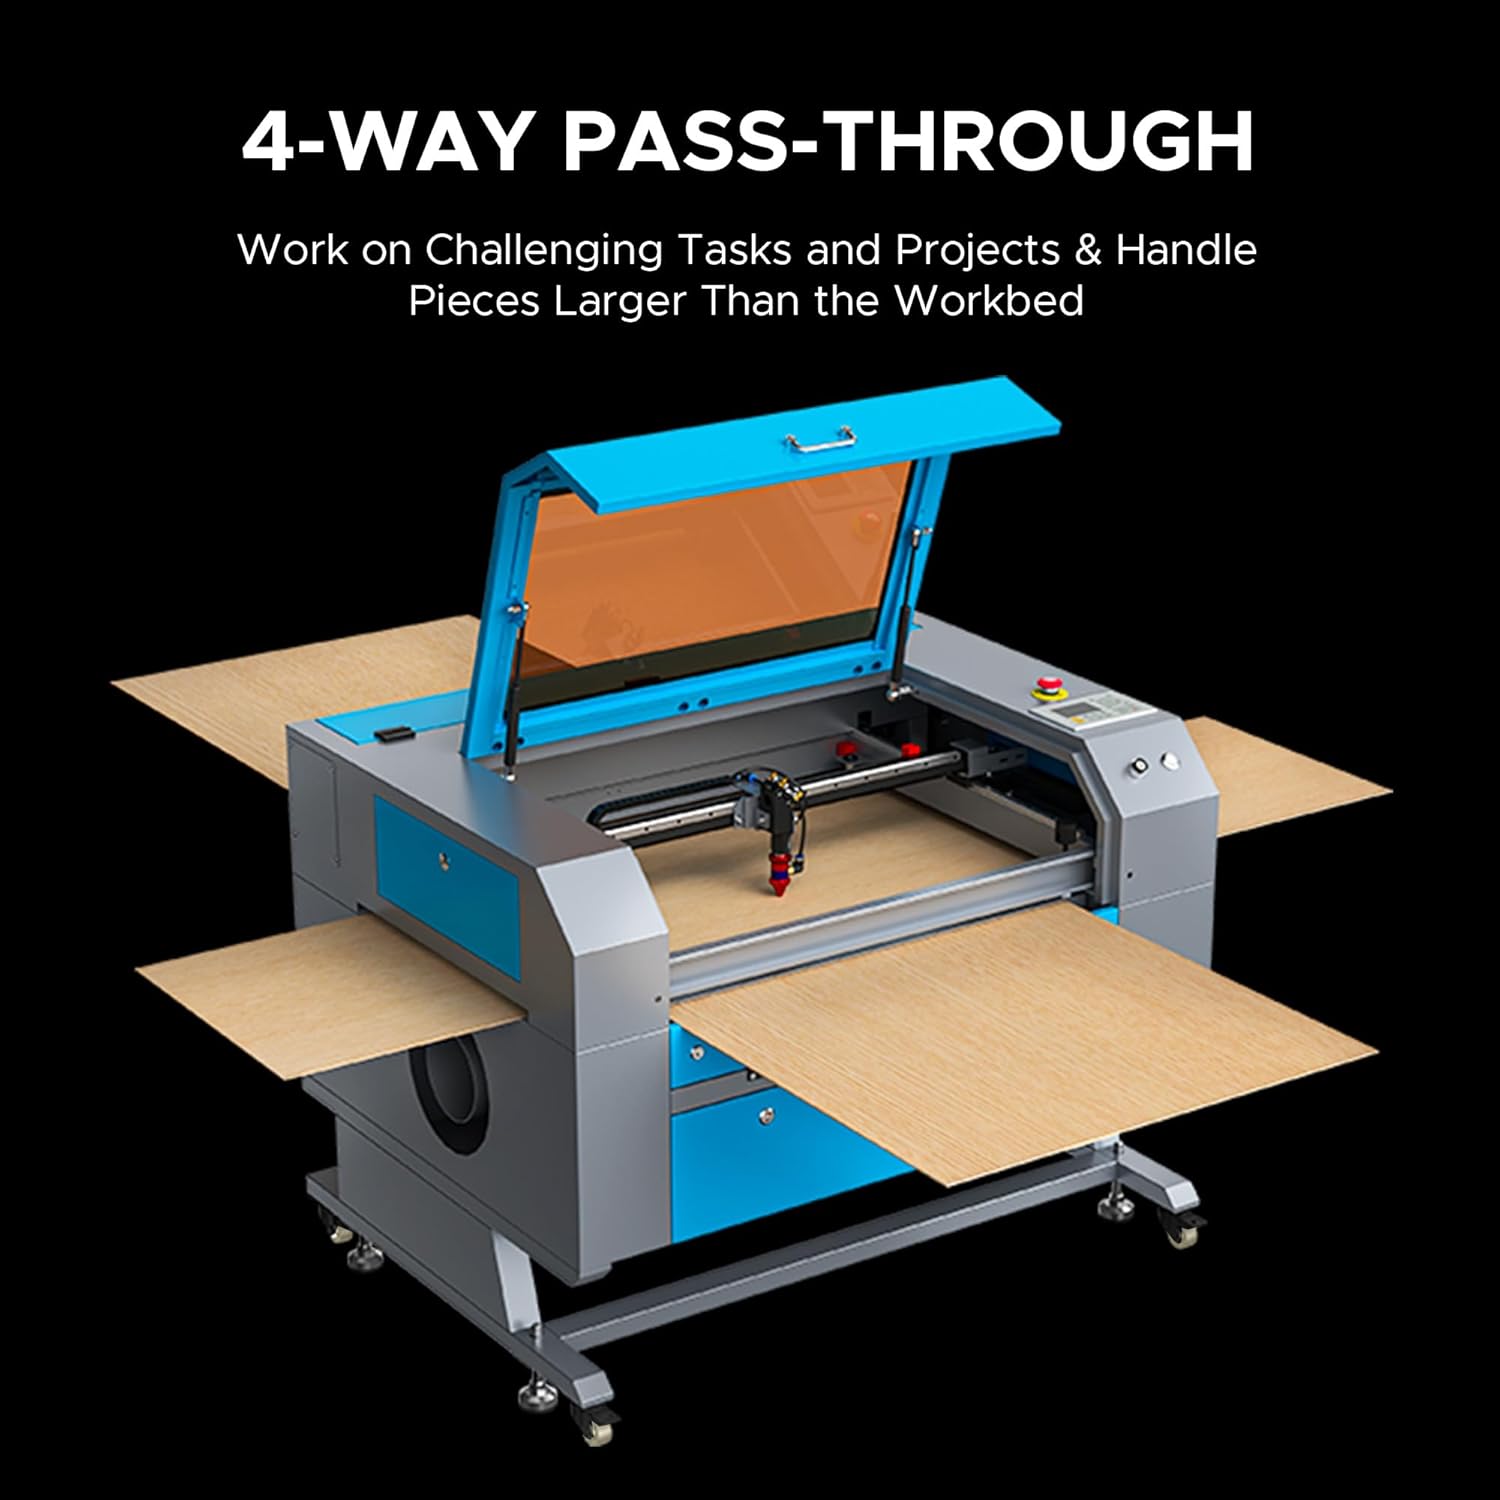
Figure 2.5: The 4-way pass-through design allows for working with materials larger than the internal workbed.
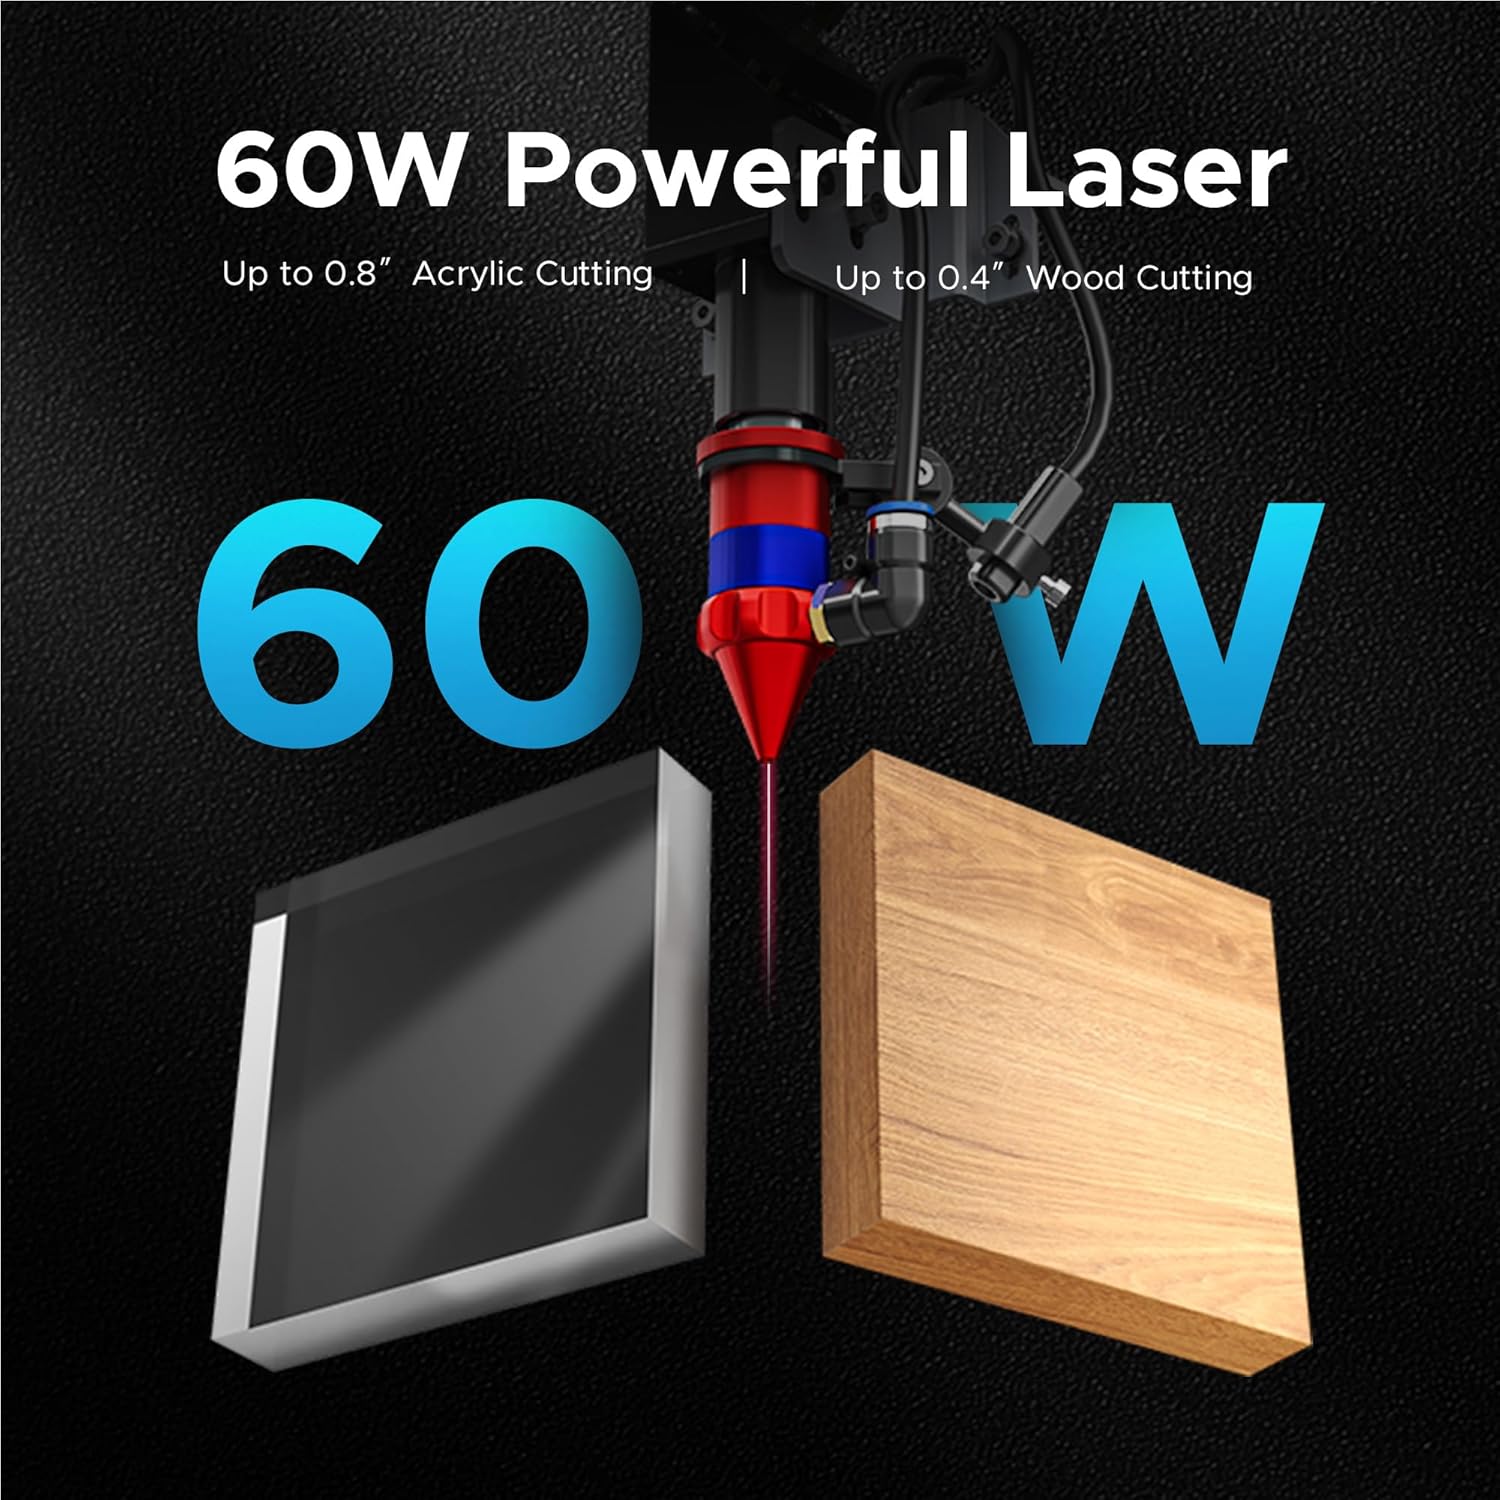
Figure 2.6: The 60W laser is capable of cutting up to 0.8 inches of acrylic and 0.4 inches of wood.

Figure 2.7: The laser head precisely engraves text onto a wooden surface, demonstrating its detailed capabilities.
3. భద్రతా సమాచారం
Operating a laser engraver involves inherent risks. Adhere to all safety guidelines to prevent accidents and ensure safe operation.
- కంటి రక్షణ: Always wear appropriate laser safety glasses when the laser is in operation.
- వెంటిలేషన్: Ensure adequate ventilation to remove fumes and smoke generated during engraving and cutting. An efficient exhaust system is crucial.
- అగ్ని భద్రత: Keep a fire extinguisher nearby. Never leave the machine unattended during operation.
- మెటీరియల్ అనుకూలత: Only engrave or cut materials approved for CO2 lasers. Avoid materials that produce toxic fumes or are highly flammable.
- విద్యుత్ భద్రత: Ensure the machine is properly grounded and connected to a suitable power supply.
- అత్యసవర నిలుపుదల: అత్యవసర స్టాప్ బటన్ యొక్క స్థానం మరియు ఆపరేషన్ గురించి మిమ్మల్ని మీరు పరిచయం చేసుకోండి.

Figure 3.1: An efficient exhaust system is vital for directing hazardous debris and fumes away from the engraving surface and into a ventilation system.
4. సెటప్
Follow these steps to set up your OMTech 60W CO2 Laser Engraver.
4.1 అన్ప్యాకింగ్ మరియు ప్లేస్మెంట్
- యంత్రాన్ని దాని ప్యాకేజింగ్ నుండి జాగ్రత్తగా తొలగించండి.
- బాగా వెంటిలేషన్ ఉన్న ప్రదేశంలో స్థిరమైన, సమతల ఉపరితలంపై చెక్కే వ్యక్తిని ఉంచండి.
- Ensure sufficient space around the machine for operation and maintenance.
4.2 కనెక్టింగ్ కాంపోనెంట్స్
- Connect the exhaust fan and ducting to the machine and vent outdoors.
- Connect the water pump/chiller to the laser tube's inlet and outlet ports. Ensure the water reservoir is filled with distilled water.
- Connect the air pump to the air assist inlet.
- పవర్ కేబుల్ను గ్రౌండెడ్ అవుట్లెట్కి కనెక్ట్ చేయండి.
4.3 సాఫ్ట్వేర్ ఇన్స్టాలేషన్
Your OMTech laser engraver is compatible with LightBurn and RDWorks. Refer to the software-specific installation guides provided with your machine or available on the OMTech webవివరణాత్మక సూచనల కోసం సైట్.
వీడియో 4.1: ఈ వీడియో సాధారణ ఓవర్ను అందిస్తుందిview of OMTech laser engravers, demonstrating their capabilities and ease of use, which can be helpful during initial setup and understanding the machine's potential.
5. ఆపరేటింగ్ సూచనలు
ఈ విభాగం మీ లేజర్ చెక్కే యంత్రాన్ని ఆపరేట్ చేయడానికి ప్రాథమిక దశలను వివరిస్తుంది.
5.1 Powering On and Initial Checks
- Turn on the water chiller/pump and air pump. Verify water flow and air pressure.
- Turn on the main power switch on the machine.
- The control panel will initialize.
5.2 మెటీరియల్ ప్లేస్మెంట్ మరియు ఫోకసింగ్
- Place your material on the honeycomb or blade workbed.
- యంత్రం మూత మూసివేయండి.
- Use the autofocus function by pressing the designated button on the control panel. The laser head will automatically adjust to the correct focal distance.
5.3 Software Operation and Job Execution
- Open your design software (e.g., LightBurn) on your computer.
- Import or create your design.
- Set appropriate power and speed settings for your material. Refer to the material compatibility chart below for general guidelines.
- Send the job to the laser engraver.
- On the machine's control panel, select the job and press 'Start'.
- Monitor the engraving/cutting process through the flame-resistant window.

Figure 5.1: This table illustrates the wide range of materials compatible with the OMTech 60W CO2 laser for both engraving and cutting applications.

Figure 5.2: The machine's maximum engraving speed of 600 mm/s significantly enhances productivity.
6. నిర్వహణ
Regular maintenance is crucial for the longevity and optimal performance of your laser engraver.
6.1 రోజువారీ నిర్వహణ
- Clean the workbed and interior of the machine to remove debris.
- Check the water level in the chiller and ensure proper circulation.
- Inspect the laser lens and mirrors for dust or residue.
6.2 వారపు నిర్వహణ
- Clean the laser lens and mirrors using a specialized lens cleaning solution and wipes.
- Clean the exhaust fan and ducting.
- Lubricate the guide rails and bearings.
6.3 Laser Tube Care
The CO2 laser tube has a lifespan of up to 1,000 hours, which can be extended with efficient use at lower power settings. Ensure the water chiller maintains a stable temperature to prevent overheating.

Figure 6.1: The high-performance laser tube is designed for long-lasting operation, providing up to 1,000 hours of use.
7. ట్రబుల్షూటింగ్
ఈ విభాగం మీరు ఎదుర్కొనే సాధారణ సమస్యలను మరియు వాటి సంభావ్య పరిష్కారాలను చర్చిస్తుంది.
7.1 No Laser Output
- శక్తిని తనిఖీ చేయండి: Ensure the machine is powered on and connected to a working outlet.
- Water Chiller: Verify the water chiller is on and circulating water. The laser will not fire if the water protection sensor is triggered.
- సాఫ్ట్వేర్ సెట్టింగ్లు: Confirm that the laser power and speed settings in your software are correctly configured and not set to zero.
- అత్యసవర నిలుపుదల: అత్యవసర స్టాప్ బటన్ ఆన్ కాకుండా చూసుకోండి.
7.2 Poor Engraving/Cutting Quality
- దృష్టి: Re-run the autofocus function or manually adjust the focal distance. An incorrect focus is a common cause of poor quality.
- Lens/Mirrors: Clean the laser lens and mirrors. Dirt or smudges can significantly degrade laser performance.
- శక్తి/వేగం: Adjust laser power and speed settings. Different materials require different settings.
- మెటీరియల్ నాణ్యత: Ensure the material itself is suitable and consistent in thickness.
7.3 Machine Not Responding
- సాఫ్ట్వేర్ కనెక్షన్: Check the USB or network connection between the computer and the machine.
- పునఃప్రారంభించు: Try restarting both the machine and the computer.
- నియంత్రణ ప్యానెల్: Ensure no error messages are displayed on the control panel.
8. స్పెసిఫికేషన్లు
Detailed technical specifications for the OMTech 60W CO2 Laser Engraver, Model SH-G570.

Figure 8.1: Summary of rated power, max engraving speed, machine weight, pass sizes, and machine dimensions.
| స్పెసిఫికేషన్ | విలువ |
|---|---|
| మోడల్ సంఖ్య | SH-G570 |
| లేజర్ పవర్ | 60W |
| పని చేసే ప్రాంతం | 28" x 20" (700 x 500 మిమీ) |
| గరిష్టంగా చెక్కడం వేగం | 600 mm/s |
| లోతు కోత (కలప) | 0.4" వరకు |
| Cutting Depth (Acrylic) | 0.8" వరకు |
| లేజర్ క్లాస్ | Class 2 (0.874 mW output power) |
| ఆటో ఫోకస్ | అవును |
| ఎయిర్ అసిస్ట్ | అవును |
| పాస్-త్రూ | 4-మార్గం |
| సాఫ్ట్వేర్ అనుకూలత | LightBurn, RDWorks, CorelDRAW, AutoCAD |
| మెషిన్ బరువు | 249.1 పౌండ్లు |
| యంత్ర కొలతలు | 47.2" x 34.3" x 36.6" |
9. వారంటీ మరియు మద్దతు
OMTech provides comprehensive support for its products.
9.1 వారంటీ సమాచారం
Your OMTech 60W CO2 Laser Engraver comes with a two-year support period. For specific warranty terms and conditions, please refer to the documentation included with your purchase or visit the official OMTech webసైట్.
9.2 కస్టమర్ మద్దతు
For technical assistance, troubleshooting, or any inquiries regarding your laser engraver, please contact OMTech customer support. They offer U.S.-based technical support and 24/7 online customer service.

Figure 9.1: OMTech offers a demo room program with hosts across the United States for hands-on experience and support.
Video 9.1: This video features 'Laser Guys from OMTech' discussing their experience with OMTech lasers, highlighting the quality, pricing, and how the machines have supported their business growth and product development.