

1. పరిచయం
This manual provides detailed instructions for the installation, setup, operation, and maintenance of your Evanshow Smart Door Lock Model 190BT. This smart lock offers multiple keyless entry options, including fingerprint, keypad passcode, NFC card, and mobile application control, alongside traditional mechanical key access. Please read this manual thoroughly before installation and use to ensure proper function and security.

చిత్రం 1: ముగిసిందిview of the Evanshow Smart Door Lock Model 190BT, including the lock unit, mobile app interface, NFC cards, and backup mechanical keys.
2. ఉత్పత్తి ముగిసిందిview
2.1 ముఖ్య లక్షణాలు
- బహుళ అన్లాకింగ్ పద్ధతులు: Fingerprint, Keypad Passcode, NFC Card, Mobile App, and Mechanical Key.
- Advanced Biometric Recognition: 0.5-second fingerprint unlock speed with high accuracy.
- యాప్ నిర్వహణ: Control access, generate temporary/permanent passcodes, track entry logs, and enable silent mode via the mobile application.
- ఆటో-లాక్ ఫీచర్: Configurable automatic locking after a preset time.
- సులభమైన సంస్థాపన: Designed for simple, drill-free installation on standard doors.
2.2 భాగాలు
The Evanshow Smart Door Lock Model 190BT package includes the following main components:
- Exterior Handle with Keypad and Fingerprint Sensor
- ఇంటీరియర్ హ్యాండిల్
- గొళ్ళెం మెకానిజం
- స్ట్రైక్ ప్లేట్
- మౌంటు స్క్రూలు మరియు హార్డ్వేర్
- NFC Cards (typically 4)
- Mechanical Keys (typically 2)
- వినియోగదారు మాన్యువల్

చిత్రం 2: పేలింది view of the smart door lock components, illustrating the exterior and interior handles, latch, and other parts.
3. సంస్థాపన
3.1 తలుపు అనుకూలత తనిఖీ
సంస్థాపనకు ముందు, మీ తలుపు కింది స్పెసిఫికేషన్లకు అనుగుణంగా ఉందని నిర్ధారించుకోండి:
- తలుపు మందం: 1.18 inches to 1.97 inches (30mm - 50mm).
- బ్యాక్సెట్: 2-3/8 inches or 2-3/4 inches (60mm or 70mm).
- Latch Hole Diameter: 1 అంగుళాలు (25మి.మీ).
- రంధ్రం వ్యాసం: 2-1/8 inches (54mm).
- The door edge must be chiseled for the latch plate to sit flush. Not compatible with integrated or mortise lock types.

Image 3: Door measurement guide and compatibility check for the smart door lock.

Image 4: Visual guide for checking door lock compatibility.
3.2 సంస్థాపనా దశలు
Installation typically takes minutes and requires only a screwdriver. Follow the detailed instructions provided in the included installation guide for your specific door type. Ensure the latch mechanism is correctly oriented for your door's swing (reversible).
- తలుపు అంచులోకి గొళ్ళెం అమర్చండి.
- Install the exterior handle, feeding the cable through the door hole.
- Connect the cable to the interior handle.
- Secure the interior handle to the door using the provided screws.
- Install batteries (4x AAA, not included) into the interior handle's battery compartment.
- Test the lock functionality with the mechanical key.
4. సెటప్
After physical installation, configure your smart lock using the mobile application.
4.1 యాప్ డౌన్లోడ్ మరియు జత చేయడం
- మీ పరికరం యొక్క యాప్ స్టోర్ నుండి Tuya స్మార్ట్ యాప్ను డౌన్లోడ్ చేసుకోండి.
- ఖాతాను సృష్టించండి లేదా లాగిన్ చేయండి.
- మీ స్మార్ట్ఫోన్లో బ్లూటూత్ని ప్రారంభించండి.
- In the app, tap '+' to add a device. The app should automatically detect the lock. If not, select 'Security & Video Surveillance' > 'Door Lock (Bluetooth)'.
- Follow the on-screen instructions to pair the lock.

Image 5: App intelligent control interface for the smart door lock.
4.2 Adding Access Methods
Manage fingerprints, passcodes, and NFC cards through the app.
- వేలిముద్రలు: In the app, navigate to 'Member Management' or 'Fingerprint Management'. Follow prompts to register up to 100 unique fingerprints. Place your finger on the sensor multiple times from different angles until registration is complete.
- పాస్కోడ్లు: Generate permanent, timed, or one-time passcodes via the app. Passcodes must be 6-10 digits, non-sequential. The lock supports up to 100 passcodes.
- NFC Cards: In the app, go to 'Card Management'. Present an NFC card to the lock's sensor when prompted to register it. Up to 100 NFC cards can be registered.

చిత్రం 6: ముగిసిందిview of intelligent door lock access methods and features.
5. ఆపరేటింగ్ సూచనలు
5.1 తలుపును అన్లాక్ చేస్తోంది
The Evanshow Smart Door Lock offers several ways to unlock:
- వేలిముద్ర: Place a registered finger on the fingerprint sensor. The lock will unlock in approximately 0.5 seconds.
- పాస్కోడ్: కీప్యాడ్పై మీ రిజిస్టర్డ్ పాస్కోడ్ను నమోదు చేయండి, తరువాత '#' ని నమోదు చేయండి.
- NFC Card: Present a registered NFC card to the card reader area on the lock.
- మొబైల్ యాప్: Open the Tuya Smart app, select your lock, and tap the unlock icon.
- మెకానికల్ కీ: Insert the mechanical key into the keyhole and turn to unlock.

Image 7: Multiple access options for the smart door lock.
5.2 ఆటో-లాక్ ఫీచర్
The auto-lock function automatically secures the door after a user-defined period. This feature can be configured within the mobile application. To enable or disable, and set the delay time, navigate to the lock settings in the Tuya Smart app.
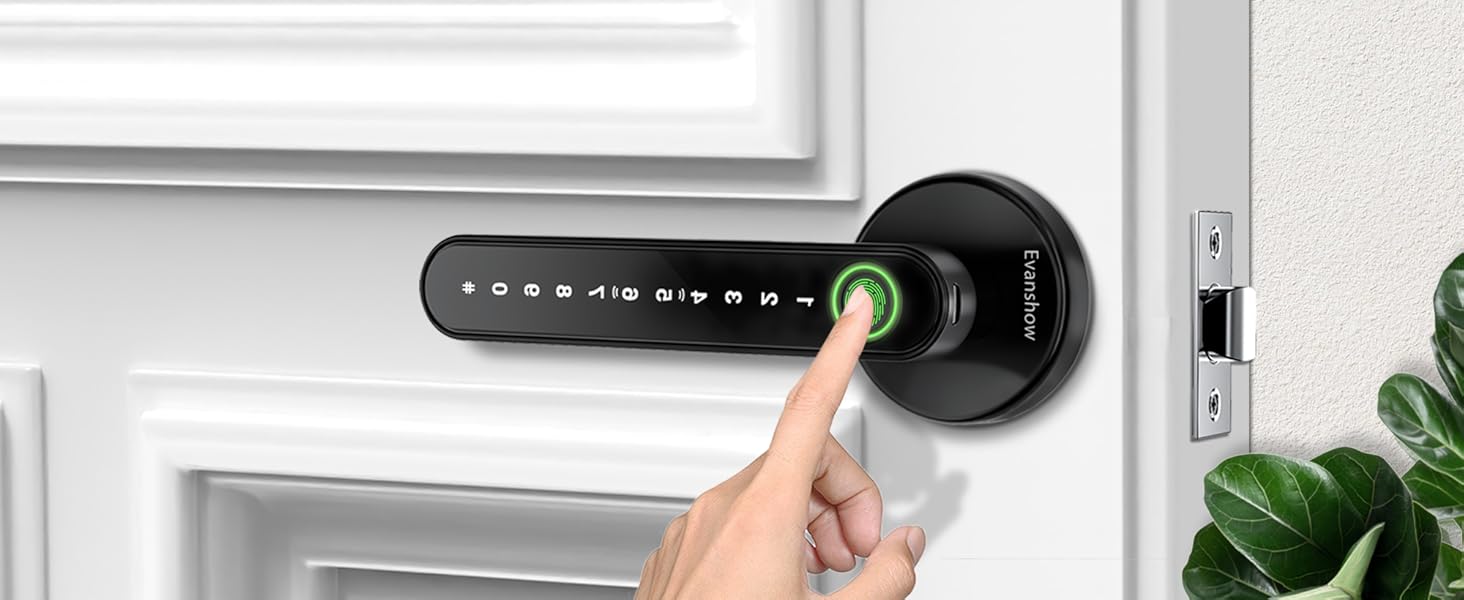
Image 8: Auto-lock feature in action.
5.3 పాసేజ్ మోడ్
Passage Mode allows the door to remain unlocked for a specified duration, or permanently, without requiring credentials for entry. This is useful for high-traffic periods. Activate and deactivate Passage Mode through the mobile application settings.
5.4 Anti-Peeking Password
To enhance security, you can enter random digits before or after your actual passcode. As long as the correct passcode sequence is embedded within the entered digits, the lock will unlock. For example, if your passcode is 123456, you can enter *759642*94 where 759642 is the correct password.
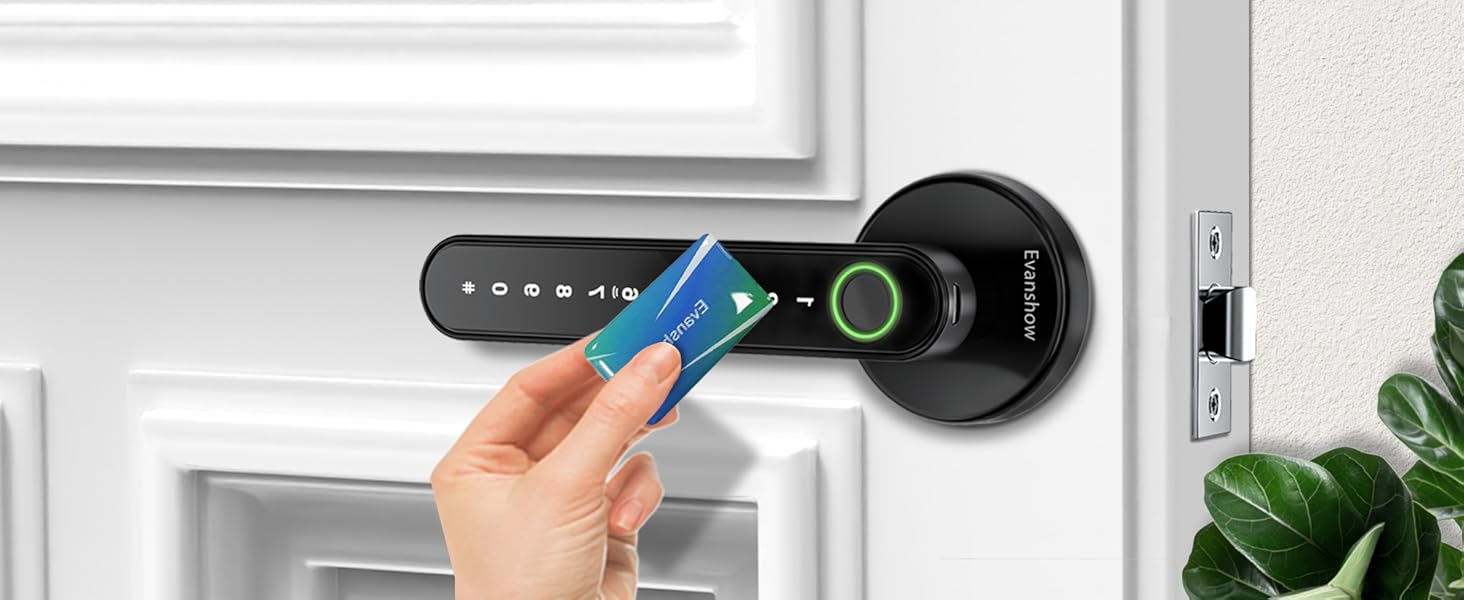
Image 9: Anti-peeking password functionality.
5.5 సైలెంట్ మోడ్
Enable Silent Mode via the app to disable all sound prompts from the lock, providing quiet operation. This is useful for maintaining peace in quiet environments.
5.6 Unlock Records
The mobile application maintains a log of all unlock events, including the method used (fingerprint, passcode, etc.) and the time. This allows you to monitor access to your door.
6. నిర్వహణ
6.1 బ్యాటరీ భర్తీ
The lock is powered by 4 AAA batteries (not included). When the battery level is low, the lock will provide a low battery warning through the app and potentially an audible alert. Replace all four batteries promptly to ensure continuous operation. Use high-quality alkaline batteries for best performance.
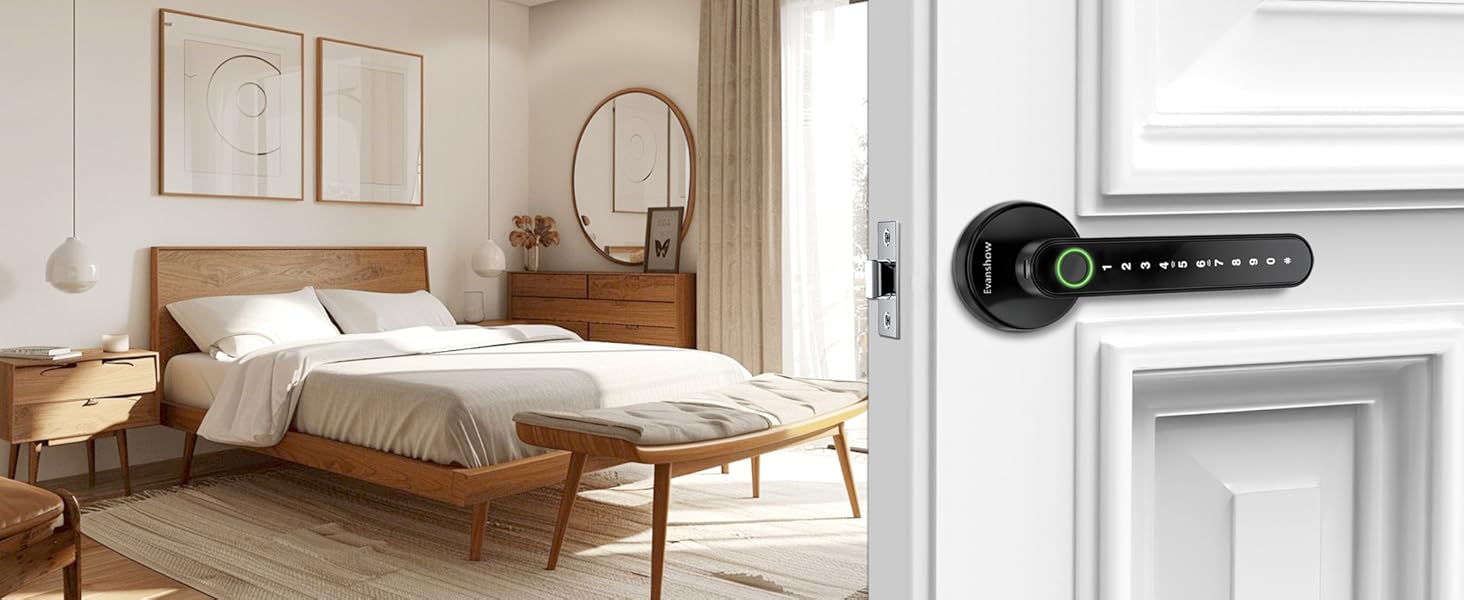
Image 10: Low battery warning notification.
6.2 అత్యవసర విద్యుత్
In case of complete battery depletion, the lock can be temporarily powered via a micro-USB port located on the exterior handle. Connect a power bank to this port to provide emergency power and unlock the door using any registered method.
6.3 శుభ్రపరచడం
Clean the lock's exterior surfaces with a soft, dry cloth. Avoid using abrasive cleaners, solvents, or harsh chemicals, as these can damage the finish and electronic components. Keep the fingerprint sensor clean and free of debris for optimal performance.
7. ట్రబుల్షూటింగ్
- లాక్ స్పందించడం లేదు: Check battery levels. Replace batteries if low. Use emergency power via micro-USB if completely drained.
- వేలిముద్ర గుర్తించబడలేదు: Ensure your finger is clean and dry. Try different angles. Re-register your fingerprint if issues persist.
- పాస్కోడ్ పనిచేయడం లేదు: Verify the correct passcode is entered. Ensure the lock is not in a mode that disables passcodes.
- యాప్ కనెక్టివిటీ సమస్యలు: Ensure Bluetooth is enabled on your phone and you are within range of the lock. Restart the app or your phone if necessary.
- తాళం విడిగా ఉంది: Check all mounting screws and tighten them if necessary.
8. స్పెసిఫికేషన్లు
| ఫీచర్ | స్పెసిఫికేషన్ |
|---|---|
| మోడల్ సంఖ్య | 190BT |
| మెటీరియల్ | మెటల్ |
| రంగు | నలుపు |
| బాహ్య ముగింపు | మాట్ బ్లాక్ |
| లాక్ రకం | గోప్యత |
| వస్తువు బరువు | 1.2 పౌండ్లు |
| ఉత్పత్తి కొలతలు | 6 x 8 x 2.8 అంగుళాలు |
| శక్తి మూలం | 4 x AAA బ్యాటరీలు (చేర్చబడలేదు) |
| బ్యాటరీ సెల్ రకం | జింక్ |
| ప్రత్యేక ఫీచర్ | ఆటో-లాక్ |
| చేతి ధోరణి | రివర్సబుల్ |
9. వారంటీ మరియు మద్దతు
For warranty information and technical support, please refer to the documentation included with your purchase or contact Evanshow customer service directly. Keep your purchase receipt for warranty claims.