
పరిచయం
This manual provides detailed instructions for the GIGABYTE X870E AORUS ELITE X3D ICE AMD AM5 ATX Motherboard. It covers essential information for installation, operation, maintenance, and troubleshooting to ensure optimal performance and longevity of your system. The X870E AORUS ELITE X3D ICE supports AMD Ryzen 9000, 8000, and 7000 Series Processors, features DDR5 memory support, 16+2+2 power phase design, four M.2 slots, PCIe 5.0, WIFI7, and 5 GbE connectivity.
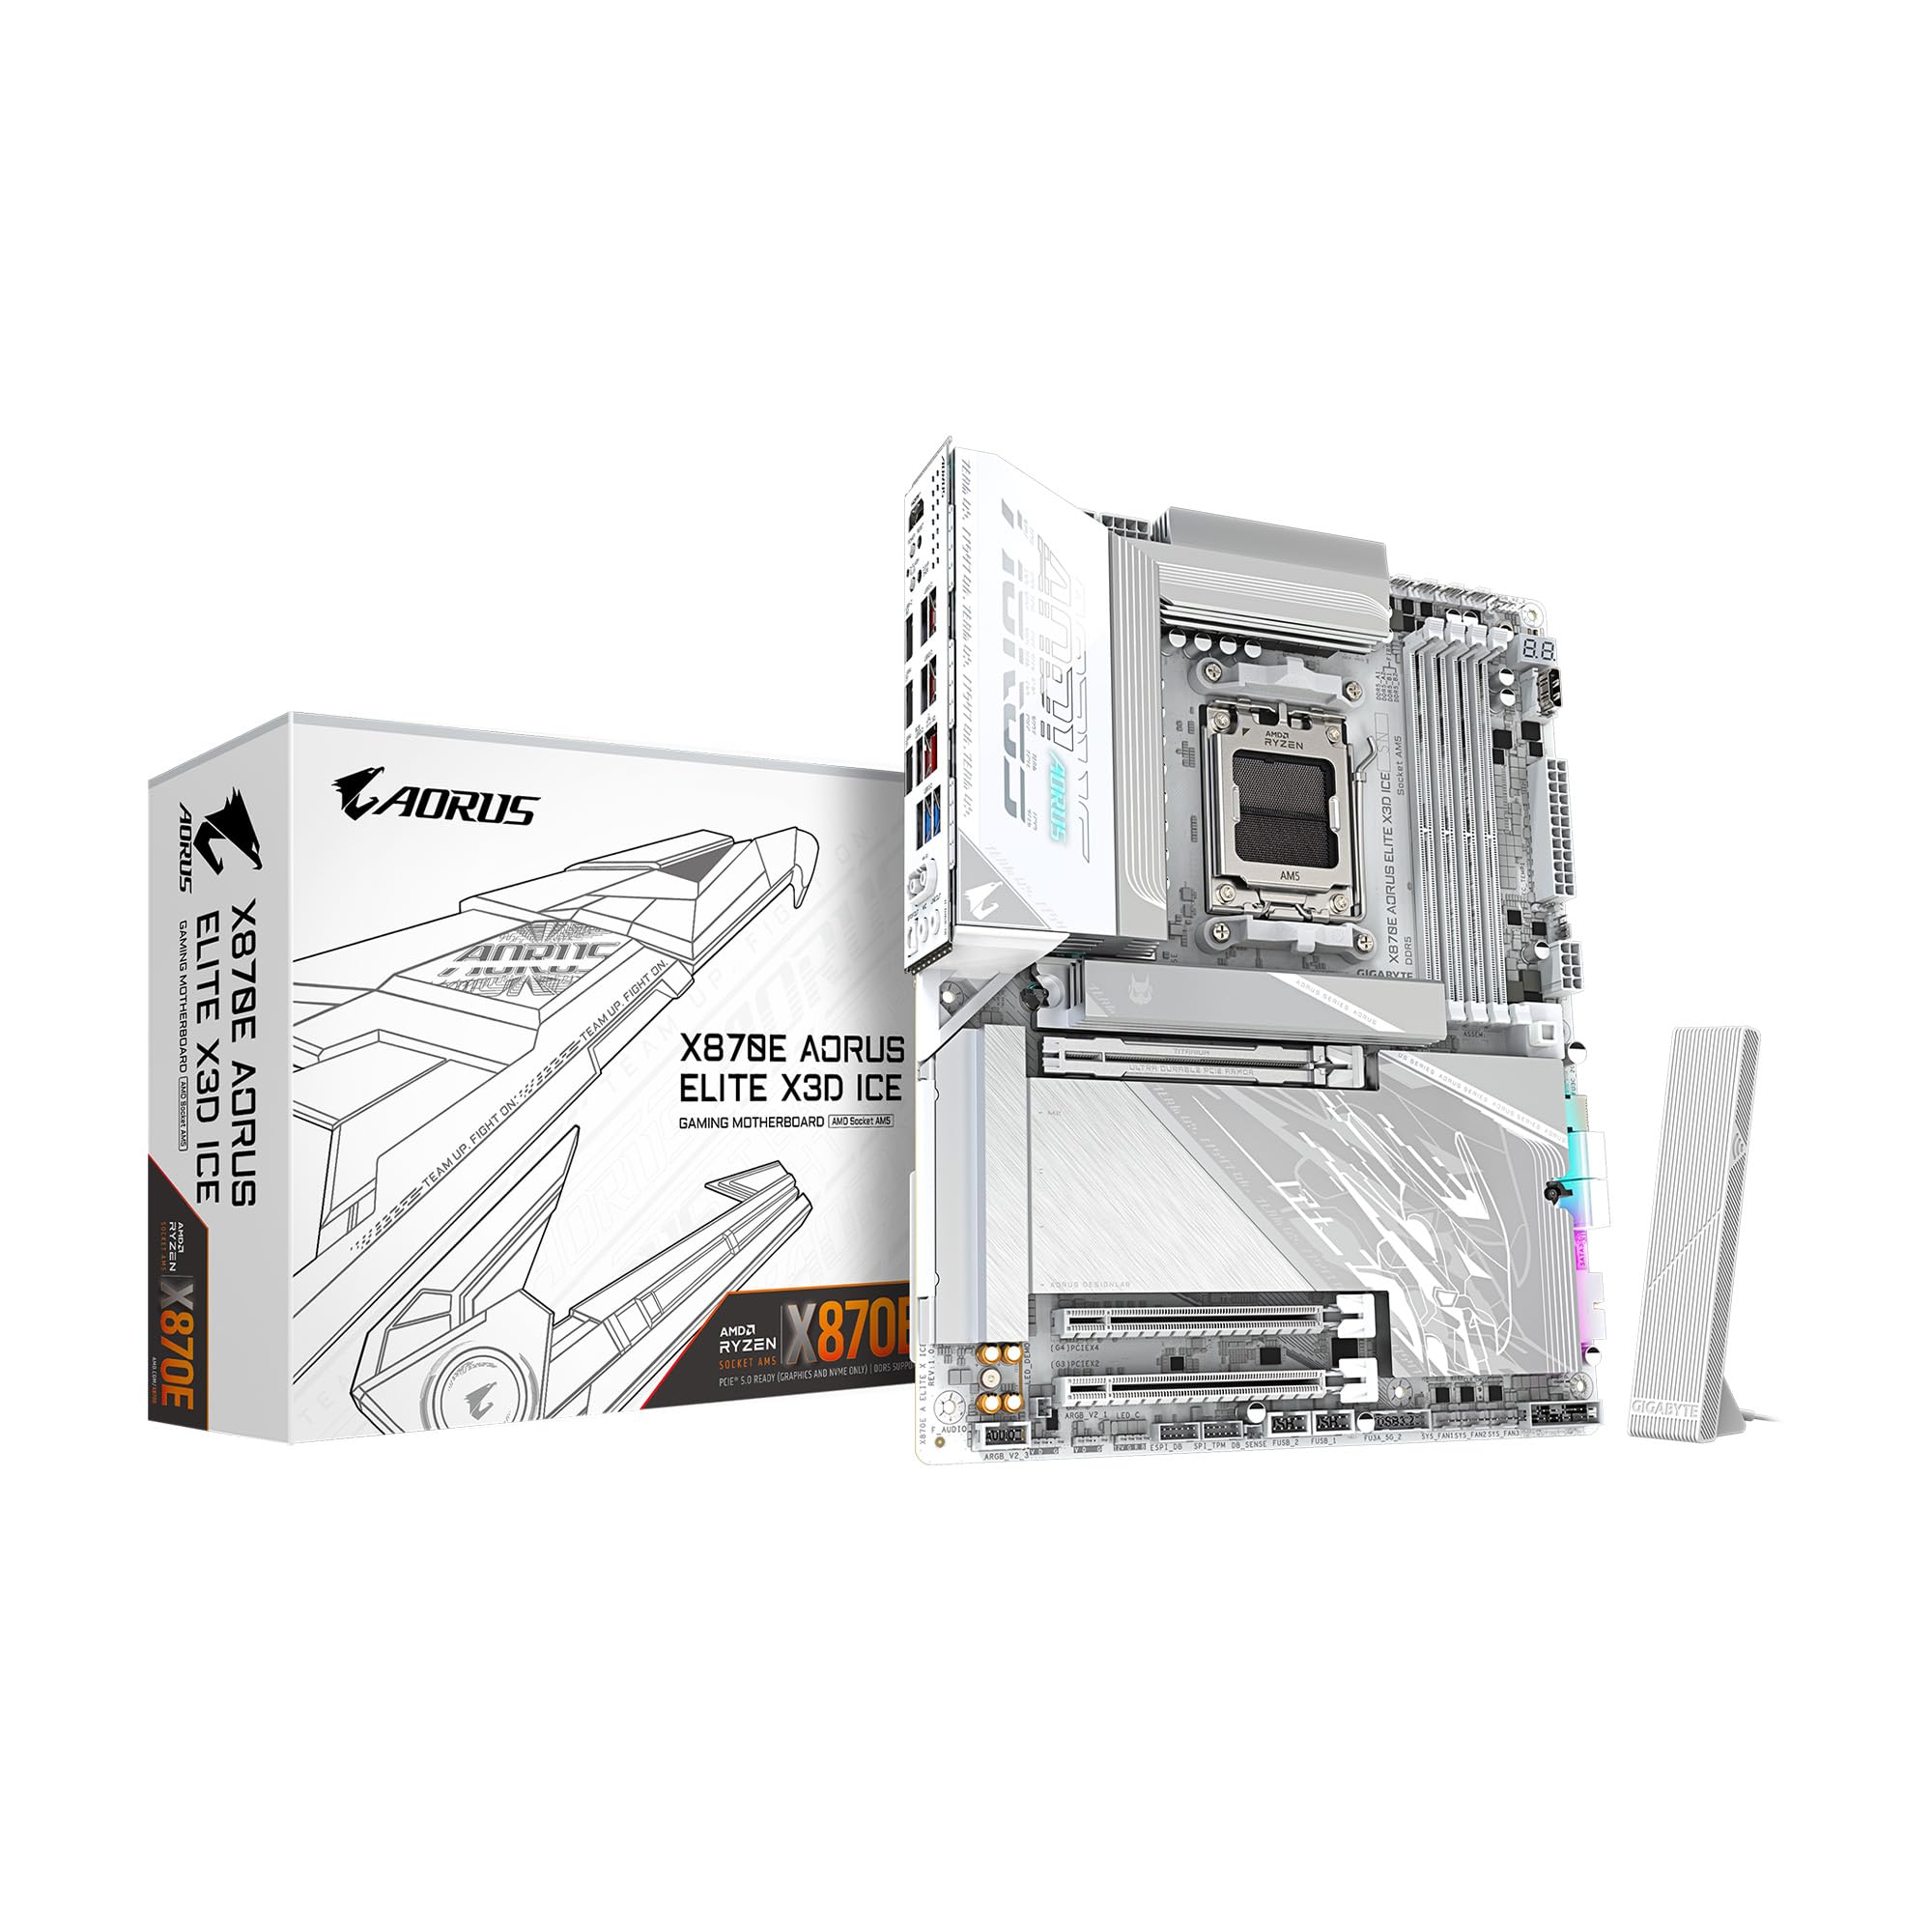
Figure 1: GIGABYTE X870E AORUS ELITE X3D ICE Motherboard, top-down view.
సెటప్ మరియు ఇన్స్టాలేషన్
మీ సిస్టమ్ స్థిరత్వం మరియు పనితీరుకు సరైన ఇన్స్టాలేషన్ చాలా కీలకం. ఈ దశలను జాగ్రత్తగా అనుసరించండి.
1. మదర్బోర్డ్ను సిద్ధం చేయడం
- Unpack the motherboard from its anti-static bag.
- Place the motherboard on a non-conductive surface, such as the anti-static bag itself or a cardboard box.
Video 1: Official unboxing of the X870E AORUS ELITE X3D ICE motherboard, showing the contents and initial handling.
2. CPU Installation (AMD AM5 Socket)
- మదర్బోర్డుపై AM5 CPU సాకెట్ను గుర్తించండి.
- Open the CPU retention mechanism by pushing down and away from the socket.
- Carefully align the CPU with the socket, ensuring the golden triangle on the CPU matches the triangle on the socket. Do not force the CPU into place.
- CPU ని భద్రపరచడానికి నిలుపుదల విధానాన్ని మూసివేయండి.

మూర్తి 2: క్లోజ్-అప్ view of the AMD AM5 CPU socket on the motherboard, ready for processor installation.
3. మెమరీ (RAM) సంస్థాపన
- DDR5 DIMM స్లాట్ల రెండు చివర్లలోని క్లిప్లను తెరవండి.
- DIMM స్లాట్లోని కీతో DDR5 మెమరీ మాడ్యూల్లోని నాచ్ను సమలేఖనం చేయండి.
- క్లిప్లు సరిగ్గా అమర్చబడే వరకు మెమరీ మాడ్యూల్ను స్లాట్లోకి గట్టిగా చొప్పించండి. రెండు క్లిప్లు మూసివేయబడ్డాయని నిర్ధారించుకోండి.
- For dual-channel configuration, refer to the motherboard manual for specific slot pairing.

మూర్తి 3: View of the DDR5 memory slots on the motherboard, indicating where RAM modules are installed.
4. M.2 SSD ఇన్స్టాలేషన్
- Locate the M.2 slots on the motherboard. The X870E AORUS ELITE X3D ICE features two PCIe 5.0 M.2 slots and two PCIe 4.0 M.2 slots.
- Remove the M.2 heatsink and stand-off screw (if present).
- స్లాట్లోకి M.2 SSDని కోణంలో చొప్పించండి.
- Push down the M.2 SSD and secure it with the stand-off screw or the M.2 EZ-Latch mechanism.
- Reattach the M.2 heatsink for optimal thermal performance.

Figure 4: Illustration of M.2 SSD installation, highlighting the EZ-Latch mechanism for tool-less setup.
5. గ్రాఫిక్స్ కార్డ్ (GPU) ఇన్స్టాలేషన్
- Locate the PCIe Gen5 x16 slot.
- PCIe స్లాట్ చివర రిటెన్షన్ క్లిప్ను తెరవండి.
- మీ గ్రాఫిక్స్ కార్డ్ను స్లాట్తో సమలేఖనం చేసి, అది స్థానంలో క్లిక్ అయ్యే వరకు గట్టిగా నొక్కండి.
- స్క్రూలతో గ్రాఫిక్స్ కార్డ్ను మీ PC కేస్కు భద్రపరచండి.

Figure 5: Close-up of the PCIe EZ-Latch Plus, simplifying graphics card removal and installation.
6. విద్యుత్ కనెక్షన్లు
- మీ విద్యుత్ సరఫరా నుండి మదర్బోర్డ్కు 24-పిన్ ATX ప్రధాన విద్యుత్ కనెక్టర్ను కనెక్ట్ చేయండి.
- Connect the 8-pin (or 4+4 pin) CPU power connector(s) to the motherboard.
7. Front Panel and Peripheral Connections
- Connect the front panel headers (power switch, reset switch, HDD LED, power LED) according to the motherboard manual.
- Connect USB 2.0, USB 3.2 Gen 1, and USB 3.2 Gen 2 Type-C front panel connectors.
- Connect SATA drives to the available SATA 6Gb/s ports.
- Attach the WIFI antenna to the rear I/O panel for wireless connectivity.

మూర్తి 6: వివరంగా view of the rear I/O panel, showing USB ports, Ethernet, audio jacks, and Wi-Fi antenna connectors.
ఆపరేటింగ్ సూచనలు
1. ప్రారంభ బూట్ మరియు BIOS/UEFI సెటప్
- మీ PC ని అసెంబుల్ చేసిన తర్వాత, మానిటర్, కీబోర్డ్ మరియు మౌస్ ని కనెక్ట్ చేయండి.
- మీ సిస్టమ్ను ఆన్ చేయండి. DEL key during startup to enter the BIOS/UEFI setup.
- Configure boot order, enable XMP/EXPO for memory, and set up any other necessary system parameters.
- మార్పులను సేవ్ చేసి, BIOS/UEFI నుండి నిష్క్రమించండి.
2 డ్రైవర్ ఇన్స్టాలేషన్
- Install your operating system.
- After OS installation, install the latest drivers for your motherboard chipset, graphics card, audio, and network from the GIGABYTE webసైట్ లేదా అందించిన మద్దతు DVD/USB.
3. GIGABYTE Software Utilities
GIGABYTE provides various software utilities to enhance your user experience:
- గిగాబైట్ నియంత్రణ కేంద్రం (GCC): A unified software platform for managing system performance, RGB lighting, fan speeds, and more.
- BIOS అప్డేట్ యుటిలిటీ: For updating the motherboard BIOS from within the operating system.
- యాప్ సెంటర్: Provides access to various GIGABYTE applications and utilities.
నిర్వహణ
క్రమం తప్పకుండా నిర్వహణ మీ మదర్బోర్డు యొక్క దీర్ఘాయువు మరియు స్థిరమైన ఆపరేషన్ను నిర్ధారించడంలో సహాయపడుతుంది.
1. శుభ్రపరచడం
- Periodically clean dust from the motherboard and components using compressed air.
- శుభ్రపరిచే ముందు సిస్టమ్ పవర్ ఆఫ్ చేయబడిందని మరియు అన్ప్లగ్ చేయబడిందని నిర్ధారించుకోండి.
- లిక్విడ్ క్లీనర్లను నేరుగా భాగాలపై వాడటం మానుకోండి.
2. BIOS నవీకరణలు
- GIGABYTE ని తనిఖీ చేయండి webతాజా BIOS వెర్షన్ల కోసం సైట్.
- BIOS updates can improve compatibility, stability, and performance.
- Follow the instructions provided by GIGABYTE carefully when performing a BIOS update to avoid system damage.
3. డ్రైవర్ నవీకరణలు
- GIGABYTE ని క్రమం తప్పకుండా తనిఖీ చేయండి website for updated drivers for your motherboard.
- Keeping drivers up-to-date can resolve issues and improve system performance.
ట్రబుల్షూటింగ్
మీరు సమస్యలను ఎదుర్కొంటే, ఈ క్రింది సాధారణ ట్రబుల్షూటింగ్ దశలను చూడండి:
1. పవర్ లేదు / బూట్ లేదు
- అన్ని పవర్ కేబుల్స్ (24-పిన్ ATX, 8-పిన్ CPU) సురక్షితంగా కనెక్ట్ చేయబడ్డాయని నిర్ధారించుకోండి.
- విద్యుత్ సరఫరా ఆన్ చేయబడి సరిగ్గా పనిచేస్తుందని ధృవీకరించండి.
- Check front panel connections, especially the power switch.
- సమస్యను వేరు చేయడానికి కనీస భాగాలతో (CPU, ఒక RAM స్టిక్, ఇంటిగ్రేటెడ్ గ్రాఫిక్స్ లేకపోతే GPU) బూట్ చేయడానికి ప్రయత్నించండి.
2. POST Code Errors
- The motherboard may display a POST code on its debug LED. Refer to the GIGABYTE manual for the meaning of specific codes.
- Common codes relate to CPU, RAM, or GPU initialization failures.
3. సిస్టమ్ అస్థిరత / క్రాష్లు
- అన్ని డ్రైవర్లు తాజాగా ఉన్నారని నిర్ధారించుకోండి.
- వేడెక్కకుండా నిరోధించడానికి CPU మరియు GPU ఉష్ణోగ్రతలను తనిఖీ చేయండి.
- మెమరీ డయాగ్నస్టిక్ సాధనాలను ఉపయోగించి RAM స్థిరత్వాన్ని ధృవీకరించండి.
- Reset BIOS settings to default if overclocking or custom settings are causing issues.
స్పెసిఫికేషన్లు
| ఫీచర్ | స్పెసిఫికేషన్ |
|---|---|
| బ్రాండ్ | గిగాబైట్ |
| మోడల్ పేరు | X870E AORUS ELITE X3D ICE |
| CPU సాకెట్ | LGA 1718 (AMD AM5) |
| అనుకూల ప్రాసెసర్లు | AMD రైజెన్ 9000/8000/7000 సిరీస్ |
| చిప్సెట్ రకం | AMD X870E |
| RAM మెమరీ టెక్నాలజీ | DDR5 |
| మెమరీ స్లాట్లు అందుబాటులో ఉన్నాయి | 4 |
| RAM మెమరీ గరిష్ట పరిమాణం | 256 GB |
| PCIe స్లాట్లు | 1x PCIe Gen5 x16, 2x PCIe 5.0 M.2, 2x PCIe 4.0 M.2 |
| USB పోర్ట్లు | 2x USB4 Type-C with DP Alt, 1x USB 3.2 Gen 2 Type-C, 5x USB 3.2 Gen 2 Type-A, 3x USB 3.2 Gen 1 Type-A, 65W Front USB-C |
| ఈథర్నెట్ | 5 GbE LAN |
| వైర్లెస్ కనెక్టివిటీ | WIFI7 |
| పవర్ ఫేజ్ | Digital Twin 16+2+2 |
| ఫారమ్ ఫ్యాక్టర్ | ATX |
| కొలతలు (L x W x H) | 12.01"లీ x 9.61"వా x 1.75"హ |
వారంటీ మరియు మద్దతు
The GIGABYTE X870E AORUS ELITE X3D ICE Motherboard comes with a 5-సంవత్సరం తయారీదారు వారంటీ. For technical support, driver downloads, BIOS updates, and further assistance, please visit the official GIGABYTE website. You can also refer to the multilingual installation guide included in the product packaging for additional details.
వీడియో 2: 360-డిగ్రీ view of the X870E AORUS ELITE X3D ICE motherboard, showcasing దాని డిజైన్ మరియు లక్షణాలు.