1. పరిచయం
Thank you for choosing the Acer Vero CB272P6bmiprx Full-HD Office Monitor. This manual provides essential information for the safe and efficient use of your new monitor. Please read these instructions carefully before installation and operation, and retain them for future reference.
2. భద్రతా సమాచారం
- మానిటర్ పడిపోకుండా నిరోధించడానికి ఎల్లప్పుడూ స్థిరమైన, సమతల ఉపరితలంపై ఉంచండి.
- మానిటర్ చుట్టూ సరైన వెంటిలేషన్ ఉండేలా చూసుకోండి. వెంటిలేషన్ ఓపెనింగ్లను బ్లాక్ చేయవద్దు.
- మానిటర్తో పాటు అందించిన పవర్ అడాప్టర్ మరియు కేబుల్లను మాత్రమే ఉపయోగించండి.
- విద్యుత్ షాక్ను నివారించడానికి మానిటర్ను వర్షం లేదా తేమకు గురిచేయవద్దు.
- మానిటర్ను ఉష్ణ వనరుల దగ్గర లేదా ప్రత్యక్ష సూర్యకాంతిలో ఉంచకుండా ఉండండి.
- Disconnect the power cable from the outlet before cleaning or if the monitor will be unused for an extended period.
3. ప్యాకేజీ విషయాలు
మీ ప్యాకేజీలో అన్ని అంశాలు ఉన్నాయని ధృవీకరించండి:
- Acer Vero CB272P6bmiprx Monitor
- మానిటర్ స్టాండ్ (బేస్ మరియు మెడ)
- పవర్ కేబుల్
- HDMI కేబుల్
- డిస్ప్లేపోర్ట్ కేబుల్
- USB అప్స్ట్రీమ్ కేబుల్
- త్వరిత ప్రారంభ గైడ్
4. సెటప్
4.1 మానిటర్ స్టాండ్ను అసెంబుల్ చేయడం
- మానిటర్ను దాని ప్యాకేజింగ్ నుండి జాగ్రత్తగా తీసివేయండి, దానిని సురక్షితంగా ఉంచండి.
- స్టాండ్ మెడను మానిటర్ ప్యానెల్కు అటాచ్ చేయండి. అది సురక్షితంగా స్థానంలో క్లిక్ అవుతుందని లేదా అందించినట్లయితే స్క్రూలతో బిగించబడిందని నిర్ధారించుకోండి.
- స్టాండ్ బేస్ను స్టాండ్ మెడకు అటాచ్ చేయండి. బేస్ దిగువ నుండి థంబ్ స్క్రూ లేదా స్క్రూలను బిగించండి.
- అమర్చబడిన మానిటర్ను స్థిరమైన డెస్క్ లేదా ఉపరితలంపై ఉంచండి.

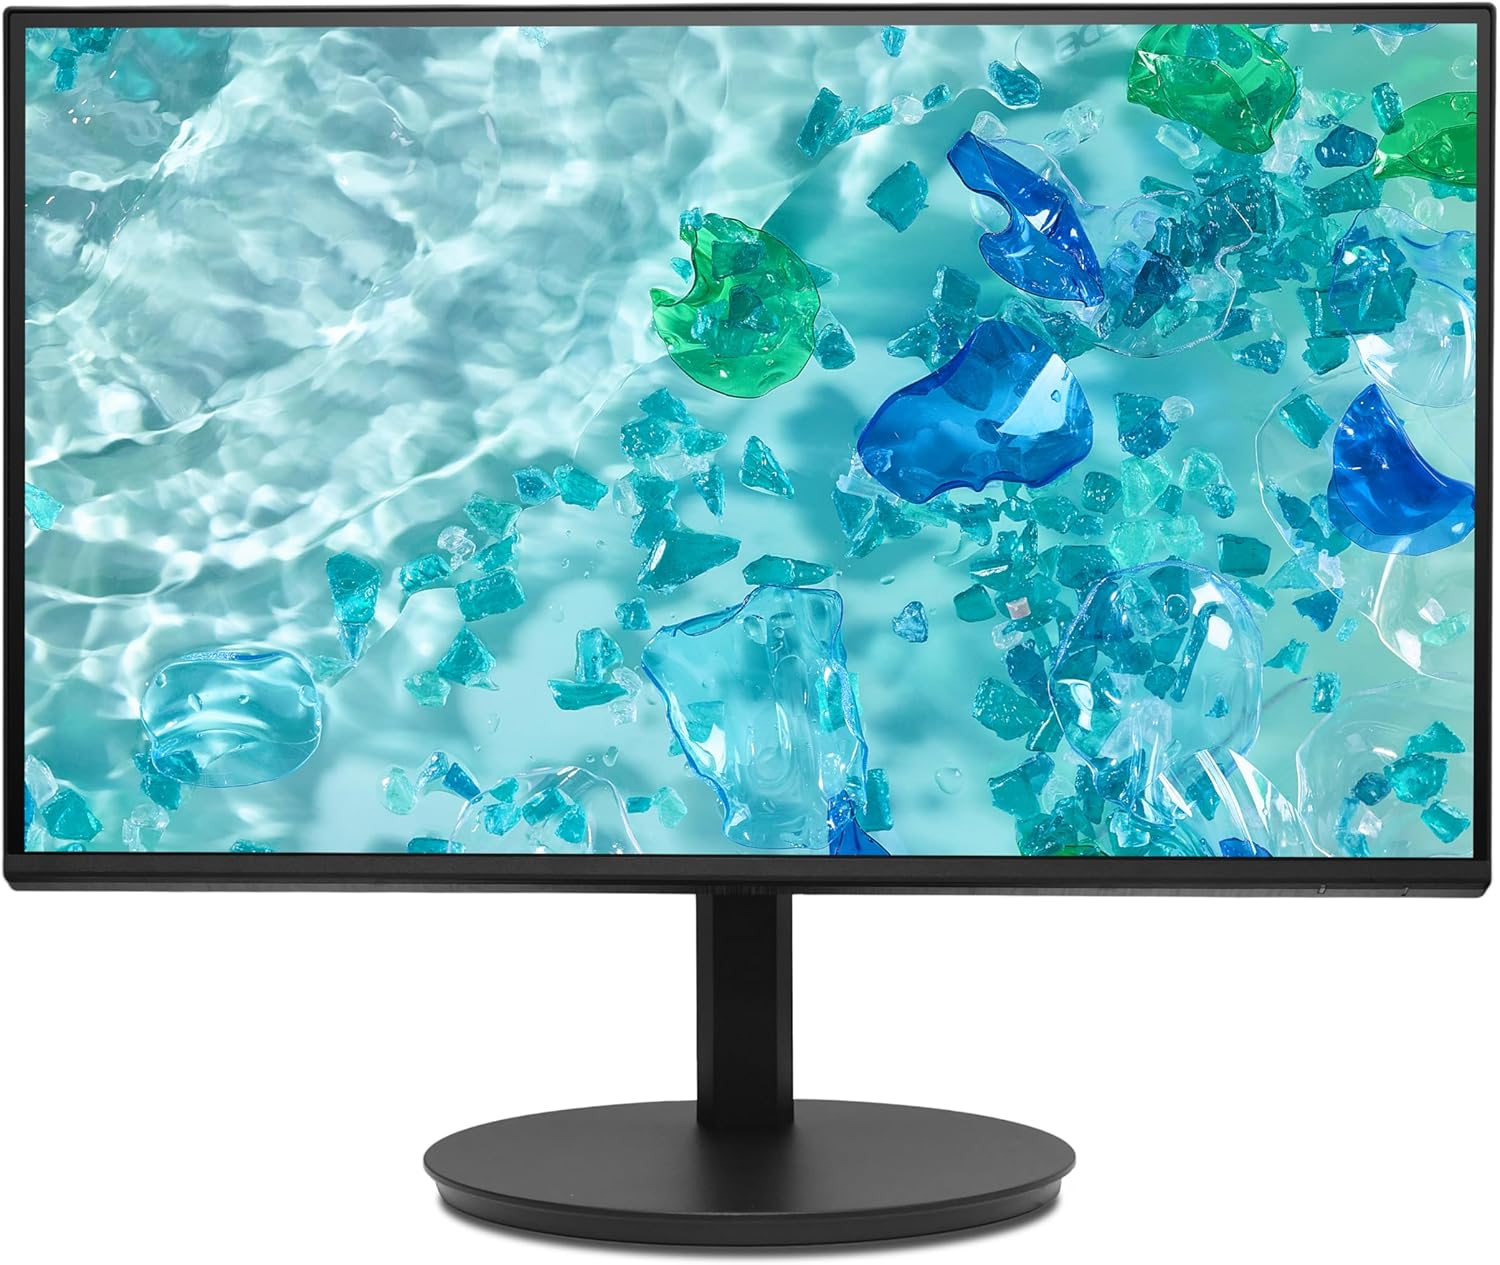
చిత్రం 1: ముందు view of the Acer Vero CB272P6bmiprx monitor on its stand.
4.2 కనెక్ట్ కేబుల్స్
- పవర్ కనెక్షన్: పవర్ కేబుల్ను మానిటర్ పవర్ ఇన్పుట్కి కనెక్ట్ చేయండి, ఆపై మరొక చివరను పవర్ అవుట్లెట్లోకి ప్లగ్ చేయండి.
- వీడియో కనెక్షన్: Connect one end of your preferred video cable (HDMI, DisplayPort, or VGA) to the corresponding port on the monitor and the other end to your computer's graphics card. For optimal performance, DisplayPort or HDMI is recommended.
- USB కనెక్షన్: If you wish to use the monitor's USB ports, connect the USB upstream cable from the monitor to an available USB port on your computer.
చిత్రం 2: వెనుక view of the Acer Vero CB272P6bmiprx monitor, highlighting the input ports for power, video, and USB.
5. ఆపరేటింగ్
5.1 పవర్ ఆన్/ఆఫ్
మానిటర్ను ఆన్ లేదా ఆఫ్ చేయడానికి సాధారణంగా మానిటర్ వెనుక లేదా దిగువ కుడి వైపున ఉండే పవర్ బటన్ను నొక్కండి. మానిటర్ ఆన్లో ఉన్నప్పుడు పవర్ ఇండికేటర్ లైట్ వెలుగుతుంది.
5.2 ఆన్-స్క్రీన్ డిస్ప్లే (OSD) మెనూ
The OSD menu allows you to adjust various monitor settings. Use the control buttons (joystick or individual buttons) typically located on the back or bottom of the monitor to navigate the menu.
- ఇన్పుట్: Select the active video input source (HDMI, DisplayPort, VGA).
- చిత్రం: ప్రకాశం, కాంట్రాస్ట్, షార్ప్నెస్ మరియు రంగు ఉష్ణోగ్రతను సర్దుబాటు చేయండి.
- రంగు: Fine-tune color settings, including gamma and sRGB mode.
- ఆడియో: స్పీకర్ వాల్యూమ్ను సర్దుబాటు చేయండి లేదా మ్యూట్ చేయండి.
- OSD: OSD భాష, పారదర్శకత మరియు గడువు ముగింపును మార్చండి.
5.3 Using the Integrated Speakers
The monitor features integrated speakers. Adjust the volume through the OSD menu or your computer's audio settings. Ensure your computer's audio output is directed to the monitor if using HDMI or DisplayPort for audio transmission.
6. నిర్వహణ
6.1 మానిటర్ను శుభ్రపరచడం
- స్క్రీన్: మెత్తటి, మెత్తటి బట్టతో స్క్రీన్ను సున్నితంగా తుడవండి. మొండి మరకల కోసం, కొద్దిగా dampనీటితో లేదా రాపిడి లేని స్క్రీన్ క్లీనర్తో వస్త్రాన్ని తుడవండి. స్క్రీన్పై ఎప్పుడూ ద్రవాన్ని నేరుగా పిచికారీ చేయవద్దు.
- Casing: మానిటర్ను శుభ్రం చేయడానికి మృదువైన, పొడి వస్త్రాన్ని ఉపయోగించండి casing. బలమైన డిటర్జెంట్లు లేదా ద్రావకాలను వాడటం మానుకోండి.
6.2 నిల్వ
మానిటర్ను ఎక్కువ కాలం నిల్వ ఉంచినట్లయితే, అన్ని కేబుల్లను డిస్కనెక్ట్ చేయండి, వీలైతే దాని అసలు ప్యాకేజింగ్లో ప్యాక్ చేయండి మరియు ప్రత్యక్ష సూర్యకాంతి మరియు తీవ్రమైన ఉష్ణోగ్రతలు లేని చల్లని, పొడి ప్రదేశంలో నిల్వ చేయండి.
7. ట్రబుల్షూటింగ్
మీ మానిటర్తో మీకు సమస్యలు ఎదురైతే, ఈ క్రింది సాధారణ సమస్యలు మరియు పరిష్కారాలను చూడండి:
| సమస్య | సాధ్యమైన పరిష్కారం |
|---|---|
| శక్తి లేదు | పవర్ కేబుల్ మానిటర్ మరియు పవర్ అవుట్లెట్ రెండింటికీ సురక్షితంగా కనెక్ట్ చేయబడిందో లేదో తనిఖీ చేయండి. పవర్ అవుట్లెట్ పనిచేస్తుందని నిర్ధారించుకోండి. |
| సిగ్నల్ లేదు | Verify that the video cable is correctly connected to both the monitor and the computer. Select the correct input source using the OSD menu. Ensure the computer is powered on and not in sleep mode. |
| చిత్రం వక్రీకరించబడింది లేదా అస్పష్టంగా ఉంది | Check the video cable connection. Adjust resolution and refresh rate settings on your computer to match the monitor's native resolution (1920x1080) and refresh rate (144Hz). |
| స్పీకర్ల నుండి శబ్దం లేదు | Ensure the audio cable (if separate) is connected, or if using HDMI/DP, check your computer's audio output settings. Adjust the monitor's volume via the OSD menu. |
8. స్పెసిఫికేషన్లు
Key technical specifications for the Acer Vero CB272P6bmiprx monitor:
| ఫీచర్ | స్పెసిఫికేషన్ |
|---|---|
| బ్రాండ్ | ఏసర్ |
| మోడల్ సంఖ్య | Vero CB272P6bmiprx |
| స్క్రీన్ పరిమాణం | 27 అంగుళాలు (68.6 సెం.మీ.) |
| రిజల్యూషన్ | Full-HD (1920 x 1080) |
| ప్యానెల్ రకం | IPS |
| రిఫ్రెష్ రేట్ | 144 Hz |
| రంగు స్వరసప్తకం | 99% sRGB |
| ప్రతిస్పందన సమయం | 1 Millisecond (VRB) |
| కారక నిష్పత్తి | 16:9 |
| వీడియో ఇన్పుట్లు | 1x HDMI (1.4), 1x DisplayPort (1.2), 1x VGA |
| USB పోర్ట్లు | 4 (USB 3.0) |
| వక్తలు | ఇంటిగ్రేటెడ్ |
| వాల్యూమ్tage | 230 వోల్ట్లు |
| వస్తువు బరువు | 5.61 కిలోలు |
9. వారంటీ మరియు మద్దతు
Your Acer Vero CB272P6bmiprx monitor comes with a standard manufacturer's warranty. For detailed warranty terms, conditions, and registration, please refer to the warranty card included in your package or visit the official Acer support webసైట్.
For technical assistance, driver downloads, or further support, please visit the Acer support webసైట్ వద్ద www.acer.com/support ద్వారా.