1. పరిచయం
Welcome to the user manual for your Theragun RecoveryAir Pro Pneumatic Compression Therapy System. This system is designed to enhance recovery and improve circulation through customizable pneumatic compression. It is suitable for athletes, fitness enthusiasts, and individuals seeking relief from muscle soreness and stiffness.
The RecoveryAir Pro system utilizes clinical-grade compression technology to help reduce delayed onset muscle soreness, decrease swelling and stiffness, and relieve muscle fatigue, contributing to faster recovery and improved performance.

Image: A user comfortably seated, wearing the RecoveryAir Pro boots during a recovery session. The control unit is visible beside them.
2. భద్రతా సమాచారం
Important: Before using the RecoveryAir Pro system, consult with a healthcare professional, especially if you have pre-existing medical conditions, including but not limited to heart conditions, blood clots, or skin infections. This device is not intended to diagnose, treat, cure, or prevent any disease or health condition.
- Do not use the device if you have open wounds, inflamed areas, or severe swelling.
- Always start with the lowest pressure setting and gradually increase as tolerated.
- Ensure proper fit of the boots to avoid discomfort or ineffective compression.
- పరికరాన్ని నీరు మరియు తీవ్రమైన ఉష్ణోగ్రతల నుండి దూరంగా ఉంచండి.
- Do not attempt to modify or repair the device yourself. Contact customer support for assistance.
3. ప్యాకేజీ విషయాలు
Your Theragun RecoveryAir Pro system package should include the following components:
- RecoveryAir PRO pneumatic compression device (control unit)
- Set of RecoveryAir compression boots (Medium size)
- Blocker plug (for single leg use)
- DC పవర్ అడాప్టర్

Image: An illustration of the RecoveryAir PRO control unit and the two compression boots, representing the main components included in the package.
4. ఉత్పత్తి ముగిసిందిview
The RecoveryAir Pro system consists of a central control unit and two compression boots. The control unit manages the air pressure and cycle times, while the boots provide targeted compression to your legs.

Image: The complete RecoveryAir Pro system, showing the control unit and the two compression boots laid out.

Image: A visual summary of key features including app control, faster cycle times, precise pressure, Bluetooth, hygienic chambers, and battery life.
ముఖ్య లక్షణాలు ఉన్నాయి:
- Customizable Programs: Five fully customizable treatment programs via the control unit or the Therabody app.
- ఖచ్చితమైన ఒత్తిడి నియంత్రణ: Ensures safe and effective compression levels.
- Hygienic Chambers: Four overlapping internal chambers designed for easy cleaning and seamless compression.
- పొడిగించిన బ్యాటరీ జీవితం: Up to 240 minutes of operation on a single charge.
- బ్లూటూత్ కనెక్టివిటీ: Allows for smart control and program customization via a compatible mobile application.
5. సెటప్
- Prepare the Boots: Unzip the compression boots fully. The boots are designed with full-length zippers for easy donning and doffing, similar to putting on pants.
- Don the Boots: Slide your legs into the boots. Ensure your feet are comfortably positioned at the bottom and the boots extend up to your upper thighs. Zip up the boots completely.
- గొట్టాలను కనెక్ట్ చేయండి: Locate the air hoses extending from each boot. Connect these hoses to the corresponding ports on the RecoveryAir Pro control unit. Ensure the connections are secure.
- Single Leg Use (Optional): If you intend to use only one boot, insert the provided blocker plug into the unused port on the control unit. This prevents pressure leakage and ensures proper operation for the single boot.
- పవర్ ఆన్: Connect the DC power adaptor to the control unit and plug it into a power outlet. The device can also operate on its internal battery once charged.

Image: A user zipping up the RecoveryAir boot, illustrating the easy-to-use zipper closure.

Image: Detail of the air hose connections, showing how the boots connect to the control unit.
6. ఆపరేటింగ్ సూచనలు
- ఆన్ చేయండి: Press the power button on the control unit. The display will illuminate, showing current settings.
- మోడ్ని ఎంచుకోండి: Use the navigation buttons or the rotary knob to select your desired recovery program (e.g., Recover, Warm-up, Isolation).
- ఒత్తిడిని సర్దుబాటు చేయండి: Rotate the knob to set the desired pressure level in mmHg. It is recommended to start with a lower pressure, such as 40 mmHg, and gradually increase to a comfortable and effective level (up to 100 mmHg).
- సమయాన్ని సెట్ చేయండి: Use the timer button or controls to set the session duration (15, 30, 45, 60 minutes, or continuous).
- సెషన్ ప్రారంభం: Press the Start/Stop button to begin the compression cycle. The boots will inflate sequentially, starting from the feet and moving upwards, then hold pressure for a few seconds before releasing. This cycle will repeat until the set time expires.
- యాప్ నియంత్రణ: For advanced customization and control, download the Therabody app and connect your RecoveryAir Pro via Bluetooth. The app allows for precise adjustments and tracking of your sessions.
- ముగింపు సెషన్: To stop a session early, press the Start/Stop button. The boots will deflate. Turn off the device by pressing the power button.

Image: The control panel display, showing options for pressure, time, and mode selection.
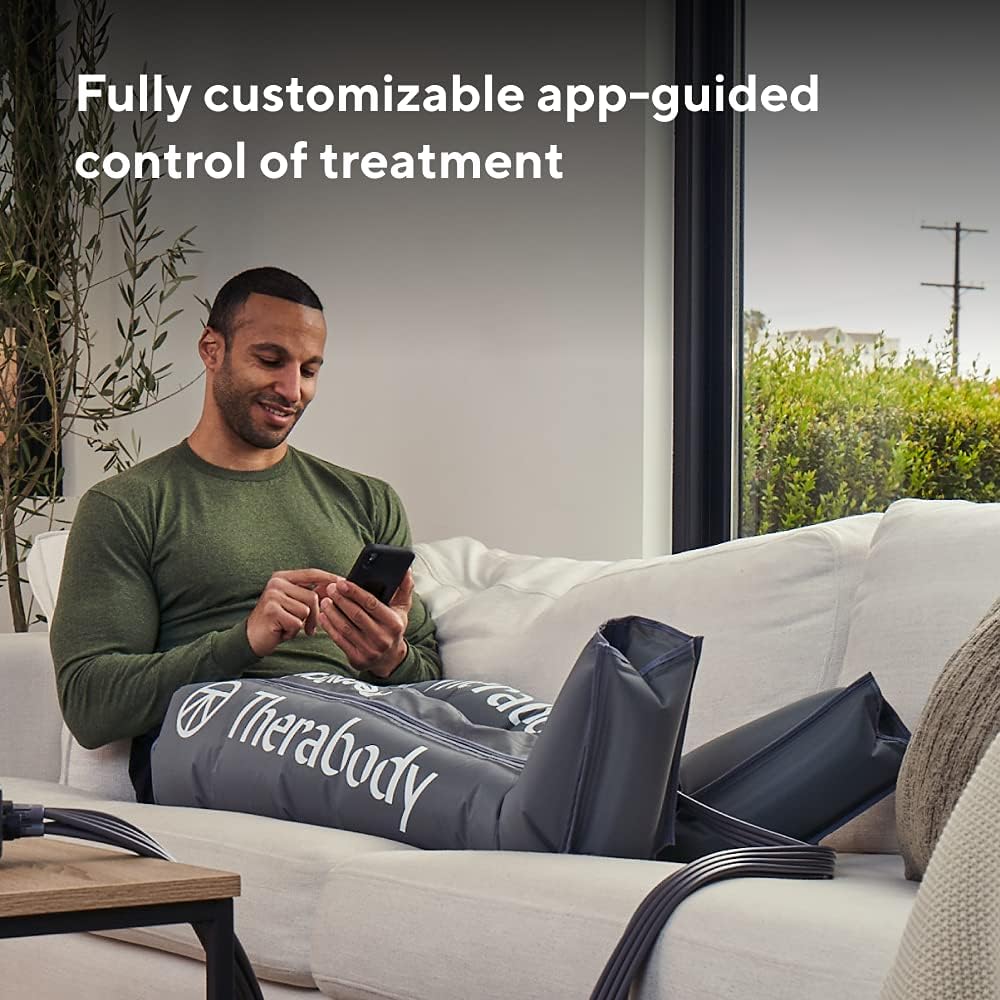
Image: A user interacting with the Therabody app on a smartphone to control their RecoveryAir Pro session.

చిత్రం: ఒక క్రాస్-సెక్షన్ view of the RecoveryAir boot, highlighting the internal chambers and the direction of pressure application for effective gradient compression.
7. నిర్వహణ
Proper maintenance ensures the longevity and hygiene of your RecoveryAir Pro system.
- Cleaning the Boots: The internal and external surfaces of the boots are designed for easy cleaning. Wipe them down with a damp cloth and mild soap as needed. Ensure they are completely dry before storage.
- పరిశుభ్రమైన డిజైన్: The boots feature hidden seamless compartments that prevent moisture ingress and simplify cleaning.
- Control Unit Care: Wipe the control unit with a dry or slightly damp వస్త్రం. నీటిలో ముంచవద్దు లేదా కఠినమైన రసాయనాలను ఉపయోగించవద్దు.
- నిల్వ: Store the system in a clean, dry place away from direct sunlight and extreme temperatures. Ensure the boots are fully deflated and neatly folded before storage.

చిత్రం: వివరణాత్మక view of the boot's interior, emphasizing its hygienic, seamless design for easy cleaning and moisture resistance.
8. ట్రబుల్షూటింగ్
| సమస్య | సాధ్యమైన కారణం | పరిష్కారం |
|---|---|---|
| No pressure or low pressure in boots. | Hoses not securely connected; blocker plug not inserted for single leg use; low battery. | Ensure all hose connections are firm. If using one boot, insert the blocker plug into the unused port. Charge the control unit. |
| పరికరం ఆన్ చేయడం లేదు. | Battery depleted; power adaptor not connected properly. | Charge the device using the DC power adaptor. Ensure the adaptor is securely plugged into both the unit and the power outlet. |
| Boots feel too tight or too loose. | Incorrect pressure setting; boots not zipped properly. | Adjust the pressure setting on the control unit. Ensure boots are fully zipped and fit snugly but comfortably. |
For further troubleshooting or issues not listed here, please refer to the comprehensive user guide available on the Therabody webసైట్ లేదా కస్టమర్ సపోర్ట్ని సంప్రదించండి.
9. స్పెసిఫికేషన్లు
- మోడల్: RecoveryAir Pro (Medium - 2nd Generation)
- ఉత్పత్తి కొలతలు: 21 x 10.5 x 8 inches (packaged); 10.55 Pounds
- తయారీదారు: థెరగున్
- యూనిట్ కౌంట్: 1 System (includes 2 boots and 1 control unit)
- బ్యాటరీ లైఫ్: 240 నిమిషాల వరకు (4 గంటలు)
- ఒత్తిడి పరిధి: Up to 100 mmHg (adjustable)
- గదులు: 4 overlapping internal chambers
- కనెక్టివిటీ: బ్లూటూత్ స్మార్ట్
10. వారంటీ మరియు మద్దతు
Theragun products are built with quality and durability in mind. Your RecoveryAir Pro system comes with a limited warranty covering manufacturing defects. Please refer to the warranty information provided with your purchase or visit the official Therabody website for full details and terms.
For product support, technical assistance, or warranty claims, please contact Therabody Customer Service:
- Webసైట్: www.therabody.com
- కస్టమర్ సేవ: Refer to the contact section on the Therabody webఫోన్ నంబర్లు లేదా ఇమెయిల్ మద్దతు కోసం సైట్.
మద్దతును సంప్రదించేటప్పుడు దయచేసి మీ ఉత్పత్తి మోడల్ మరియు సీరియల్ నంబర్ను సిద్ధంగా ఉంచుకోండి.


