సమయాన్ని సెట్ చేస్తోంది
Use the time setting knob located on the back of the clock to adjust the hour and minute hands. Rotate the knob clockwise or counter-clockwise until the correct time is displayed.
Model: B09JKWDFTT | Brand: ROTH
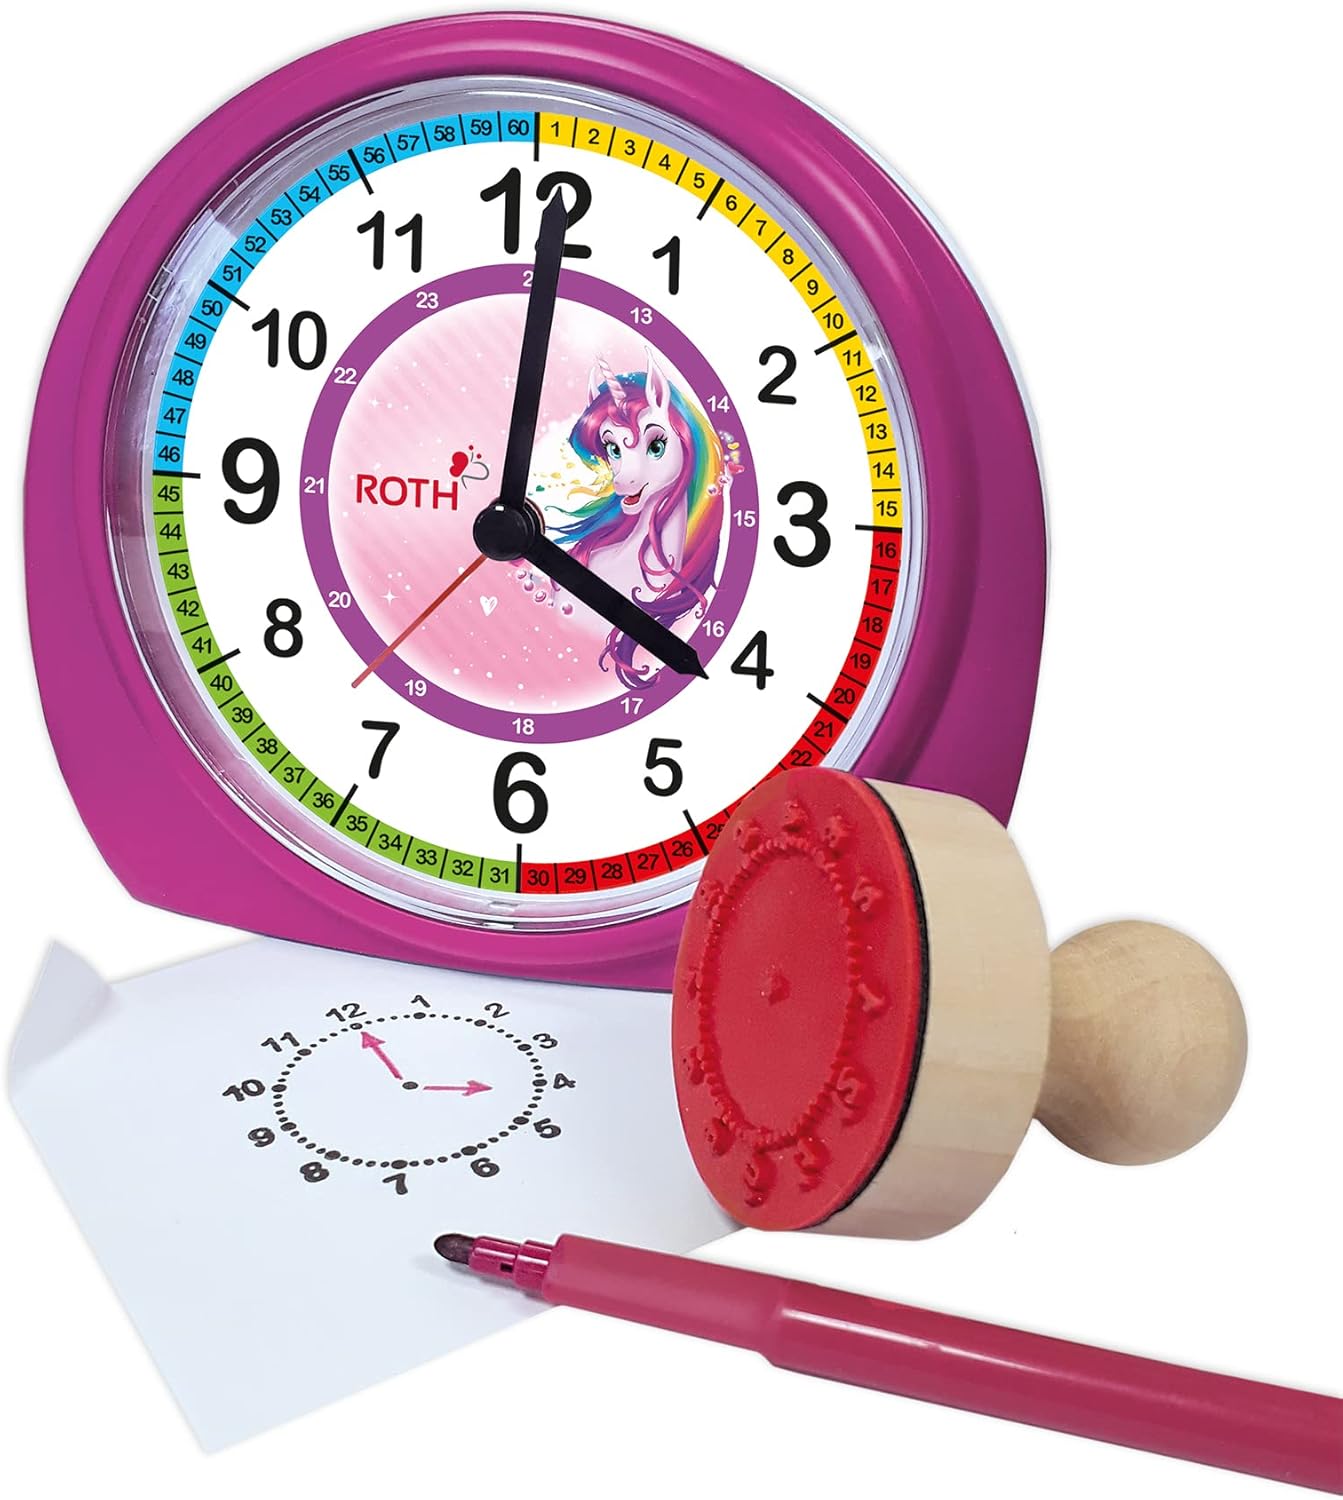
This manual provides comprehensive instructions for the ROTH Educational Alarm Clock and Stamp Set. Designed to assist children in learning to tell time, this set includes an alarm clock with various features and a complementary stamp set for practice. Please read this manual thoroughly before use to ensure proper operation and safety.

WARNING: CHOKING HAZARD – Small parts. Not suitable for children under 3 years.
అన్ని అంశాలు ఉన్నాయని నిర్ధారించుకోవడానికి దయచేసి ప్యాకేజీని తనిఖీ చేయండి:

The alarm clock requires 1x AA battery (not included).

Use the time setting knob located on the back of the clock to adjust the hour and minute hands. Rotate the knob clockwise or counter-clockwise until the correct time is displayed.
Use the alarm setting knob, also on the back, to set the desired alarm time. The alarm will sound a beep when the set time is reached. To activate or deactivate the alarm, use the ON/OFF switch located on the side of the clock.

When the alarm sounds, press the large button on the top of the clock to activate the snooze function. The alarm will temporarily stop and sound again after a short interval.
The clock features a backlight for visibility in low-light conditions. Press the backlight button, typically located on the top or side, to illuminate the clock face.
The included wooden stamp and ink pad are designed to help children practice telling time. The stamp creates a clock face outline on paper, allowing children to draw in the hands for various times.

| సమస్య | సాధ్యమైన కారణం | పరిష్కారం |
|---|---|---|
| గడియారం పని చేయడం లేదు | బ్యాటరీ డెడ్ అయింది లేదా తప్పుగా చొప్పించబడింది. | Replace battery (1x AA) or check polarity. |
| అలారం మోగడం లేదు | అలారం సక్రియం చేయబడలేదు లేదా తప్పుగా సెట్ చేయబడలేదు. | Ensure alarm ON/OFF switch is in the 'ON' position and alarm time is set correctly. |
| బ్యాక్లైట్ పని చేయడం లేదు | Battery low or backlight button not pressed. | Replace battery or press the backlight button firmly. |
| Stamp not making clear impression | Ink pad is dry or stamp not evenly inked. | Ensure ink pad is moist; re-ink stamp evenly. Replace ink pad if necessary. |
| ఫీచర్ | వివరాలు |
|---|---|
| ఉత్పత్తి కొలతలు (LxWxH) | 20 x 21.1 x 7.3 సెం.మీ |
| వస్తువు బరువు | 350 గ్రాములు |
| ప్రత్యేక లక్షణాలు | Snooze, Alarm, Backlight |
| బ్రాండ్ | ROTH |
| వయస్సు పరిధి (వివరణ) | పిల్లలు |
| మెటీరియల్ | Wood (Stamp), Plastic (Clock) |
| రంగు | పింక్ |
| శక్తి మూలం | బ్యాటరీ ఆధారితమైనది |
| బ్యాటరీ రకం | 1x AA (చేర్చబడలేదు) |
This product comes with a standard manufacturer's warranty. For specific warranty details, including duration and coverage, please refer to the product packaging or contact ROTH customer support directly. If you encounter any issues or have questions not covered in this manual, please reach out to the retailer or manufacturer for assistance.
For further support, please visit the official ROTH webసైట్ లేదా వారి కస్టమర్ సేవా విభాగాన్ని సంప్రదించండి.
 |
రోత్ టచ్లైన్® SL థర్మోస్టాట్ ఇన్స్టాలేషన్ గైడ్ రోత్ టచ్లైన్® SL రూమ్ థర్మోస్టాట్ మరియు అండర్ఫ్లోర్ హీటింగ్ సిస్టమ్ కోసం సమగ్ర ఇన్స్టాలేషన్ గైడ్. ఫ్లోర్ సెన్సార్లు మరియు కంట్రోలర్లతో మీ థర్మోస్టాట్ను ఎలా జత చేయాలో, నమోదు చేసుకోవాలో మరియు కాన్ఫిగర్ చేయాలో తెలుసుకోండి. |
 |
రోత్ టచ్లైన్ SL థర్మోస్టాట్ ఇన్స్టాలేషన్ గైడ్ రోత్ టచ్లైన్ SL మరియు SL ప్లస్ థర్మోస్టాట్ల కోసం సమగ్ర ఇన్స్టాలేషన్ మరియు సెటప్ గైడ్. వాల్ మౌంటింగ్, వైరింగ్, సెన్సార్ కనెక్షన్, కంట్రోలర్లతో జత చేయడం, ఫ్లోర్ సెన్సార్ కాన్ఫిగరేషన్ మరియు అధునాతన ఫంక్షన్లను కవర్ చేస్తుంది. |
 |
రోత్ మల్టీపెక్స్® PEX పైపింగ్ సిస్టమ్ ఇన్స్టాలేషన్ గైడ్ ఈ ఇన్స్టాలేషన్ గైడ్ Roth MultiPex® PEX పైపింగ్ సిస్టమ్ల కోసం వివరణాత్మక సూచనలను అందిస్తుంది. ఇది పైప్ కటింగ్, వంగడం మరియు ఫిక్సింగ్ వంటి ముఖ్యమైన దశలను, ద్రావణి వాడకం గురించి హెచ్చరికలను కూడా కవర్ చేస్తుంది. ఈ పత్రంలో సమగ్ర సాంకేతిక డేటా మరియు అనుకూల ఉపకరణాల జాబితా కూడా ఉన్నాయి, స్పష్టత కోసం ఆంగ్లంలో అందించబడింది. తాగునీరు మరియు సెంట్రల్ హీటింగ్ అప్లికేషన్లకు అనుకూలం. |
 |
రోత్ మల్టీపెక్స్® ఇన్స్టాలేషన్ గైడ్: పైపులు మరియు ఫిట్టింగ్లు రోత్ మల్టీపెక్స్® పైప్ సిస్టమ్ల కోసం సమగ్ర ఇన్స్టాలేషన్ గైడ్, కటింగ్, బెండింగ్, ఫిక్సింగ్, అసెంబ్లీ, సాంకేతిక వివరణలు మరియు ఉపకరణాలను కవర్ చేస్తుంది. రోత్ ప్లంబింగ్ సొల్యూషన్లను సురక్షితంగా మరియు సమర్ధవంతంగా ఎలా ఇన్స్టాల్ చేయాలో తెలుసుకోండి. |
 |
రోత్ టచ్లైన్® PL రూమ్ థర్మోస్టాట్ ఇన్స్టాలేషన్ మరియు ఆపరేషన్ గైడ్ ఈ గైడ్ Roth Touchline® PL వైర్లెస్ రూమ్ థర్మోస్టాట్ను ఇన్స్టాల్ చేయడం మరియు ఆపరేట్ చేయడం కోసం సమగ్ర సూచనలను అందిస్తుంది. ఇది సెటప్, కంట్రోలర్తో జత చేయడం మరియు థర్మోస్టాట్ యొక్క విధులు మరియు సెట్టింగ్ల యొక్క వివరణాత్మక వివరణలను కవర్ చేస్తుంది. |
 |
Roth Vipanel® Asennusdetaljit Märkätiloissa Yksityiskohtaiset asennusohjeet ja detaljipiirrokset Roth Vipanel® -levyjen asentamiseen märkätiloihin, kattaen lattia- ja kattosaumat eri alustatyypeillä, mukaan lukien muovimattoiset lattiat. |