1. పరిచయం
This manual provides detailed instructions for the safe and efficient use of your PeriPage A40 Portable Thermal Printer. The PeriPage A40 is an inkless, portable printer designed for various printing needs, including documents, web pages, photos, and specialized papers like tattoo transfer paper. It offers wireless connectivity via Bluetooth and is compatible with Android, iOS, Windows, and Mac OS devices.
సరైన కార్యాచరణను నిర్ధారించడానికి మరియు నష్టాన్ని నివారించడానికి పరికరాన్ని ఆపరేట్ చేసే ముందు దయచేసి ఈ మాన్యువల్ను పూర్తిగా చదవండి.
2. భద్రతా సమాచారం
- ప్రింటర్ను నీరు లేదా అధిక తేమకు గురిచేయవద్దు.
- విపరీతమైన ఉష్ణోగ్రతలు, ప్రత్యక్ష సూర్యకాంతి లేదా దుమ్ముతో కూడిన వాతావరణాలను నివారించండి.
- Use only the specified thermal paper for optimal performance and to prevent damage to the print head.
- పరికరాన్ని పిల్లలకు దూరంగా ఉంచండి.
- ప్రింటర్ను మీరే విడదీయడానికి లేదా రిపేర్ చేయడానికి ప్రయత్నించవద్దు. సహాయం కోసం కస్టమర్ సపోర్ట్ను సంప్రదించండి.
- Ensure the printer is charged using a compatible power adapter.
3. ప్యాకేజీ విషయాలు
అన్ప్యాక్ చేసిన తర్వాత, క్రింద జాబితా చేయబడిన అన్ని అంశాలు ఉన్నాయని దయచేసి ధృవీకరించండి:
- PeriPage A40 Portable Thermal Printer
- USB టైప్-సి ఛార్జింగ్ కేబుల్
- వినియోగదారు మాన్యువల్ (ఈ పత్రం)
- Thermal Paper Roll (1 additional roll included)
- Paper Width Adjustment Clips (2 clips)

Image: The PeriPage A40 printer shown with a sample document being printed. This illustrates the compact design and printing capability of the device.
4. ఉత్పత్తి ముగిసిందిview
The PeriPage A40 is a versatile, inkless thermal printer designed for portability and convenience. It utilizes thermal transfer technology to produce crisp, monochrome prints without the need for ink cartridges, toner, or ribbons.
ముఖ్య లక్షణాలు:
- ఇంక్ లెస్ థర్మల్ ప్రింటింగ్: Environmentally friendly and cost-effective, requiring only thermal paper.
- అధిక రిజల్యూషన్: Delivers clear black and white prints at 300 x 300 dpi.
- Multi-Size Paper Support: Accommodates thermal paper widths of 210mm (A4/US Letter), 107mm, 77mm, and 56mm, supporting both roll and folded paper.
- వైర్లెస్ కనెక్టివిటీ: Connects via Bluetooth to Android and iOS smartphones/tablets.
- విస్తృత అనుకూలత: Supports printing from Windows and Mac OS computers via USB.
- పోర్టబుల్ డిజైన్: Compact and lightweight (1.45 pounds) for easy travel.
- సుదీర్ఘ బ్యాటరీ జీవితం: Equipped with two 2600mAh lithium batteries, capable of printing up to 360 A4 sheets on a full charge.
- అదనపు కార్యాచరణ: Includes basic scanning capabilities.
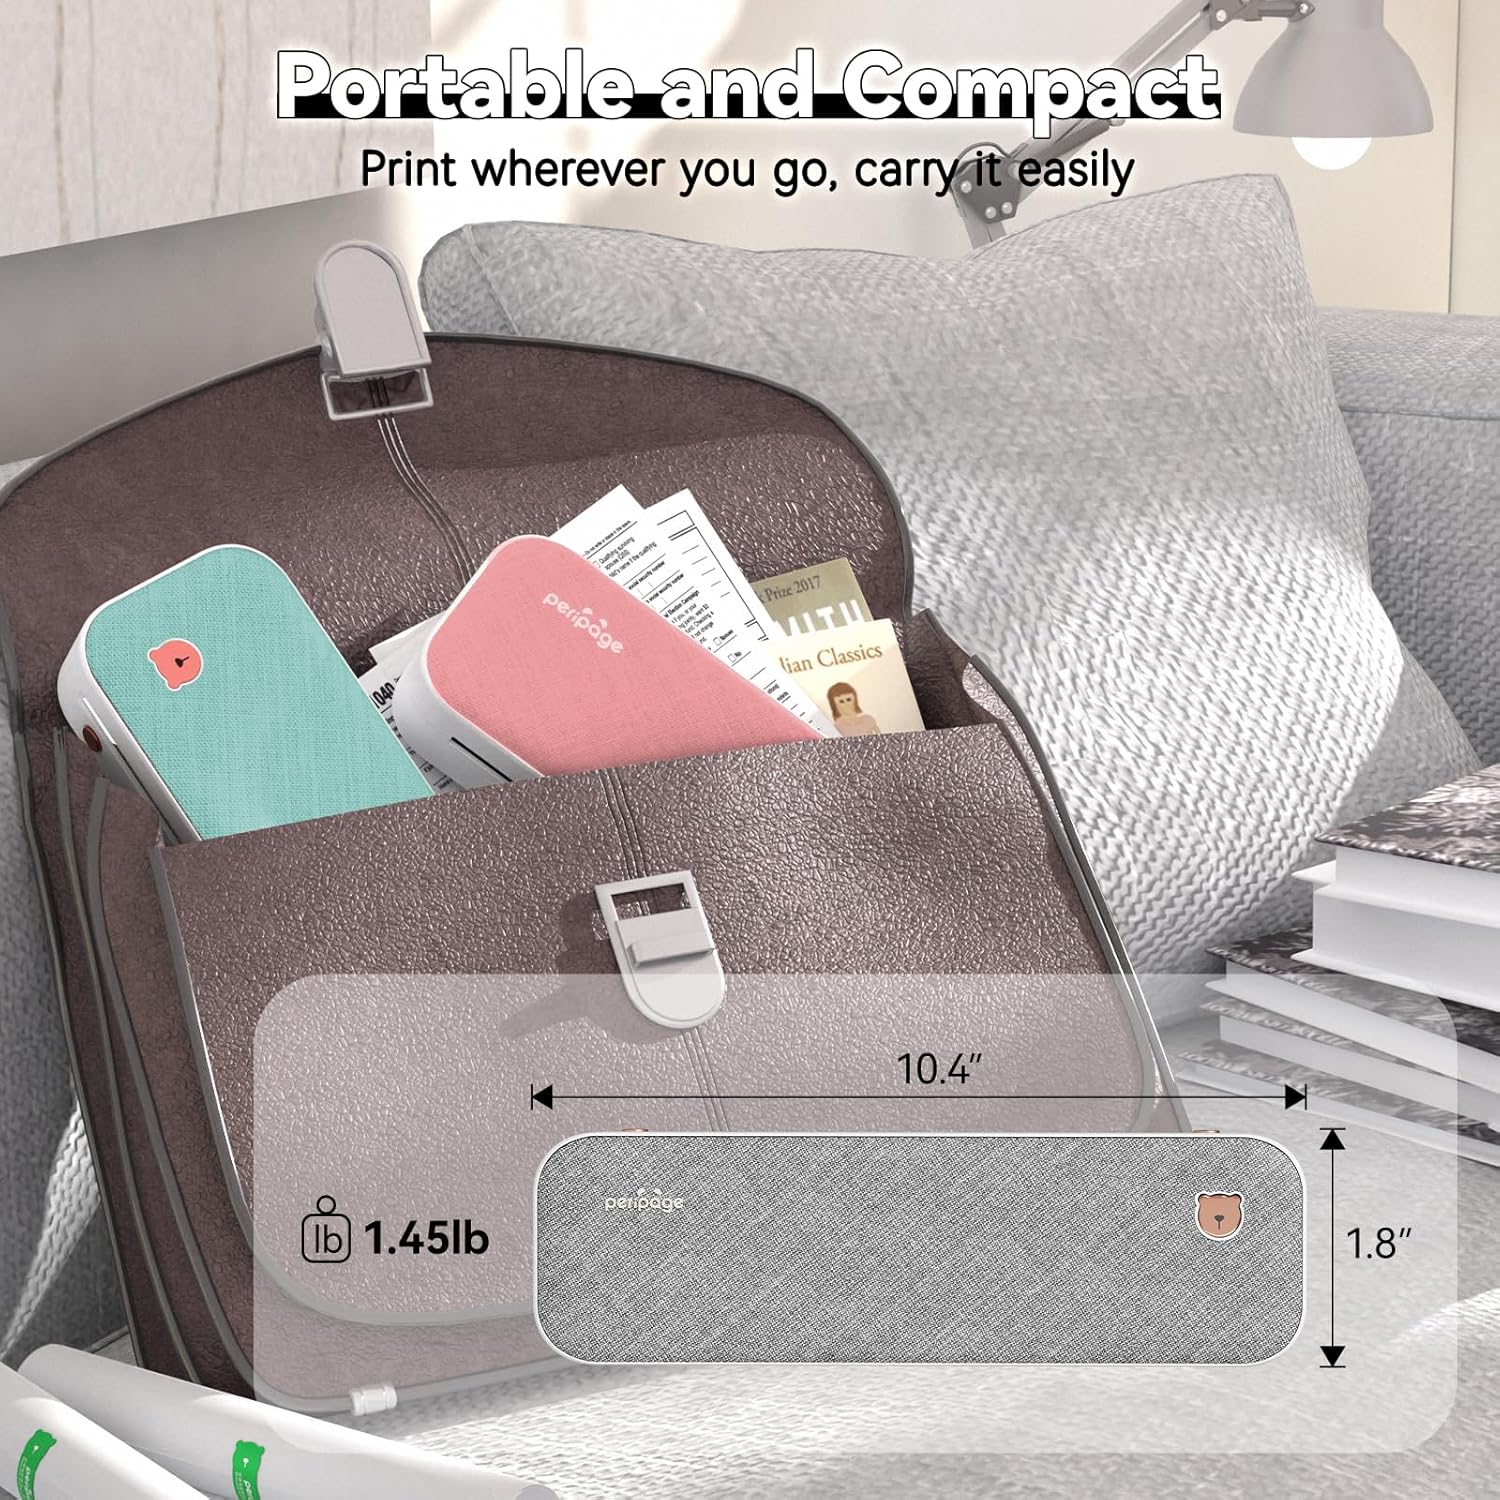
Image: The PeriPage A40 printer shown inside a bag, demonstrating its compact size and portability for travel or mobile use.
5. సెటప్
5.1 ప్రింటర్ను ఛార్జ్ చేయడం
Before first use, fully charge the printer. Connect the included USB Type-C cable to the printer's charging port and the other end to a compatible USB power adapter (not included) or a computer's USB port. The indicator light will show charging status.
5.2 పవర్ చేయడం ఆన్/ఆఫ్
To power on the printer, press and hold the power button for approximately 2 seconds until the indicator light illuminates. To power off, press and hold the power button again until the indicator light turns off.

చిత్రం: క్లోజప్ view of the PeriPage A40 printer's power button, indicating the action required to turn the device on.
5.3 App Download (for Mobile Devices)
For mobile printing, you must download the official "PeriPage" application. కోసం వెతకండి "PeriPage" in your device's app store (Google Play Store for Android or Apple App Store for iOS) or scan the QR code provided in the physical instruction manual.

Image: A smartphone displaying the PeriPage application download page, illustrating where to find the app for mobile printing.
5.4 Connecting to Mobile Devices (Bluetooth)
- Ensure the PeriPage A40 printer is powered on.
- Open the "PeriPage" app on your smartphone or tablet.
- Within the app, navigate to the device connection section (usually indicated by a Bluetooth icon or "Connect Device").
- The app will search for available PeriPage printers. Select "PeriPage A40" from the list to establish a Bluetooth connection.
- A successful connection will be indicated within the app.

Image: A smartphone screen displaying the Bluetooth connection process to the PeriPage A40 printer within the application.
5.5 Connecting to Computers (Windows/Mac OS)
- Ensure the PeriPage A40 printer is powered on.
- అందించిన USB టైప్-C కేబుల్ ఉపయోగించి ప్రింటర్ను మీ కంప్యూటర్కు కనెక్ట్ చేయండి.
- For Windows and Mac OS, you may need to install the printer driver. Visit the official PeriPage webసైట్ (www.ileadtek.com) to download the appropriate driver for your operating system.
- డ్రైవర్ ఇన్స్టాలేషన్ను పూర్తి చేయడానికి ఆన్-స్క్రీన్ సూచనలను అనుసరించండి.
- Once the driver is installed, the printer will be recognized by your computer and ready for use.

Image: The PeriPage A40 printer connected to a laptop using a USB-C cable, demonstrating the wired connection method for computer printing.
6. ఆపరేటింగ్ సూచనలు
6.1 పేపర్ లోడ్ అవుతోంది
The PeriPage A40 supports both thermal roll paper and folded thermal paper. It can accommodate various widths (210mm, 107mm, 77mm, 56mm).
- ప్రింటర్ కవర్ను తెరవండి.
- If using roll paper, place the roll into the paper compartment. Ensure the paper feeds smoothly from the bottom and extends slightly out of the printer's paper exit slot.
- If using folded paper, stack the sheets neatly and insert them into the paper compartment. Ensure the leading edge is straight and aligned.
- Use the two included paper width adjustment clips to secure the paper in place, matching the width of your thermal paper.
- Close the printer cover firmly.

Image: An illustration demonstrating the two methods of loading thermal paper into the PeriPage A40: using a roll of paper or folded sheets, with clips for width adjustment.
6.2 మొబైల్ పరికరాల నుండి ముద్రణ
- Ensure your PeriPage A40 is powered on and connected via Bluetooth to the PeriPage app.
- Open the PeriPage app.
- Select the document, image, web page, or other content you wish to print from within the app. The app supports various formats including PDF, JPG, PNG, Word, Excel, and PowerPoint.
- Adjust print settings such as density, size, and orientation as needed.
- ముద్రణను ప్రారంభించడానికి యాప్లోని "ముద్రించు" బటన్ను నొక్కండి.

Image: A smartphone screen showing a document open in the PeriPage app, ready to be sent to the printer for mobile printing.
6.3 కంప్యూటర్ల నుండి ముద్రణ
- Ensure your PeriPage A40 is powered on and connected to your computer via USB, with the necessary drivers installed.
- మీరు మీ కంప్యూటర్లో ప్రింట్ చేయాలనుకుంటున్న పత్రం లేదా చిత్రాన్ని తెరవండి.
- " వెళ్ళండిFile" > "Print" (or use the print shortcut, e.g., Ctrl+P on Windows, Command+P on Mac).
- Select "PeriPage A40" as your printer.
- Adjust print settings as required (e.g., paper size, orientation).
- పనిని ప్రింటర్కు పంపడానికి "ప్రింట్" పై క్లిక్ చేయండి.

Image: A laptop displaying an image being printed, with the PeriPage A40 printer actively producing the output, illustrating computer printing functionality.
6.4 Supported Paper Sizes
The PeriPage A40 is designed to be versatile with paper sizes. It supports the following thermal paper widths:
- 210 మిమీ: Equivalent to A4 or US Letter/Legal length.
- 107మి.మీ
- 77మి.మీ
- 56మి.మీ
Ensure you use thermal paper specifically designed for thermal printers. The maximum diameter for thermal roll paper is 30mm.

Image: Two PeriPage A40 printers illustrating the use of different thermal paper sizes (A4, 4-inch, 3-inch, 2-inch) and types (folding paper and thermal roll paper).
7. నిర్వహణ
7.1 ప్రింటర్ను శుభ్రపరచడం
- ప్రింటర్ను శుభ్రం చేయడానికి ముందు దాని పవర్ ఆఫ్ చేయబడిందని మరియు ఏదైనా పవర్ సోర్స్ నుండి డిస్కనెక్ట్ చేయబడిందని నిర్ధారించుకోండి.
- ప్రింటర్ యొక్క బాహ్య భాగాన్ని మృదువైన, పొడి వస్త్రంతో తుడవండి.
- To clean the thermal print head, gently wipe it with a cotton swab lightly dampఐసోప్రొపైల్ ఆల్కహాల్ తో కలిపి. ఉపయోగించే ముందు పూర్తిగా ఆరనివ్వండి.
- రాపిడి క్లీనర్లు లేదా ద్రావకాలు ఉపయోగించవద్దు.
7.2 కాగితపు నిల్వ
Store thermal paper in a cool, dry place away from direct sunlight and heat to preserve its quality and print longevity.
7.3 బ్యాటరీ సంరక్షణ
- బ్యాటరీని తరచుగా పూర్తిగా డిశ్చార్జ్ చేయడాన్ని నివారించండి.
- If storing the printer for an extended period, charge it to about 50% and recharge every few months to maintain battery health.
8. ట్రబుల్షూటింగ్
8.1 Printer Not Powering On
- Ensure the battery is charged. Connect the printer to a power source and allow it to charge for at least 30 minutes before attempting to power on again.
- Verify that the power button is pressed and held for the required duration (approx. 2 seconds).
8.2 బ్లూటూత్ ద్వారా కనెక్ట్ చేయడం సాధ్యం కాలేదు
- Make sure the printer is powered on and within range of your mobile device.
- మీ మొబైల్ పరికరంలో బ్లూటూత్ ప్రారంభించబడిందని నిర్ధారించుకోండి.
- Close and reopen the PeriPage app.
- ప్రింటర్ మరియు మీ మొబైల్ పరికరం రెండింటినీ పునఃప్రారంభించండి.
- Check if the PeriPage app has Bluetooth permissions enabled in your device settings.
8.3 No Print Output or Blank Pages
- Verify that thermal paper is loaded correctly and not upside down. Thermal paper has a specific side that reacts to heat.
- Check if the paper compartment cover is fully closed.
- Ensure the printer is connected and selected as the active printer in your app or computer settings.
- The print head might be dirty. Refer to the "Cleaning the Printer" section.
8.4 పేలవమైన ముద్రణ నాణ్యత
- మీరు అధిక నాణ్యత గల థర్మల్ పేపర్ను ఉపయోగిస్తున్నారని నిర్ధారించుకోండి.
- Clean the print head as described in the "Maintenance" section.
- Adjust the print density settings within the PeriPage app or printer driver.
- Check if the thermal paper is old or has been exposed to heat/light, which can degrade its printing capability.

Image: A visual comparison demonstrating the clear and crisp print quality achievable with the PeriPage A40 printer, highlighting its "Excellent Printing Ability".
9. స్పెసిఫికేషన్లు
| ఫీచర్ | స్పెసిఫికేషన్ |
|---|---|
| మోడల్ | A40 |
| ప్రింటింగ్ టెక్నాలజీ | థర్మల్ |
| ప్రింట్ రిజల్యూషన్ | 300 x 300 dpi (Monochrome) |
| కనెక్టివిటీ | బ్లూటూత్, USB టైప్-C |
| అనుకూల పరికరాలు | Android, iOS, Windows, Mac OS |
| Supported Paper Widths | 210mm (A4/US Letter), 107mm, 77mm, 56mm |
| గరిష్ట ఇన్పుట్ షీట్ కెపాసిటీ | 360 sheets (A4 equivalent, with full battery) |
| బ్యాటరీ | 2 x 2600mAh Lithium Batteries |
| ఉత్పత్తి కొలతలు | 2.5"డి x 10.9"వా x 4.09"హ |
| వస్తువు బరువు | 1.45 పౌండ్లు (658 గ్రాములు) |
| ప్రింటర్ అవుట్పుట్ | మోనోక్రోమ్ |
| అదనపు విధులు | Scan (basic) |
10. వారంటీ మరియు మద్దతు
The PeriPage A40 Portable Thermal Printer comes with a limited warranty. For specific warranty terms and conditions, please refer to the warranty card included in your package or visit the official PeriPage webసైట్.
For technical support, troubleshooting assistance, or inquiries regarding your product, please contact PeriPage customer service through their official website or the contact information provided in your product documentation. When contacting support, please have your model number (A40) and purchase details ready.
అధికారిక Webసైట్: www.ileadtek.com


