
1. పరిచయం
The ID-COOLING FROZN A620 PRO SE is a high-performance dual-tower air CPU cooler designed to provide efficient heat dissipation for your processor. It features a blackout aesthetic, dual 120mm PWM fans, and six Ф6mm copper heatpipes to ensure optimal cooling performance while maintaining quiet operation. This manual will guide you through the installation, operation, and maintenance of your new CPU cooler.

చిత్రం 1.1: ముగిసిందిview of the ID-COOLING FROZN A620 PRO SE CPU Cooler.
2. ప్యాకేజీ విషయాలు
Please verify that all components are present in your package before proceeding with installation:
- FROZN A620 PRO SE Heatsink (Dual-Tower)
- 2 x 120mm PWM Cooling Fans
- Mounting Hardware Kit for Intel (LGA1700/1851/1200/115X)
- Mounting Hardware Kit for AMD (AM4/AM5)
- Thermal Paste (FROST X35)
- Fan Y-Cable (for connecting both fans to a single CPU fan header)
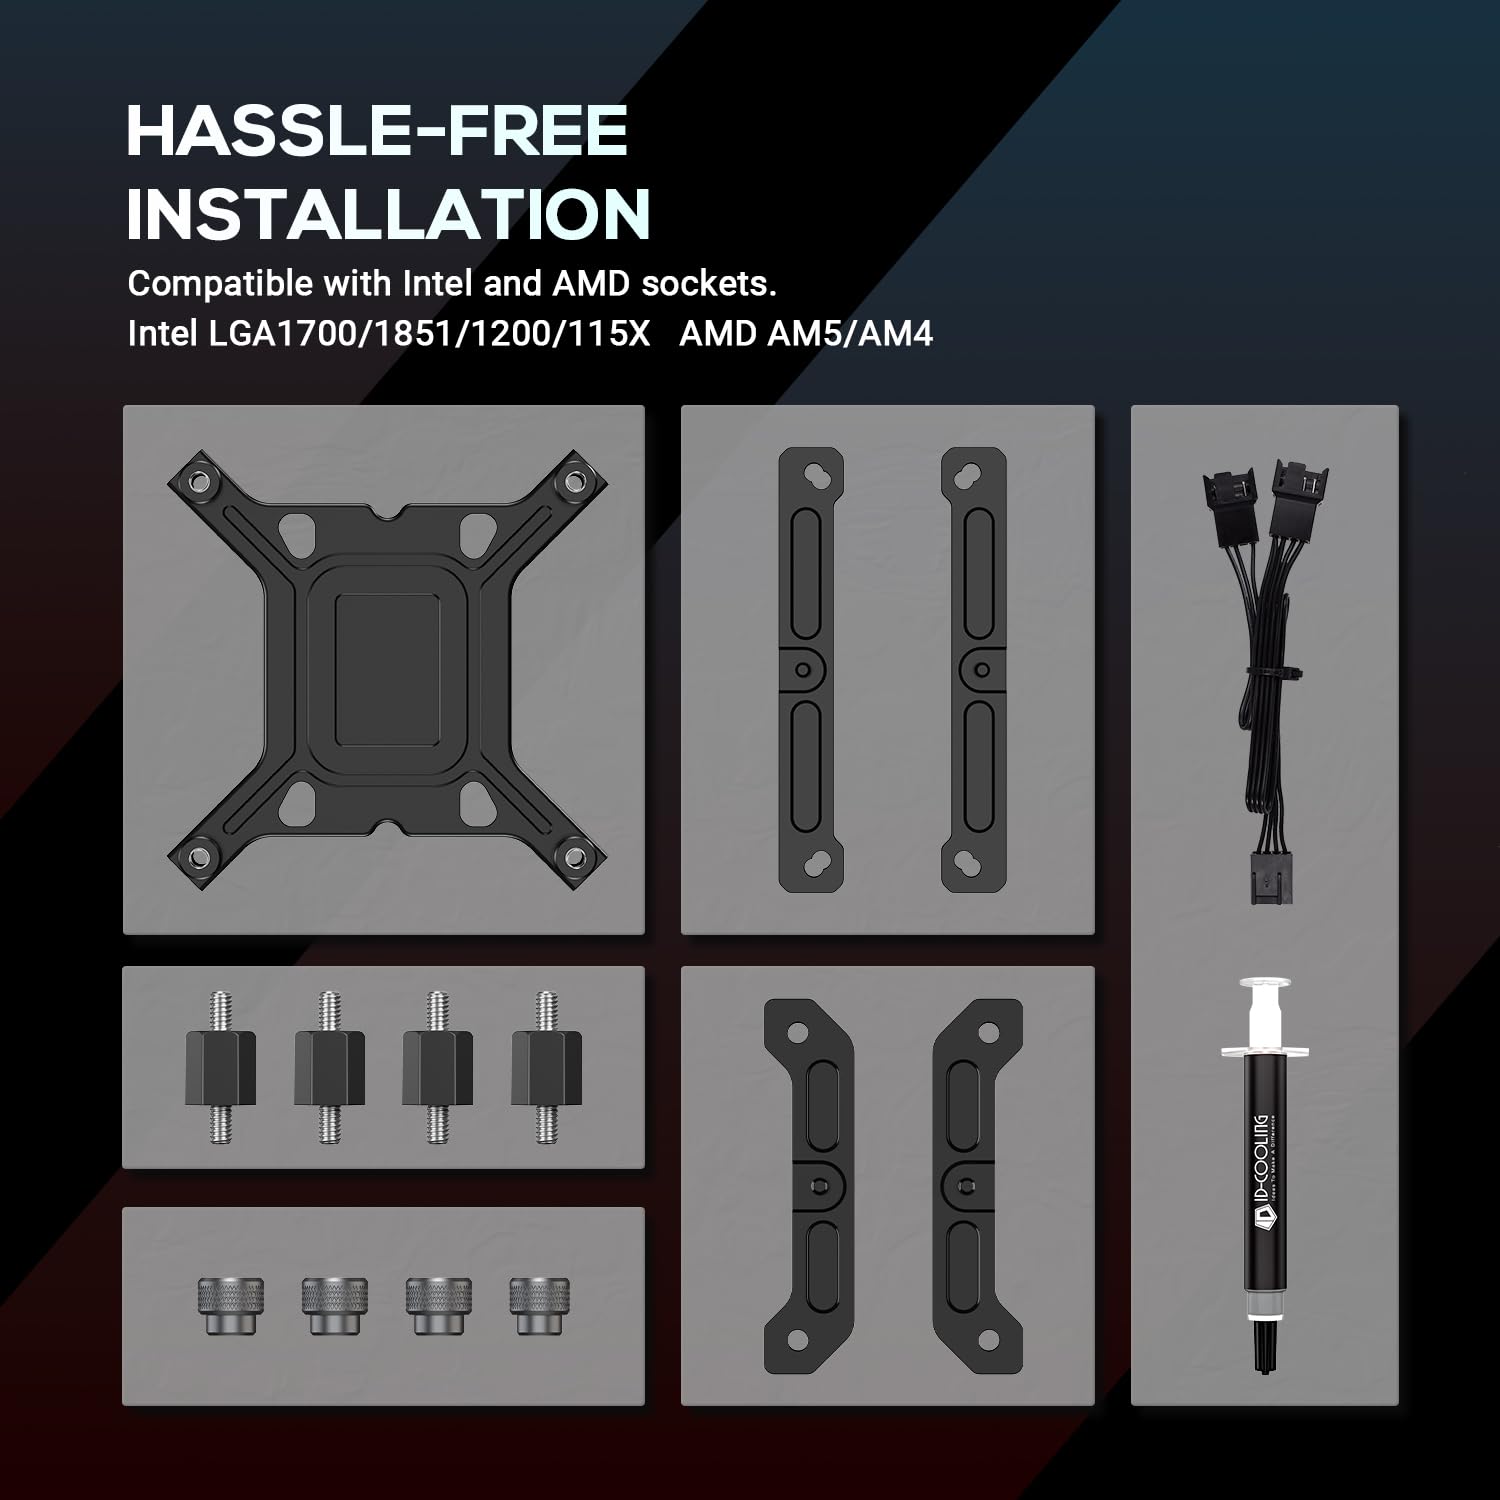
Image 2.1: Included mounting hardware and accessories.
3. స్పెసిఫికేషన్లు
| ఫీచర్ | వివరాలు |
|---|---|
| మోడల్ సంఖ్య | FROZN-A620-PRO-SE |
| కొలతలు (L x W x H) | 5.59 x 4.72 x 6.18 అంగుళాలు (142 x 120 x 157 మిమీ) |
| బరువు | 2.62 పౌండ్లు (1.19 కిలోలు) |
| హీట్ పైప్స్ | 6 x Ф6mm Copper Heatpipes |
| ఫ్యాన్ పరిమాణం | 2 x 120x120x25mm PWM Fans |
| శబ్దం స్థాయి | 27.2 dB(A) Max. |
| ర్యామ్ క్లియరెన్స్ | 40mm for standard RAM, up to 63mm with cut-out fin design |
| అనుకూలత | Intel LGA1700/1851/1200/115X; AMD AM4/AM5 |
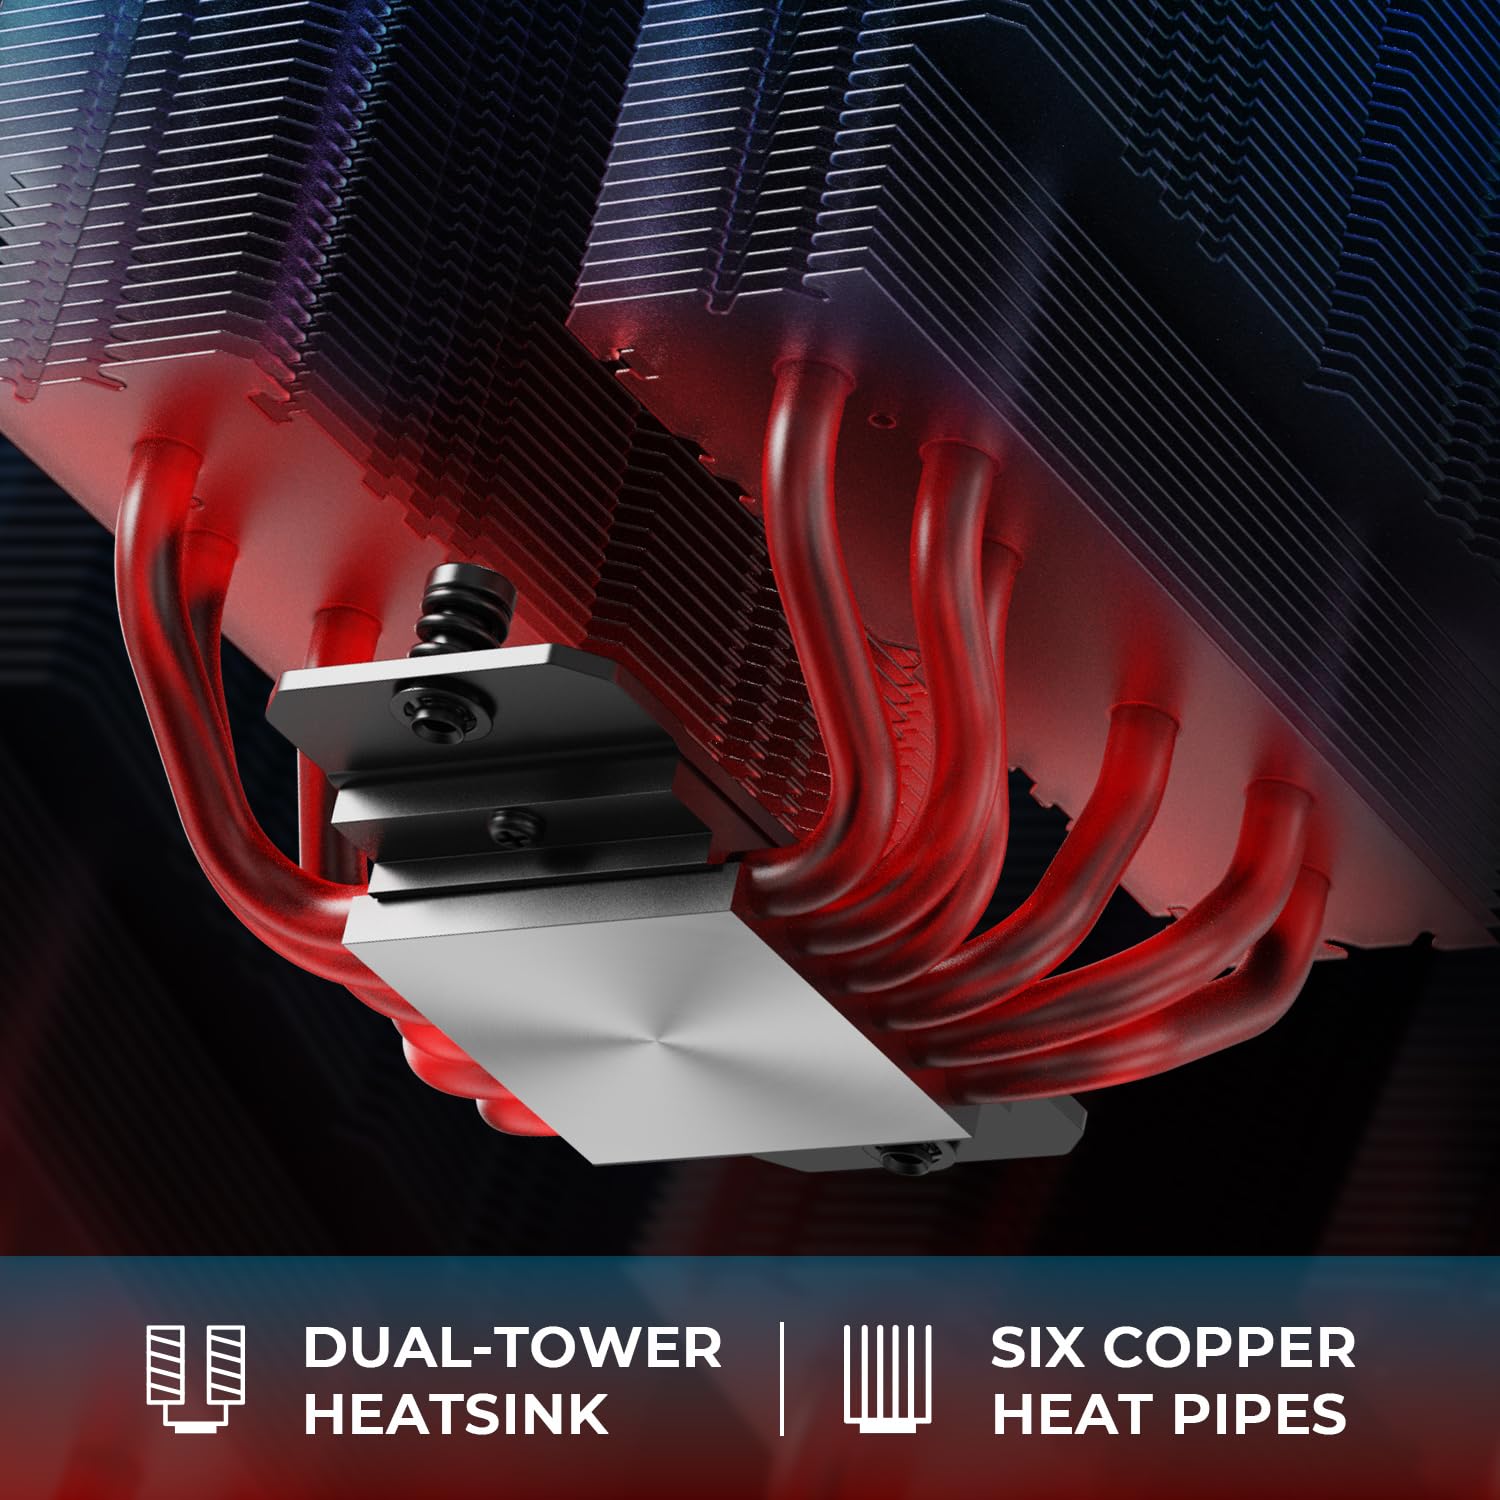
చిత్రం 3.1: క్లోజప్ view of the dual-tower heatsink and six copper heatpipes.
4. సెటప్ & ఇన్స్టాలేషన్
Before installation, ensure your motherboard is removed from the PC case or has sufficient access to the CPU socket's rear for backplate installation. Refer to your motherboard manual for specific instructions on CPU and RAM installation.
4.1. సాధారణ తయారీ
- అన్ని భాగాలను అన్ప్యాక్ చేసి, ప్యాకేజీ విషయాల జాబితాతో సరిచూసుకోండి.
- Clean the CPU surface thoroughly with isopropyl alcohol to remove any old thermal paste or residue.
- Apply a small amount of the provided thermal paste (FROST X35) to the center of the CPU's integrated heat spreader (IHS). A pea-sized dot is generally sufficient.

Image 4.1: Illustration of thermal paste application on the CPU.
4.2. Mounting Hardware Installation
The installation process varies slightly between Intel and AMD platforms. Follow the instructions relevant to your CPU socket type.

Image 4.2: General mounting hardware installation for Intel LGA1851/1700/1200/115X and AMD AM4/AM5 sockets.
4.2.1. Intel Sockets (LGA1700/1851/1200/115X)
- Place the universal backplate behind the motherboard, aligning the holes with the CPU socket.
- Insert the four standoffs through the motherboard from the front, screwing them into the backplate until secure.
- Place the two Intel mounting brackets onto the standoffs, ensuring they are oriented correctly. Secure them with the provided nuts.
- Carefully place the heatsink onto the CPU, aligning the mounting holes on the heatsink base with the threaded posts on the mounting brackets.
- Secure the heatsink by alternately tightening the two spring-loaded screws until snug. Do not overtighten.
4.2.2. AMD సాకెట్లు (AM4/AM5)
- Remove the original plastic retention modules from the motherboard, but retain the stock AMD backplate.
- Screw the four AMD standoffs into the stock backplate's threaded holes from the front of the motherboard.
- Place the two AMD mounting brackets onto the standoffs, ensuring they are oriented correctly. Secure them with the provided nuts.
- Carefully place the heatsink onto the CPU, aligning the mounting holes on the heatsink base with the threaded posts on the mounting brackets.
- Secure the heatsink by alternately tightening the two spring-loaded screws until snug. Do not overtighten.
4.3. Fan Installation & RAM Clearance
Attach the two 120mm PWM fans to the heatsink using the included fan clips. Ensure the fans are oriented to pull air through the heatsink towards the rear of your PC case. Connect both fans to the provided Y-cable, then connect the Y-cable to your motherboard's CPU_FAN header.
The cooler provides 40mm of clearance for standard RAM modules. With its cut-out fin design, it can accommodate RAM modules up to 63mm in height. If you have tall RAM, you may need to adjust the front fan's vertical position slightly upwards using the fan clips to ensure clearance. The total height of the cooler is 157mm, which fits most tower cases.
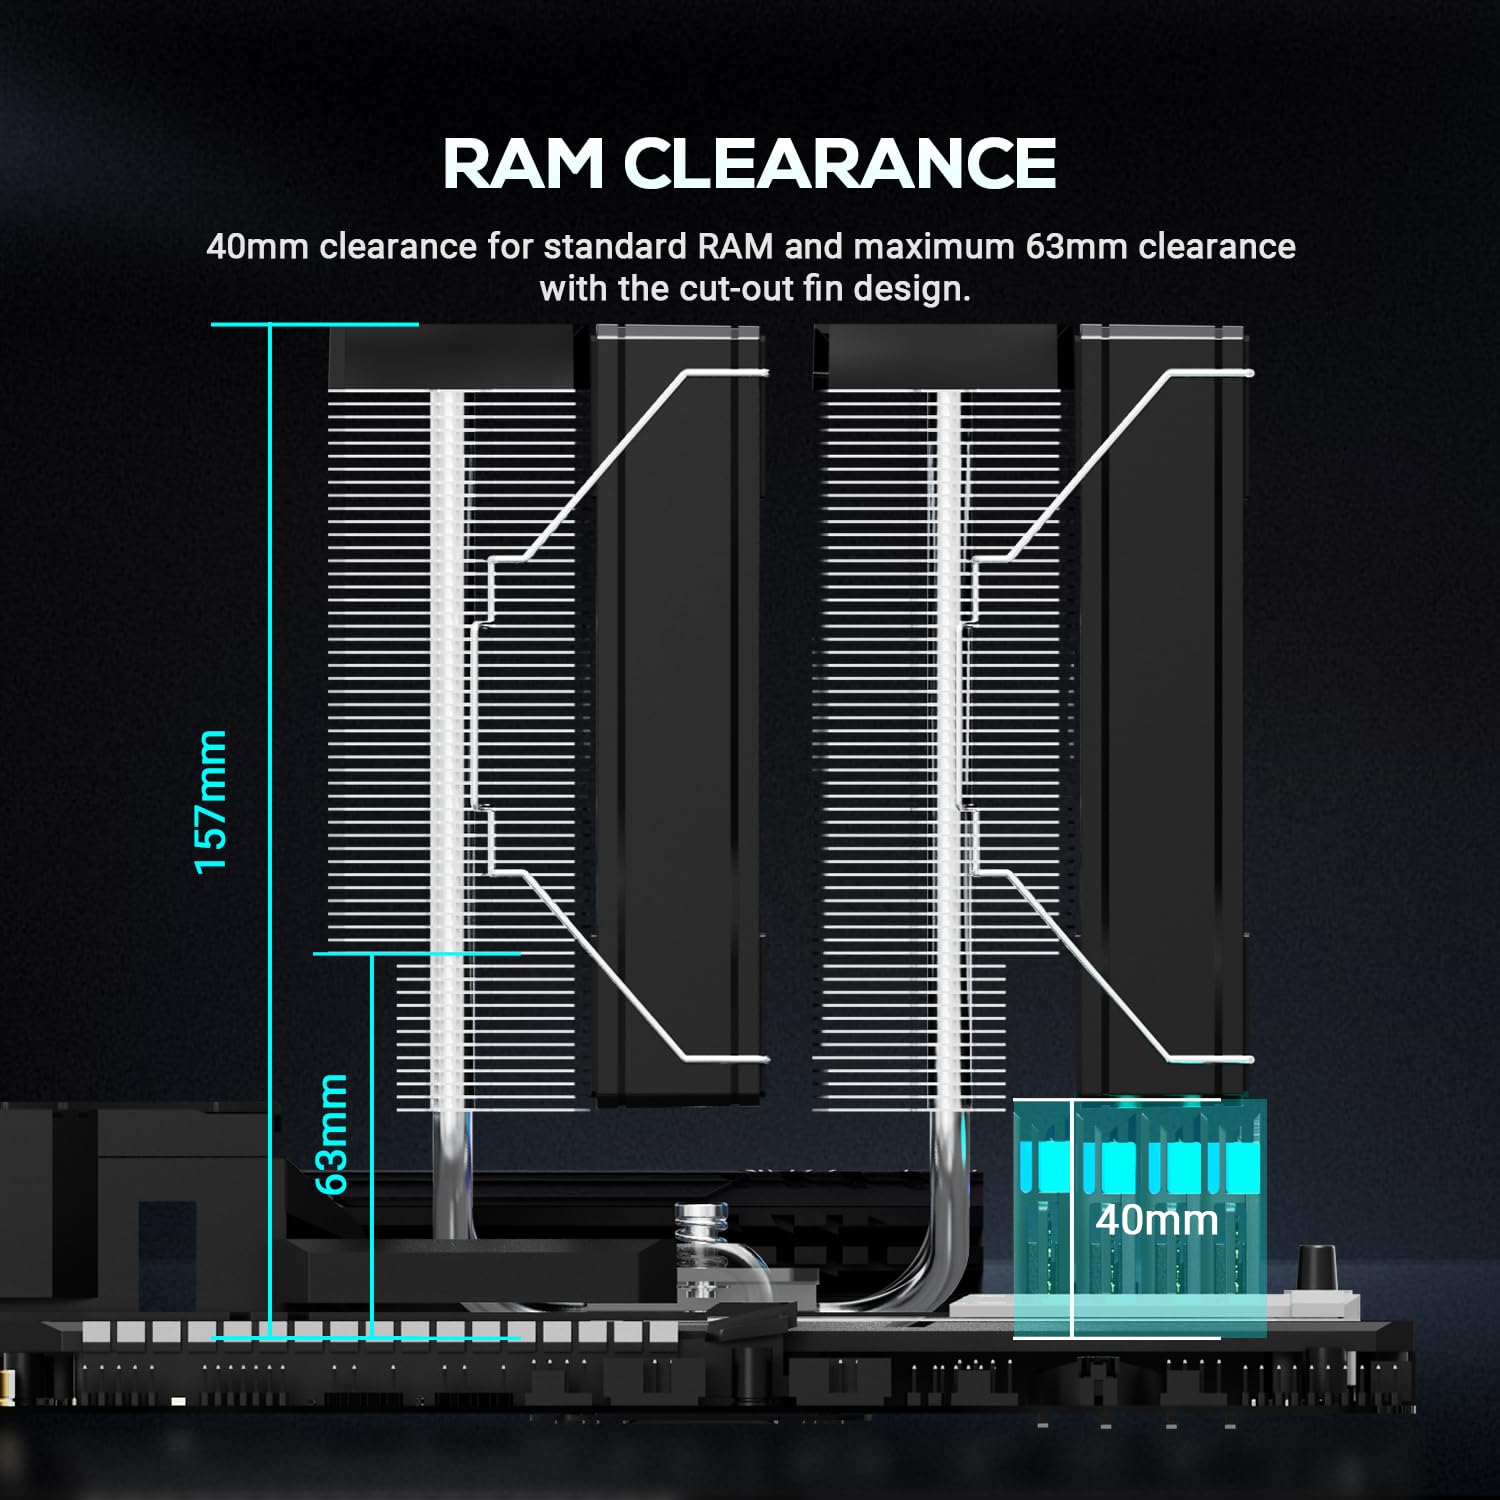
Image 4.3: Diagram illustrating RAM clearance with the cooler, showing 40mm for standard RAM and up to 63mm with fin cut-out.
5. ఆపరేటింగ్ సూచనలు
The FROZN A620 PRO SE features two 120mm PWM fans. PWM (Pulse Width Modulation) functionality allows your motherboard to automatically control the fan speed based on CPU temperature, ensuring optimal cooling performance while minimizing noise. The fans are designed for ultra-quiet operation, with a maximum noise level of 27.2 dB(A).
After installation, enter your motherboard's BIOS/UEFI settings to confirm that the CPU_FAN header is set to PWM mode and that the fan curve is configured to your preference. A well-configured fan curve will balance cooling efficiency with acoustic performance.

Image 5.1: Illustration of the cooler's quiet fan operation, indicating a maximum noise level of 27.2 dB(A).
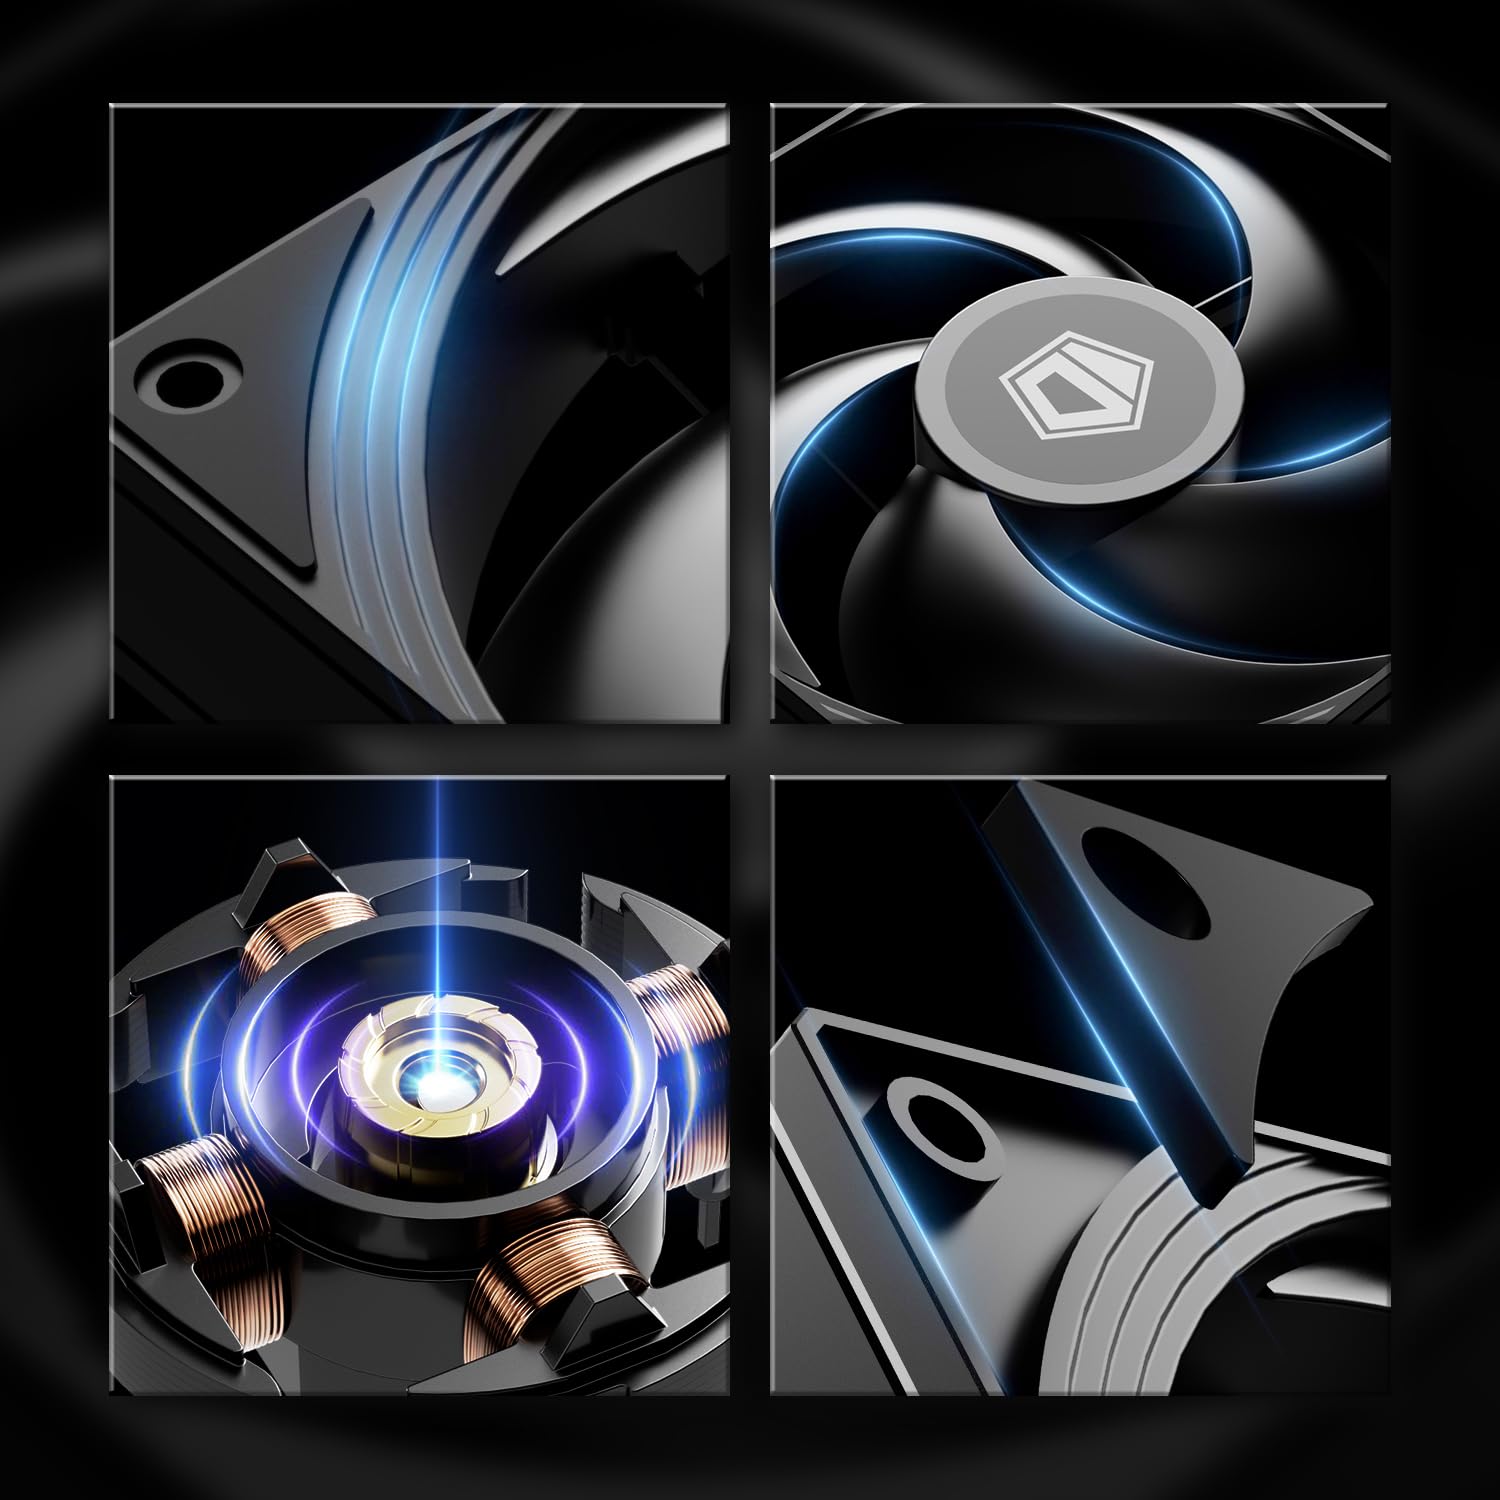
చిత్రం 5.2: వివరణాత్మకమైనది view of the fan design, highlighting components contributing to performance.
6. నిర్వహణ
క్రమం తప్పకుండా నిర్వహణ మీ CPU కూలర్ యొక్క సరైన పనితీరు మరియు దీర్ఘాయువును నిర్ధారించడంలో సహాయపడుతుంది.
- దుమ్ము తొలగింపు: Periodically (every 3-6 months, or more frequently in dusty environments) use compressed air to clean dust from the heatsink fins and fan blades. Ensure the fans are held stationary during cleaning to prevent over-spinning and potential damage.
- ఫ్యాన్ తనిఖీ: Check fan blades for any obstructions or signs of wear. If a fan becomes excessively noisy or stops spinning, it may need replacement.
- థర్మల్ పేస్ట్: While not typically required frequently, if you remove the cooler for any reason (e.g., CPU upgrade), it is recommended to clean off the old thermal paste and apply a fresh layer before reinstallation.
7. ట్రబుల్షూటింగ్
If you encounter issues with your FROZN A620 PRO SE cooler, consider the following:
- అధిక CPU ఉష్ణోగ్రతలు:
- హీట్సింక్ సురక్షితంగా అమర్చబడిందని మరియు CPU తో పూర్తిగా సంబంధంలోకి వస్తుందని నిర్ధారించుకోండి.
- థర్మల్ పేస్ట్ సరిగ్గా మరియు సమానంగా వర్తించబడిందని ధృవీకరించండి.
- Check fan orientation; they should be pulling air through the heatsink.
- Confirm fans are spinning and connected to the CPU_FAN header.
- Clean any dust accumulation from the heatsink and fans.
- తిరుగుతున్న ఫ్యాన్లు:
- Ensure the fan Y-cable is securely connected to both fans and the motherboard's CPU_FAN header.
- Check BIOS/UEFI settings to ensure the CPU_FAN header is enabled and configured correctly.
- అధిక ఫ్యాన్ శబ్దం:
- Inspect fans for any obstructions (cables, debris).
- Check if fan blades are damaged or loose.
- Adjust fan curve settings in BIOS/UEFI to reduce fan speed at lower temperatures.
8. వారంటీ & సపోర్ట్
ID-COOLING typically offers a 3-year warranty for its products. For specific warranty terms, conditions, and the most current support procedures, please refer to the official ID-COOLING website or contact your point of purchase. When seeking support, have your product model number (FROZN-A620-PRO-SE) and proof of purchase readily available.