1. పరిచయం
Thank you for choosing the avedio links 4X1 HDMI Switch 4K@60Hz. This device allows you to connect up to four HDMI source devices to a single HDMI display, providing seamless switching between inputs. It supports high-resolution video up to 4K@60Hz, HDR, and 3D, enhancing your viewing and gaming experience. This manual provides detailed instructions for setup, operation, and troubleshooting to ensure optimal performance of your HDMI switch.

2. ప్యాకేజీ విషయాలు
దయచేసి మీ ప్యాకేజీలో అన్ని అంశాలు ఉన్నాయని ధృవీకరించండి:
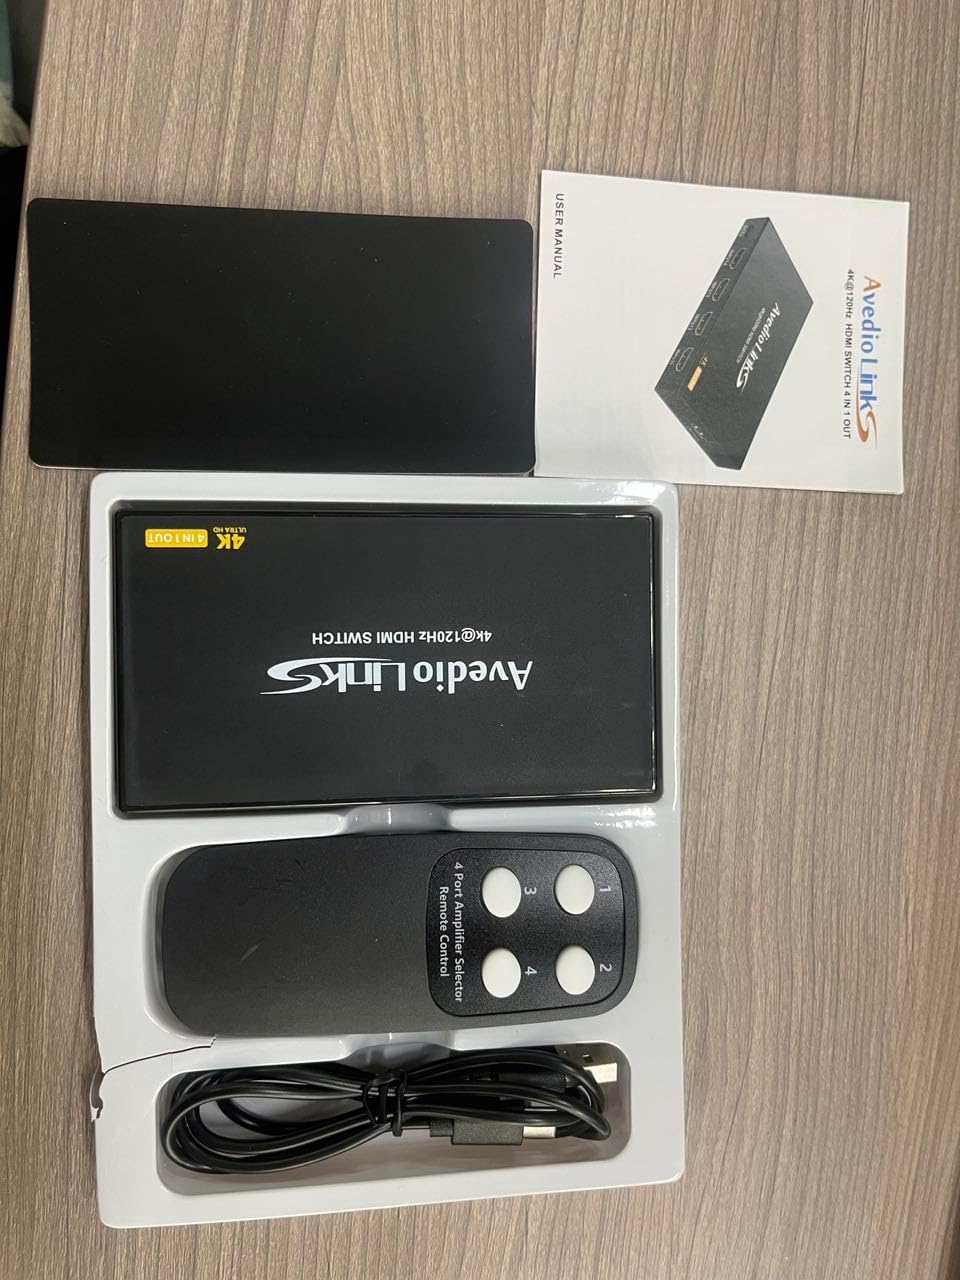
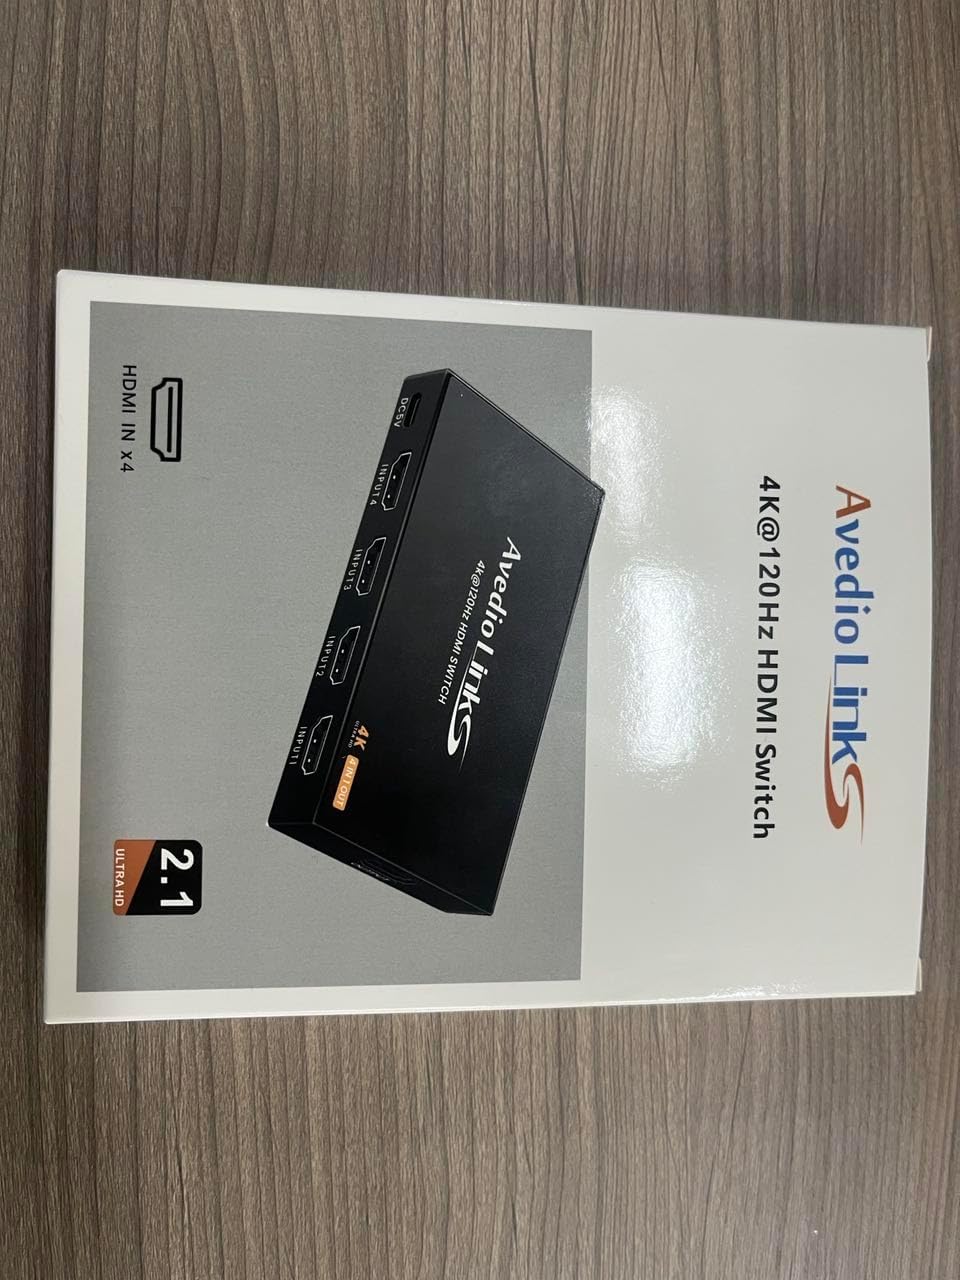
- 1 x avedio links 4X1 HDMI Switch 4K@60Hz
- 1 x IR రిమోట్ కంట్రోల్
- 1 x USB Power Cable (DC5V)
- 1 x వినియోగదారు మాన్యువల్

3 కీ ఫీచర్లు
- 4 In 1 Out HDMI Switching: Connects up to four HDMI source devices to one HDMI display.
- అధిక రిజల్యూషన్ మద్దతు: Compatible with 4K@60Hz, 4Kx2K, and 1080P resolutions.
- అధునాతన HDMI ప్రమాణాలు: Supports HDMI 2.0/1.4, HDCP 2.2/1.4, 3D, 18Gbps bandwidth, and HDR.
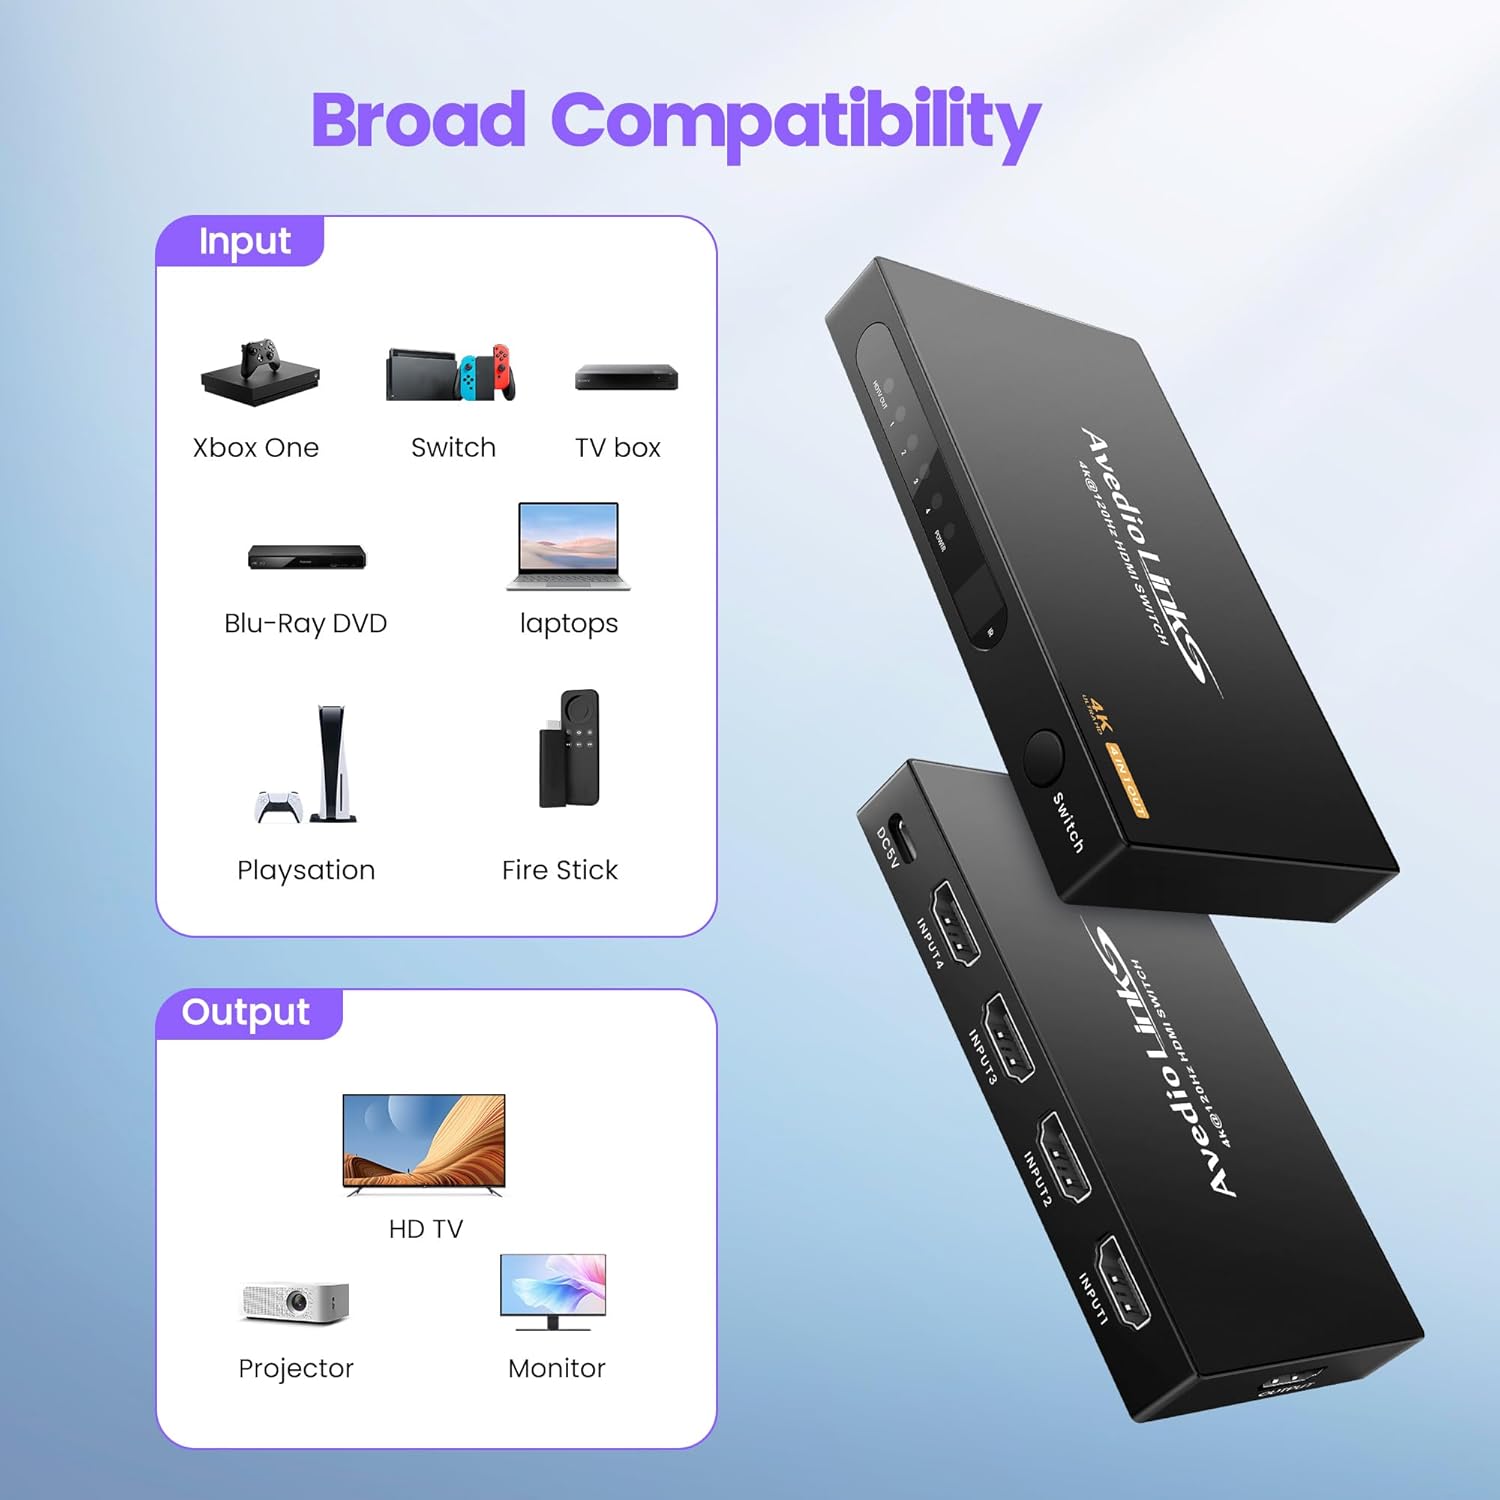
- విస్తృత పరికర అనుకూలత: Works with devices such as Fire Stick, Xbox, PS4/PS5, Blu-ray players, laptops, HDTVs, projectors, and monitors.
- బహుళ మార్పిడి పద్ధతులు: Features automatic switching, manual button switching, and remote control switching.
- స్థిరమైన సిగ్నల్ ట్రాన్స్మిషన్: Utilizes an advanced integrated circuit chip for smooth 18Gbps signal transmission.
- USB పవర్ సప్లై: Ensures stable performance and prevents signal loss.


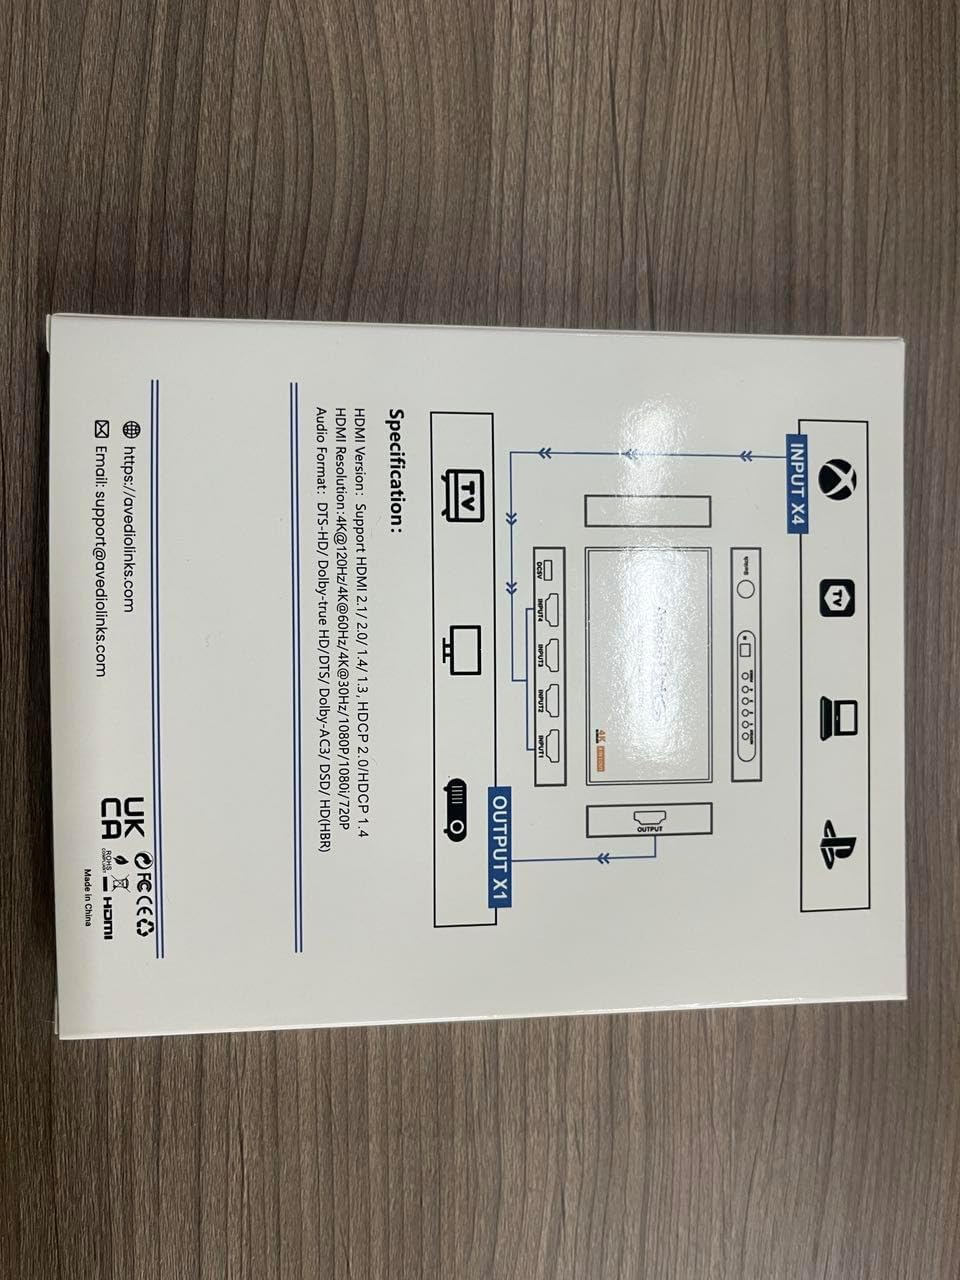
4. స్పెసిఫికేషన్లు
| ఫీచర్ | వివరాలు |
|---|---|
| మోడల్ సంఖ్య | 4X1 HDMI Switch 4K@60Hz |
| HDMI వెర్షన్ | HDMI 2.0/1.4 |
| HDCP వెర్షన్ | HDCP 2.2/1.4 |
| మాక్స్ రిజల్యూషన్ | 4K@60Hz (4Kx2K) |
| బ్యాండ్విడ్త్ | 18Gbps |
| రంగు మద్దతు | Deep Color 8/10/12 bit |
| 3D మద్దతు | అవును |
| HDR మద్దతు | అవును |
| ఆడియో ఫార్మాట్ | DTS-HD/Dolby-trueHD/DTS/Dolby-AC3/DSD/HD(HBR) |
| విద్యుత్ సరఫరా | DC 5V (USB కేబుల్ ద్వారా) |
| కొలతలు (L x W x H) | సుమారు 4.52 x 2.44 x 0.59 అంగుళాలు |
| వస్తువు బరువు | 7 ఔన్సులు |


5. సెటప్ సూచనలు
- HDMI ఇన్పుట్ పరికరాలను కనెక్ట్ చేయండి: Connect up to four HDMI source devices (e.g., game consoles, Blu-ray players, streaming sticks) to the HDMI IN 1-4 ports on the switch using HDMI cables.
- Connect HDMI Output Display: Connect your HDMI display (e.g., TV, monitor, projector) to the HDMI OUT port on the switch using an HDMI cable.
- పవర్ కనెక్ట్ చేయండి: Connect the provided USB power cable to the DC 5V port on the switch and then to a USB power source (e.g., a USB port on your TV, a USB wall adapter).
- రిమోట్ బ్యాటరీలను చొప్పించండి: Open the battery compartment of the IR remote control and insert two AAA batteries (not included), ensuring correct polarity.
గమనిక: For optimal performance, especially with 4K@60Hz content, it is recommended to use high-quality HDMI 2.0 cables (AWG 26-28, up to 2 meters for input and 2 meters for output).

6. ఆపరేటింగ్ సూచనలు
6.1. ఇన్పుట్లను మార్చడం
The avedio links 4X1 HDMI Switch offers three methods for switching between connected HDMI input devices:
- Manual Button Switching: Press the "Switch" button on the front panel of the device to cycle through the HDMI inputs (Input 1, Input 2, Input 3, Input 4).
- రిమోట్ కంట్రోల్ స్విచింగ్: Use the included IR remote control. Press the corresponding number button (1, 2, 3, or 4) to directly select the desired HDMI input.
- ఆటోమేటిక్ స్విచింగ్: The switch supports an automatic switching function. When a new HDMI device is turned on or connected, the switch will intelligently detect the active signal and switch to that input. If the currently active input device is turned off, the switch will automatically switch to the next active input.

7. నిర్వహణ
To ensure the longevity and optimal performance of your avedio links 4X1 HDMI Switch, follow these maintenance guidelines:
- శుభ్రపరచడం: Use a soft, dry cloth to clean the exterior of the device. Avoid using liquid cleaners or abrasive materials, as they may damage the finish or internal components.
- వెంటిలేషన్: పరికరం వేడెక్కకుండా నిరోధించడానికి బాగా వెంటిలేషన్ ఉన్న ప్రదేశంలో ఉంచబడిందని నిర్ధారించుకోండి. వెంటిలేషన్ ఓపెనింగ్లను నిరోధించవద్దు.
- నిల్వ: ఎక్కువసేపు ఉపయోగంలో లేనప్పుడు, స్విచ్ను ప్రత్యక్ష సూర్యకాంతి మరియు తీవ్రమైన ఉష్ణోగ్రతలకు దూరంగా చల్లని, పొడి ప్రదేశంలో నిల్వ చేయండి.
- కేబుల్ నిర్వహణ: Avoid bending or kinking HDMI and power cables excessively, as this can damage the cables and affect signal quality.
8. ట్రబుల్షూటింగ్
If you encounter issues with your avedio links 4X1 HDMI Switch, please refer to the following common problems and solutions:
- No Signal or Flickering Image:
- అన్ని HDMI కేబుల్లు సోర్స్ పరికరాలు, స్విచ్ మరియు డిస్ప్లే రెండింటికీ సురక్షితంగా కనెక్ట్ అయ్యాయని నిర్ధారించుకోండి.
- Try using shorter, high-quality HDMI 2.0 cables, especially for 4K@60Hz content.
- Verify that the switch is receiving power via the USB cable and that the power indicator light is on.
- Try power cycling the switch by unplugging the USB power cable, waiting a few seconds, and then plugging it back in.
- Test each input device directly connected to the display to confirm they are functioning correctly.
- Ensure your display is set to the correct HDMI input.
- రిమోట్ కంట్రోల్ పనిచేయదు:
- Check if the batteries in the remote control are correctly inserted and not depleted. Replace them if necessary.
- Ensure there are no obstructions between the remote control and the IR receiver on the HDMI switch.
- Point the remote directly at the IR receiver on the switch.
- Automatic Switching Not Functioning:
- Ensure that the input devices are fully powered on or off for the switch to detect the signal change.
- Some devices may not provide a consistent "power on" signal that triggers auto-switching. In such cases, use manual or remote switching.
- Audio Issues (No Sound or Distorted Audio):
- Verify that your display's audio settings are correctly configured.
- Ensure that the HDMI cables support audio transmission.
- Try power cycling the switch and all connected devices.
9. వారంటీ మరియు మద్దతు
For warranty information or technical support, please contact avedio links customer service.
- ఇమెయిల్: support@avediolinks.com
- Webసైట్: Refer to the official avedio links webఅత్యంత తాజా మద్దతు సమాచారం కోసం సైట్.
ఏవైనా వారంటీ క్లెయిమ్ల కోసం దయచేసి మీ కొనుగోలు రుజువును ఉంచుకోండి.