1. పరిచయం
The DigiLand R10 PRO is a 10.1-inch Android 14 tablet designed for versatile use, from entertainment to productivity. It features an MTK Helio G80 Octa-Core processor, 12GB RAM, and 128GB internal storage, expandable via TF card. This manual provides essential information to help you get started and make the most of your tablet.
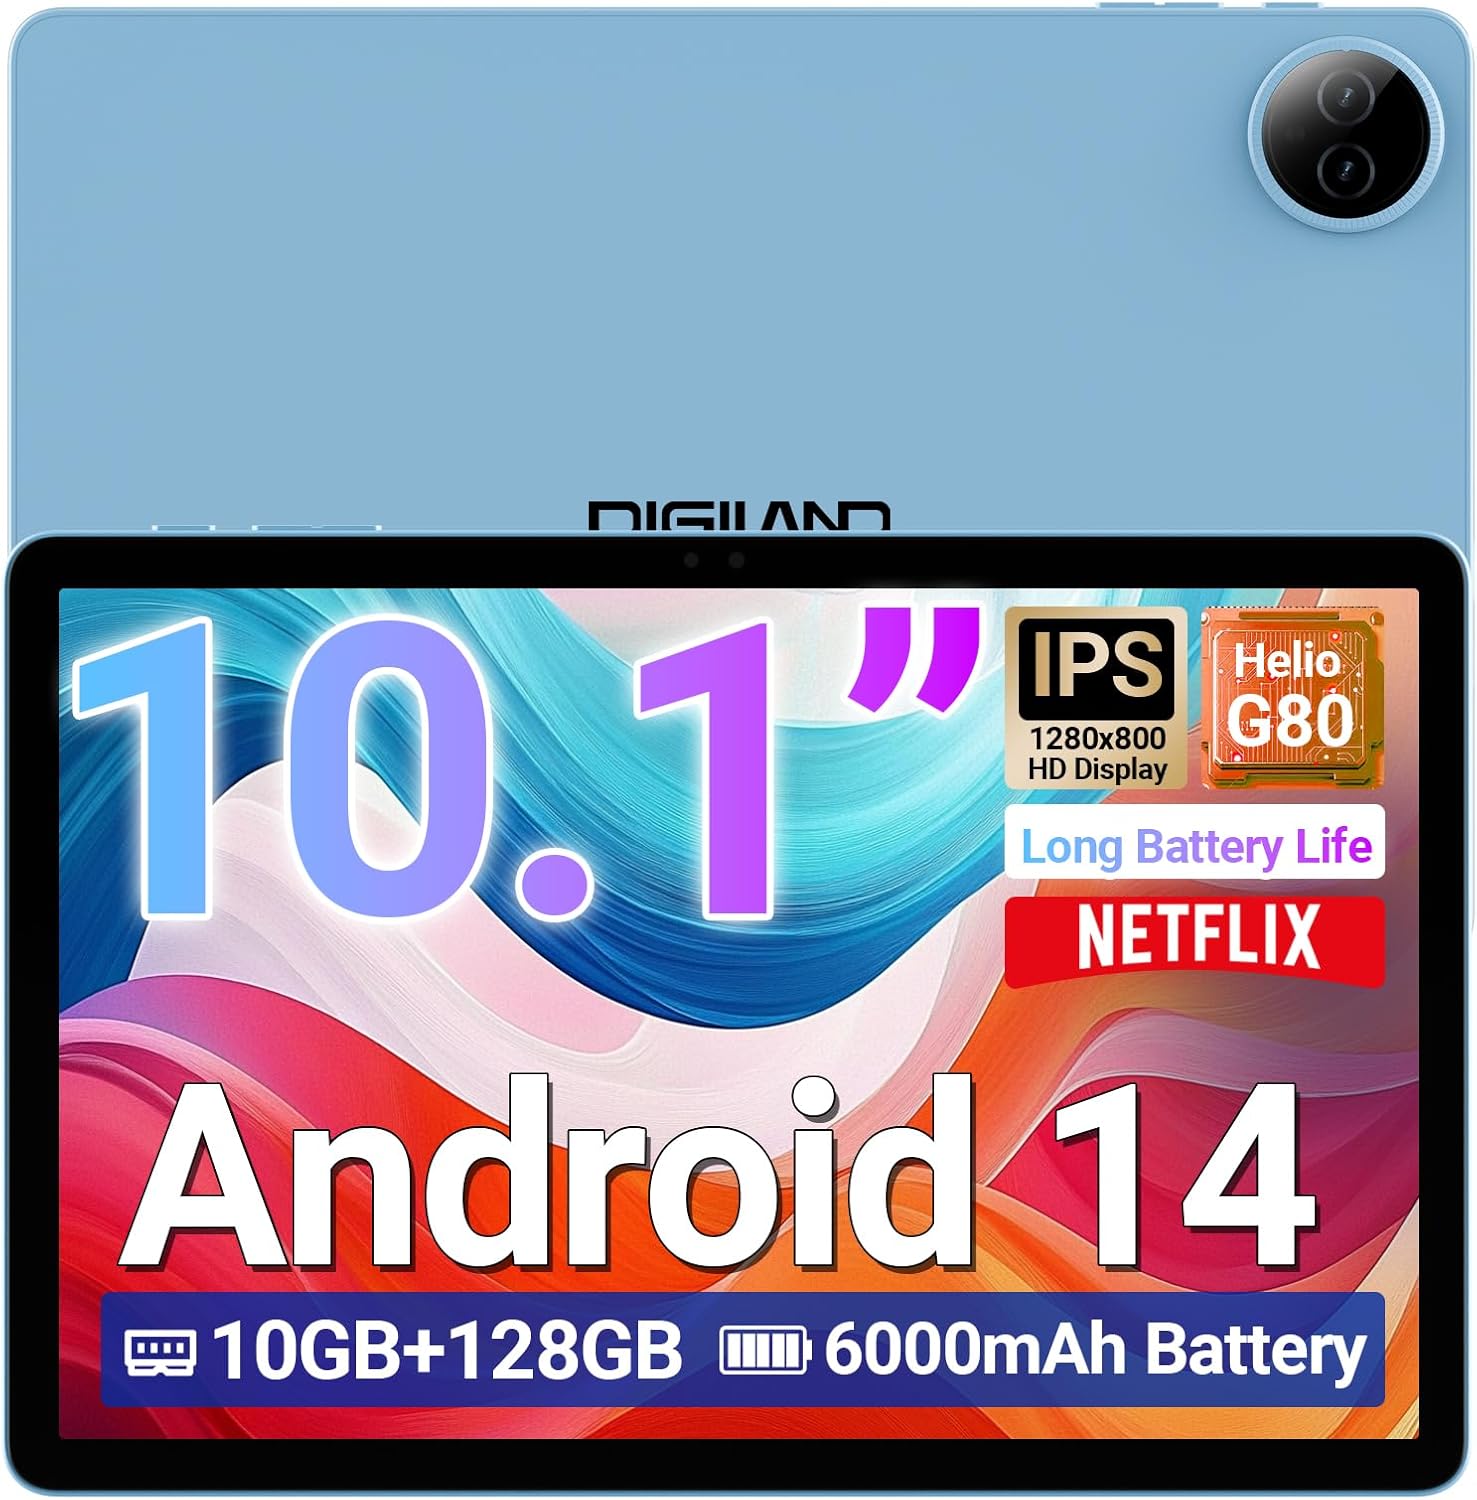
Image 1.1: DigiLand R10 PRO Tablet. This image displays the tablet's front screen, highlighting its 10.1-inch display, Android 14 operating system, 10GB RAM, 128GB ROM, and 6000mAh battery capacity.
2. పెట్టెలో ఏముంది
Upon unpacking your DigiLand R10 PRO tablet, please verify that all the following items are included:
- R10 PRO Tablet
- R10 PRO Stand Case
- ఛార్జర్
- ఛార్జింగ్ కేబుల్ (USB టైప్-C)
- వినియోగదారు మాన్యువల్ (ఈ పత్రం)

Image 2.1: Box Contents. This image illustrates the tablet, charger, charging cable, stand case, and user manual included in the product packaging.
3. ఉత్పత్తి ముగిసిందిview
Familiarize yourself with the physical components of your DigiLand R10 PRO tablet.
3.1 ఫ్రంట్ View
- 10.1-inch HD IPS Touchscreen: Main display for interaction.
- ముందు కెమెరా (8MP): Located above the screen, used for video calls and selfies.
3.2 వెనుక View
- వెనుక కెమెరా (13MP): Located on the back, used for capturing photos and videos.
3.3 వైపు Views (General Layout)
- పవర్ బటన్: టాబ్లెట్ను ఆన్/ఆఫ్ చేయడానికి లేదా నిద్రపుచ్చడానికి/మేల్కొలపడానికి ఉపయోగించబడుతుంది.
- వాల్యూమ్ బటన్లు: ఆడియో వాల్యూమ్ను సర్దుబాటు చేయండి.
- USB టైప్-సి పోర్ట్: ఛార్జింగ్ మరియు డేటా బదిలీ కోసం.
- స్పీకర్ గ్రిల్స్: ఆడియో అవుట్పుట్ కోసం.
- మైక్రో SD కార్డ్ స్లాట్: For expanding storage (supports up to 256GB).

Image 3.1: Tablet Features Overview. This infographic highlights key specifications including screen size, resolution, RAM, ROM, processor, battery, and camera details.
4. సెటప్
4.1 ప్రారంభ ఛార్జింగ్
Before first use, fully charge your tablet. Connect the provided USB Type-C cable to the tablet's charging port and the other end to the power adapter. Plug the adapter into a wall outlet. The charging indicator will show the charging status.
4.2 పవర్ ఆన్/ఆఫ్
- పవర్ ఆన్ చేయడానికి: Press and hold the Power button until the DigiLand logo appears on the screen.
- పవర్ ఆఫ్ చేయడానికి: Press and hold the Power button until a power menu appears. Select "Power off" and confirm.
- నిద్రించడానికి/మేల్కొలపడానికి: పవర్ బటన్ని క్లుప్తంగా నొక్కండి.
4.3 ప్రారంభ సెటప్ విజార్డ్
The first time you power on the tablet, you will be guided through an initial setup process. Follow the on-screen prompts to:
- మీ భాషను ఎంచుకోండి.
- Wi-Fi నెట్వర్క్కి కనెక్ట్ చేయండి.
- Set up your Google account (optional, but recommended for app downloads and services).
- స్క్రీన్ లాక్ (పిన్, నమూనా లేదా పాస్వర్డ్) సెటప్ చేయండి.
- Review మరియు నిబంధనలు మరియు షరతులను అంగీకరించండి.
4.4 Wi-Fi కనెక్షన్
Wi-Fi నెట్వర్క్కి కనెక్ట్ చేయడానికి:
- వెళ్ళండి సెట్టింగ్లు > నెట్వర్క్ & ఇంటర్నెట్ > ఇంటర్నెట్.
- Wi-Fiని టోగుల్ చేయి On.
- జాబితా నుండి మీకు కావలసిన నెట్వర్క్ను ఎంచుకోండి.
- ప్రాంప్ట్ చేయబడితే పాస్వర్డ్ను నమోదు చేసి, నొక్కండి కనెక్ట్ చేయండి.
5. టాబ్లెట్ను ఆపరేట్ చేయడం
5.1 ప్రాథమిక నావిగేషన్
- నొక్కండి: ఒక అంశాన్ని ఎంచుకోండి లేదా యాప్ను తెరవండి.
- తాకి & పట్టుకోండి: సందర్భోచిత మెనూలను యాక్సెస్ చేయండి లేదా అంశాలను తరలించండి.
- స్వైప్: స్క్రీన్లు లేదా జాబితాల ద్వారా స్క్రోల్ చేయండి.
- చిటికెడు: చిత్రాలను జూమ్ ఇన్ లేదా అవుట్ చేయండి మరియు web పేజీలు.
5.2 హోమ్ స్క్రీన్
The home screen provides quick access to your favorite apps, widgets, and notifications. You can customize it by adding or removing app icons and widgets.
5.3 Notifications and Quick Settings
నోటిఫికేషన్లు మరియు త్వరిత సెట్టింగ్ల టోగుల్లను (Wi-Fi, బ్లూటూత్, బ్రైట్నెస్ మొదలైనవి) యాక్సెస్ చేయడానికి స్క్రీన్ పై నుండి క్రిందికి స్వైప్ చేయండి.
5.4 కెమెరా వినియోగం
The tablet features an 8MP front camera and a 13MP rear camera. To use the camera:
- తెరవండి కెమెరా అనువర్తనం.
- ఫోటో తీయడానికి షట్టర్ బటన్ను నొక్కండి.
- కెమెరా టోగుల్ చిహ్నాన్ని ఉపయోగించి ముందు మరియు వెనుక కెమెరాల మధ్య మారండి.
- వీడియోలను రికార్డ్ చేయడానికి వీడియో మోడ్ను ఎంచుకోండి.

Image 5.1: Camera Functionality. This image highlights the 8MP front and 13MP rear cameras, showing examples of photos taken with the tablet.
5.5 నిల్వ నిర్వహణ
Your tablet comes with 128GB of internal storage. You can expand this by inserting a MicroSD card (up to 256GB) into the dedicated slot. To manage storage, go to సెట్టింగ్లు > నిల్వ.

Image 5.2: Memory and Storage. This image details the 12GB RAM, 128GB ROM, and the option for 256GB expansion via MicroSD card.
5.6 బ్లూటూత్ కనెక్టివిటీ
బ్లూటూత్ పరికరాలను కనెక్ట్ చేయడానికి:
- వెళ్ళండి సెట్టింగ్లు > కనెక్ట్ చేయబడిన పరికరాలు > కనెక్షన్ ప్రాధాన్యతలు > బ్లూటూత్.
- బ్లూటూత్ను టోగుల్ చేయండి On.
- ఎంచుకోండి కొత్త పరికరాన్ని జత చేయండి and choose your device from the list.
- Follow any on-screen pairing instructions.
6. నిర్వహణ
6.1 బ్యాటరీ సంరక్షణ
- బ్యాటరీ జీవితకాలం క్షీణించే తీవ్రమైన ఉష్ణోగ్రతలను నివారించండి.
- టాబ్లెట్ను పూర్తిగా డిశ్చార్జ్ చేసి ఎక్కువసేపు ఉంచవద్దు.
- సరైన ఛార్జింగ్ కోసం అందించిన ఛార్జర్ మరియు కేబుల్ని ఉపయోగించండి.

Image 6.1: Battery Performance. This image illustrates the 6000mAh battery's estimated usage times for video playback, e-books, music, and gaming.
6.2 శుభ్రపరచడం
టాబ్లెట్ స్క్రీన్ మరియు బాడీని శుభ్రం చేయడానికి మృదువైన, మెత్తటి బట్టను ఉపయోగించండి. రాపిడి పదార్థాలు లేదా కఠినమైన రసాయనాలను నివారించండి.
6.3 సాఫ్ట్వేర్ నవీకరణలు
Regularly check for and install software updates to ensure your tablet has the latest features and security patches. Go to సెట్టింగ్లు > వ్యవస్థ > సిస్టమ్ నవీకరణ.
6.4 డేటా బ్యాకప్
Periodically back up important data to a cloud service or external storage device to prevent data loss.
7. ట్రబుల్షూటింగ్
7.1 టాబ్లెట్ ఆన్ కావడం లేదు
- బ్యాటరీ ఛార్జ్ అయ్యిందని నిర్ధారించుకోండి. ఛార్జర్ను కనెక్ట్ చేసి, పవర్ ఆన్ చేయడానికి ప్రయత్నించే ముందు కొన్ని నిమిషాలు వేచి ఉండండి.
- బలవంతంగా రీస్టార్ట్ చేయడానికి పవర్ బటన్ను 10-15 సెకన్ల పాటు నొక్కి పట్టుకోండి.
7.2 Wi-Fi కనెక్షన్ సమస్యలు
- మీ Wi-Fi రౌటర్ మరియు టాబ్లెట్ను పునఃప్రారంభించండి.
- మీరు Wi-Fi సిగ్నల్ పరిధిలో ఉన్నారని నిర్ధారించుకోండి.
- Wi-Fi పాస్వర్డ్ సరైనదేనా అని ధృవీకరించండి.
- Wi-Fi సెట్టింగ్లలో నెట్వర్క్ను మర్చిపోయి, తిరిగి కనెక్ట్ చేయండి.
7.3 నెమ్మది పనితీరు
- నేపథ్యంలో నడుస్తున్న ఉపయోగించని అప్లికేషన్లను మూసివేయండి.
- యాప్ల కోసం కాష్ డేటాను క్లియర్ చేయండి.
- తగినంత నిల్వ స్థలం అందుబాటులో ఉందని నిర్ధారించుకోండి.
- టాబ్లెట్ను పునఃప్రారంభించండి.
7.4 ఫ్యాక్టరీ రీసెట్
నిరంతరం సమస్యలు సంభవిస్తే, ఫ్యాక్టరీ రీసెట్ వాటిని పరిష్కరించవచ్చు. హెచ్చరిక: ఇది మీ టాబ్లెట్లోని మొత్తం డేటాను తొలగిస్తుంది. కొనసాగే ముందు ముఖ్యమైన డేటాను బ్యాకప్ చేయండి.
- వెళ్ళండి సెట్టింగ్లు > వ్యవస్థ > రీసెట్ ఎంపికలు.
- ఎంచుకోండి మొత్తం డేటాను తొలగించండి (ఫ్యాక్టరీ రీసెట్).
- మీ నిర్ణయాన్ని నిర్ధారించండి మరియు ప్రాంప్ట్ చేయబడితే మీ పిన్/నమూనా/పాస్వర్డ్ను నమోదు చేయండి.
8. స్పెసిఫికేషన్లు
Detailed technical specifications for the DigiLand R10 PRO Tablet:
| ఫీచర్ | స్పెసిఫికేషన్ |
|---|---|
| మోడల్ సంఖ్య | R10 PRO |
| ఆపరేటింగ్ సిస్టమ్ | ఆండ్రాయిడ్ 14 |
| ప్రాసెసర్ | MediaTek Helio G80 Octa-Core (2.0GHz A75 + 1.8GHz A55) |
| RAM | 12 GB |
| అంతర్గత నిల్వ | 128 GB |
| విస్తరించదగిన నిల్వ | Up to 256GB via MicroSD card |
| స్క్రీన్ పరిమాణం | 10.1 అంగుళాలు |
| స్క్రీన్ రిజల్యూషన్ | 1280x800 HD IPS |
| వెనుక కెమెరా | 13 ఎంపీ |
| ఫ్రంట్ కెమెరా | 8 ఎంపీ |
| బ్యాటరీ కెపాసిటీ | 6000mAh (Average 12 hours usage) |
| వైర్లెస్ కనెక్టివిటీ | వై-ఫై 5 (802.11a/b/g/n/ac), బ్లూటూత్ 5.0 |
| ఓడరేవులు | USB టైప్-C |
| కొలతలు (LxWxH) | 9.54 x 6.35 x 0.31 అంగుళాలు |
| వస్తువు బరువు | 1.07 పౌండ్లు |

Image 8.1: Detailed Specifications. This image provides a visual summary of the tablet's core features, including Android 14, RAM, ROM, screen size, resolution, cameras, processor, and battery.
9. వారంటీ మరియు మద్దతు
DigiLand is committed to providing quality products and customer satisfaction. For any issues or inquiries regarding your R10 PRO tablet, please contact DigiLand customer support.
9.1 కస్టమర్ మద్దతు
If you encounter any problems or have questions not covered in this manual, please reach out to our support team. Contact information can typically be found on the DigiLand official webసైట్ లేదా మీ కొనుగోలు ప్లాట్ఫారమ్ ద్వారా.

Image 9.1: After-Sales Support. This image represents DigiLand's commitment to customer service and support.


