1. పరిచయం
ధన్యవాదాలు, ధన్యవాదాలు.asing the G Keni Elegant CD Player Alarm Clock Radio. This device combines a top-loading CD player, FM radio, Bluetooth speaker, MP3/USB music player, and an alarm clock with a wireless charging station. It is designed to provide versatile audio entertainment and convenience for your home. Please read this manual thoroughly before use to ensure proper operation and to maximize your experience with the product.
2. పెట్టెలో ఏముంది
- 1x G Keni Elegant CD Player Alarm Clock Radio (Model LC-10W)
- 1x Owner's Manual
- 1x ఎసి పవర్ కార్డ్
- 1x Remote Control (2*AAA dry batteries NOT INCLUDED)
3. ఉత్పత్తి ముగిసిందిview
Familiarize yourself with the main components and controls of your G Keni device.

మూర్తి 3.1: ముందు view of the G Keni CD Player Alarm Clock with a smartphone charging wirelessly on top and the remote control.
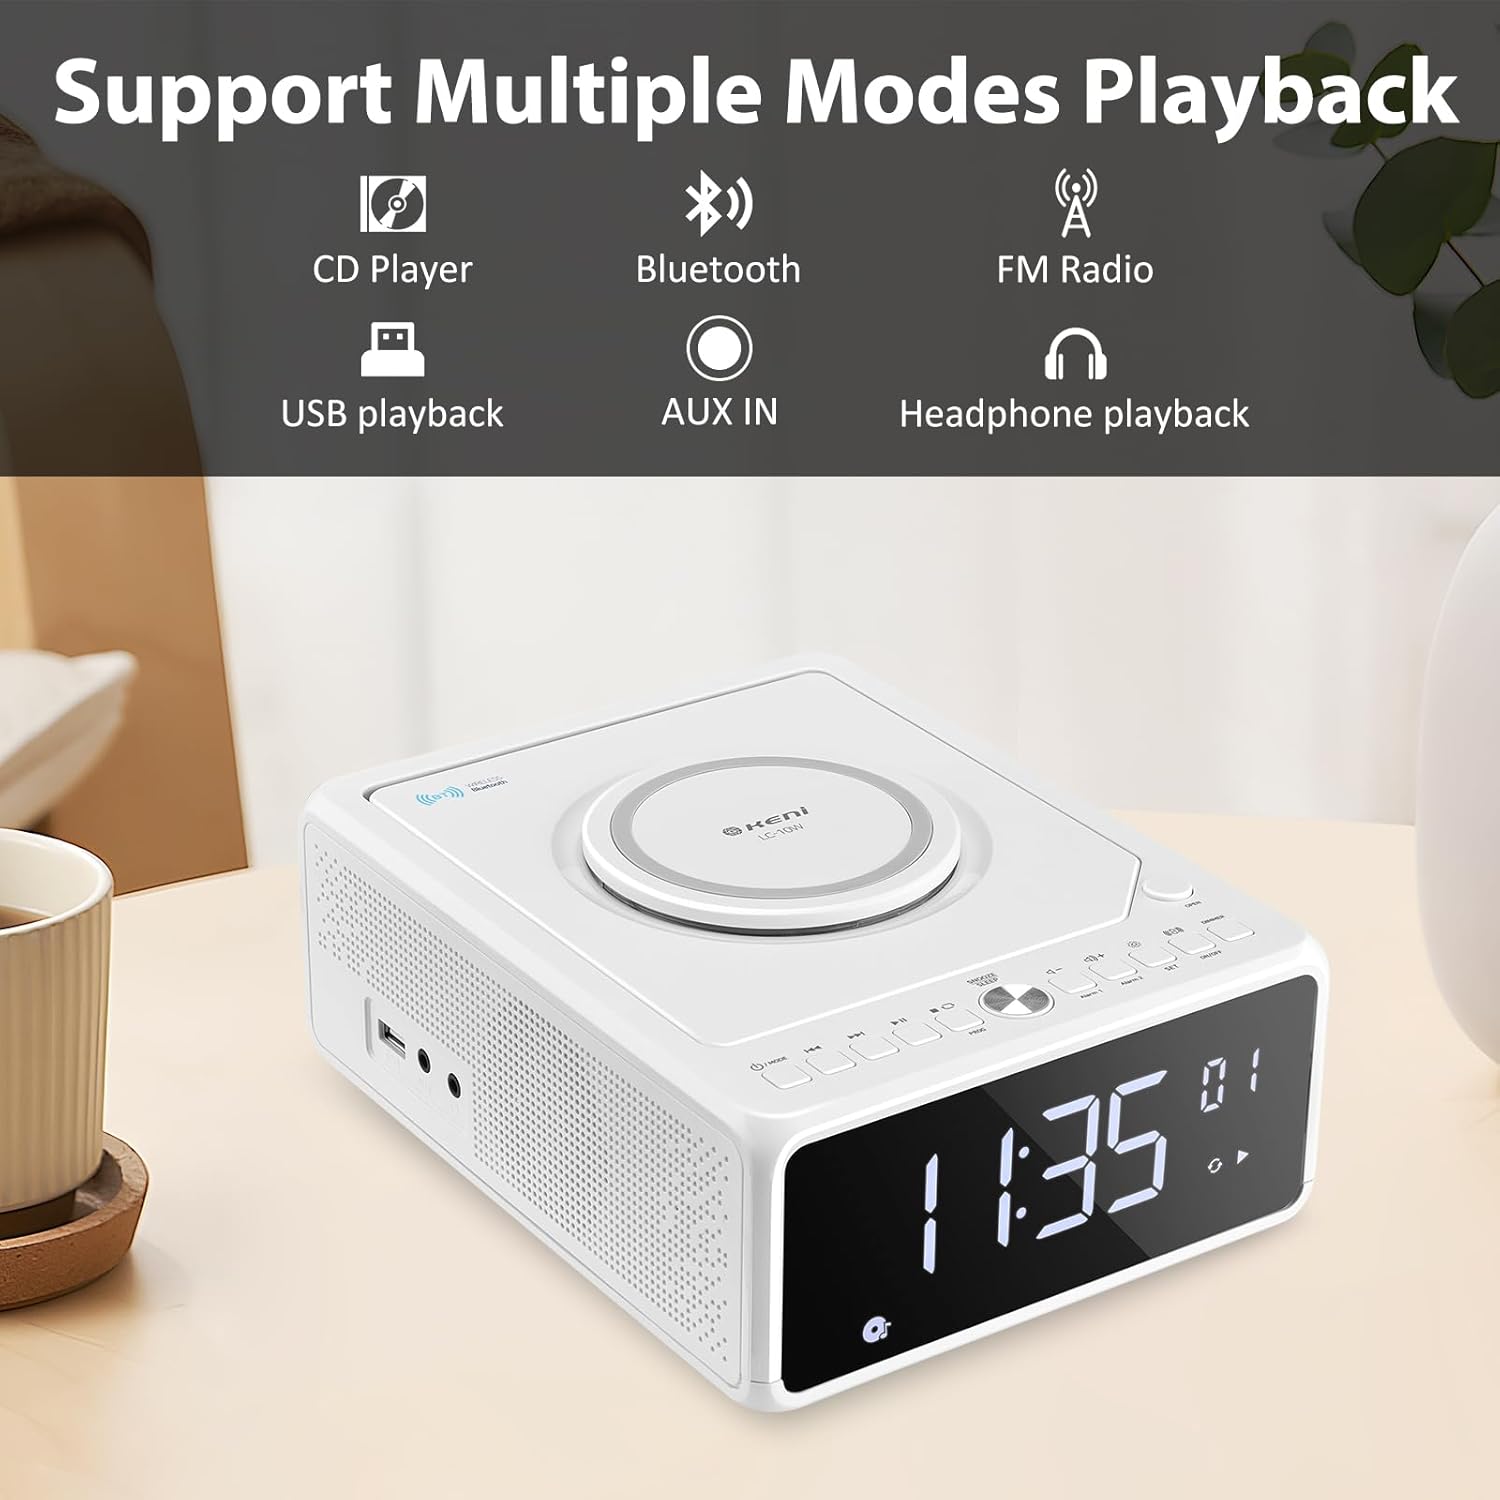
చిత్రం 3.2: పైగాview of supported playback modes: CD Player, Bluetooth, FM Radio, USB playback, AUX IN, and Headphone playback.
3.1 Front Panel & Display
- పెద్ద LED డిస్ప్లే: Shows time, FM frequency, mode, and alarm status.
- నియంత్రణ బటన్లు: Power, Mode, Set, Volume, Skip/Tune, Alarm 1/2, Snooze/Dimmer.
3.2 టాప్ ప్యానెల్
- CD కంపార్ట్మెంట్: Top-loading mechanism for CDs.
- వైర్లెస్ ఛార్జింగ్ ప్యాడ్: అనుకూల స్మార్ట్ఫోన్ల కోసం.
3.3 Rear/Side Panels
- AC పవర్ ఇన్పుట్: పవర్ అడాప్టర్కు కనెక్ట్ చేస్తుంది.
- FM యాంటెన్నా: Extendable wire antenna for radio reception.
- USB పోర్ట్: For MP3/WMA playback from USB drives.
- AUX ఇన్పుట్: బాహ్య ఆడియో పరికరాల కోసం 3.5mm జాక్.
- హెడ్ఫోన్ అవుట్పుట్: ప్రైవేట్ లిజనింగ్ కోసం 3.5mm జాక్.
- బ్యాటరీ కంపార్ట్మెంట్: For backup batteries (2*AAA, not included) to retain time settings during power outages.
4. సెటప్
4.1 పవర్ కనెక్షన్
- Insert 2 AAA batteries (not included) into the battery compartment on the bottom of the unit. These batteries serve as a backup for time settings during power interruptions.
- Connect the AC power cord to the AC input on the back of the unit, then plug the other end into a standard wall outlet (100V-240V).
- యూనిట్ పవర్ ఆన్ అవుతుంది మరియు డిస్ప్లే వెలుగుతుంది.
4.2 సమయాన్ని సెట్ చేయడం
- నొక్కండి మరియు పట్టుకోండి సెట్ button until the hour digits begin to blink.
- నొక్కండి Forward (▶▶I) or Rewind (I◀◀) button to adjust the hour. Ensure the correct AM/PM indicator is selected if using 12-hour format.
- నొక్కండి సెట్ button again. The minute digits will begin to blink.
- నొక్కండి Forward (▶▶I) or Rewind (I◀◀) నిమిషాలు సర్దుబాటు బటన్.
- నొక్కండి సెట్ button one more time to confirm and save the time.
- 12-గంటల మరియు 24-గంటల ఫార్మాట్ మధ్య మారడానికి, Forward (▶▶I) button while the hour digits are blinking during time setting.
4.3 FM యాంటెన్నా
For optimal FM radio reception, fully extend the wire antenna located on the back of the unit. Adjust its position for the best signal.
5. ఆపరేటింగ్ సూచనలు
5.1 CD ప్లేబ్యాక్

Figure 5.1: Inserting a CD into the top-loading compartment.
- Open the CD compartment cover on the top of the unit.
- Place a CD (CD, CD-R/RW, MP3, audio-book) onto the spindle with the label side facing up.
- CD కంపార్ట్మెంట్ కవర్ను మూసివేయండి.
- నొక్కండి మోడ్ button until 'CD' mode is selected. The unit will begin playing automatically.
- ఉపయోగించండి Play/Pause (▶II) ప్లేబ్యాక్ను పాజ్ చేయడానికి లేదా పునఃప్రారంభించడానికి బటన్.
- ఉపయోగించండి Forward (▶▶I) or Rewind (I◀◀) buttons to skip tracks. Press and hold to fast forward or rewind within a track.
- ఉపయోగించి వాల్యూమ్ను సర్దుబాటు చేయండి VOL+ or VOL- బటన్లు.
5.2 బ్లూటూత్ జత చేయడం
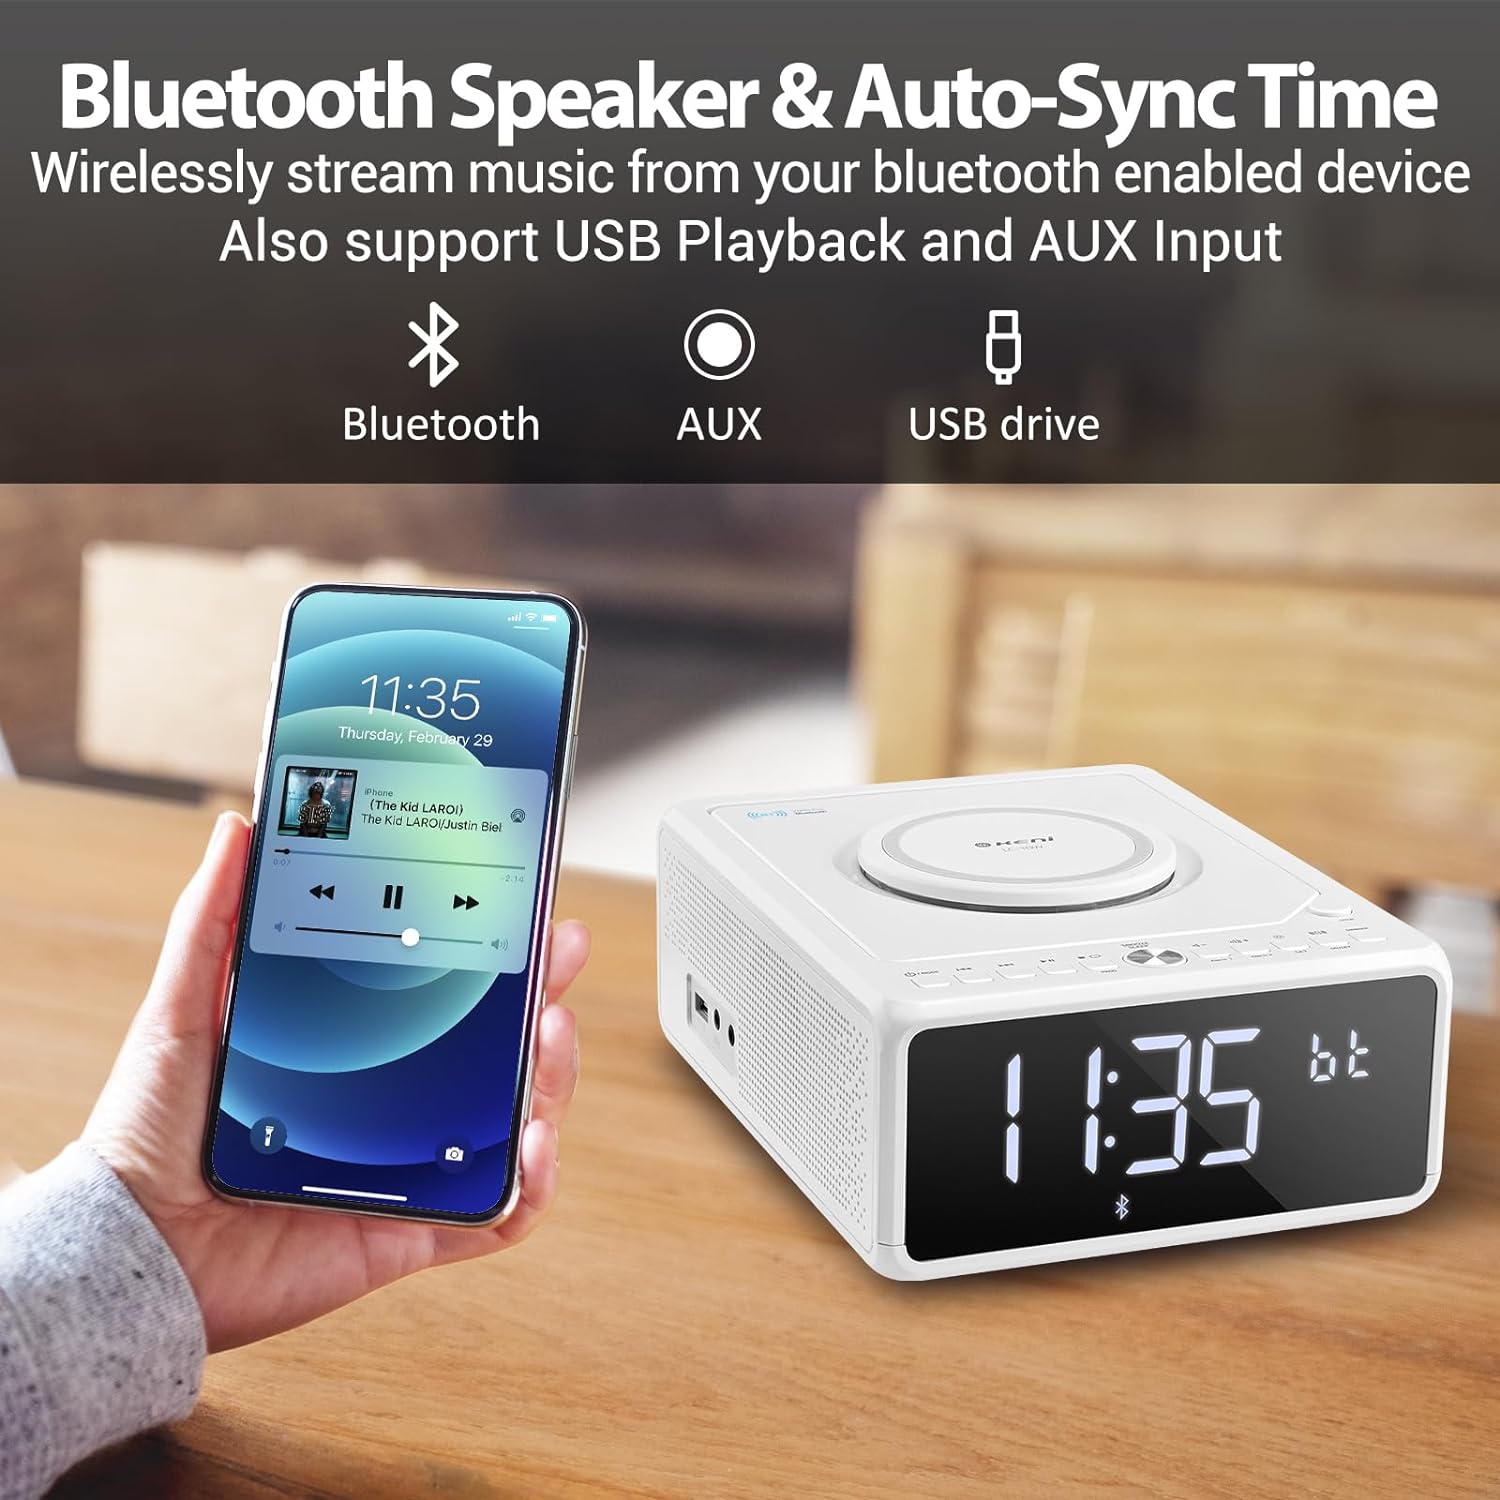
Figure 5.2: Streaming music from a smartphone via Bluetooth.
- నొక్కండి మోడ్ button until 'BT' (Bluetooth) mode is selected. The display will show 'BT' and blink, indicating it's in pairing mode.
- మీ స్మార్ట్ఫోన్ లేదా ఇతర బ్లూటూత్-ప్రారంభించబడిన పరికరంలో, బ్లూటూత్ను ప్రారంభించి, అందుబాటులో ఉన్న పరికరాల కోసం శోధించండి.
- Select 'G Keni' from the list of devices.
- Once paired, the 'BT' indicator on the display will stop blinking and remain solid. You can now stream audio from your device.
5.3 FM రేడియో ఆపరేషన్

Figure 5.3: Enjoying FM radio with the G Keni unit.
- నొక్కండి మోడ్ button until 'FM' mode is selected.
- ఆటో స్కాన్: నొక్కండి మరియు పట్టుకోండి Play/Pause (▶II) అందుబాటులో ఉన్న FM స్టేషన్లను స్వయంచాలకంగా స్కాన్ చేయడానికి మరియు సేవ్ చేయడానికి బటన్.
- మాన్యువల్ ట్యూనింగ్: నొక్కండి Forward (▶▶I) or Rewind (I◀◀) నిర్దిష్ట ఫ్రీక్వెన్సీకి మాన్యువల్గా ట్యూన్ చేయడానికి బటన్లు.
- ప్రీసెట్ స్టేషన్లు: ఉపయోగించండి CH+ or CH- buttons on the remote control to navigate through saved preset stations.
5.4 USB ప్లేబ్యాక్
- MP3/WMA ఆడియో ఉన్న USB ఫ్లాష్ డ్రైవ్ను చొప్పించండి fileUSB పోర్ట్లోకి s.
- నొక్కండి మోడ్ button until 'USB' mode is selected. The unit will automatically detect and begin playing audio files.
- ఉపయోగించండి Play/Pause (▶II), Forward (▶▶I), మరియు Rewind (I◀◀) ప్లేబ్యాక్ని నియంత్రించడానికి బటన్లు.
5.5 AUX ఇన్పుట్
- Connect an external audio device (e.g., MP3 player, smartphone) to the AUX IN port using a 3.5mm audio cable (not included).
- నొక్కండి మోడ్ button until 'AUX' mode is selected.
- మీ కనెక్ట్ చేయబడిన బాహ్య పరికరం నుండి ప్లేబ్యాక్ను నియంత్రించండి.
5.6 అలారం గడియారం విధులు

Figure 5.4: The alarm clock on a bedside table, also showing wireless charging.
ఈ యూనిట్ డ్యూయల్ అలారాలను (అలారం 1 మరియు అలారం 2) కలిగి ఉంది.
- అలారం సమయాన్ని సెట్ చేస్తోంది:
a. నొక్కండి మరియు పట్టుకోండి అలారం 1 or అలారం 2 గంట అంకెలు బ్లింక్ అయ్యే వరకు బటన్.
బి. ఉపయోగించడానికి Forward (▶▶I) or Rewind (I◀◀) buttons to set the desired hour.
సి. నొక్కండి అలారం 1 or అలారం 2 button again. The minute digits will blink.
డి ఉపయోగించడానికి Forward (▶▶I) or Rewind (I◀◀) buttons to set the desired minutes.
ఇ. నొక్కండి అలారం 1 or అలారం 2 button again to confirm the alarm time. - Selecting Alarm Source:
a. After setting the alarm time, the display will show options for the alarm sound (e.g., BB for Buzzer, TUNE for Radio, CD, USB, BT for Bluetooth).
బి. ఉపయోగించడానికి Forward (▶▶I) or Rewind (I◀◀) buttons to select your preferred alarm source.
సి. నొక్కండి అలారం 1 or అలారం 2 button to confirm the alarm source. - Setting Alarm Volume:
a. After selecting the alarm source, 'V' will blink on the display.
బి. ఉపయోగించడానికి Forward (▶▶I) or Rewind (I◀◀) buttons to adjust the alarm volume.
సి. నొక్కండి అలారం 1 or అలారం 2 button to confirm the alarm volume. - అలారాలను యాక్టివేట్ చేయడం/డియాక్టివేట్ చేయడం: క్లుప్తంగా నొక్కండి అలారం 1 or అలారం 2 అలారంను ఆన్ లేదా ఆఫ్ చేయడానికి టోగుల్ చేయడానికి బటన్. యాక్టివ్గా ఉన్నప్పుడు డిస్ప్లేలో అలారం చిహ్నం కనిపిస్తుంది.
5.7 స్నూజ్ మరియు స్లీప్ టైమర్
- ఆగే: అలారం మోగినప్పుడు, నొక్కండి SNOOZE / DIMMER button to temporarily silence the alarm for 9 minutes. The alarm will sound again after 9 minutes. This can be repeated within an hour.
- స్లీప్ టైమర్: While playing audio (Radio, CD, USB, Bluetooth), press the నిద్రించు button on the remote control repeatedly to cycle through sleep timer options (e.g., 10, 20, 30, 60, 90 minutes, or OFF). The unit will automatically turn off after the selected duration.
5.8 ప్రదర్శన ప్రకాశం
నొక్కండి SNOOZE / DIMMER బటన్ (లేదా మసకబారిన button on the remote) repeatedly to adjust the brightness of the LED display. There are 5 levels of dimmable settings, including an option to turn the display off completely.
5.9 వైర్లెస్ ఛార్జింగ్

Figure 5.5: A smartphone being charged wirelessly on the unit's charging pad.
Place your Qi-enabled smartphone directly onto the wireless charging pad located on the top of the unit. Ensure the phone is centered for optimal charging. The unit supports fast wireless charging (Max 7.5W for iOS, 10W for Android).
5.10 రిమోట్ కంట్రోల్ వినియోగం
The included remote control provides convenient access to all functions. Insert 2 AAA batteries (not included) into the remote before use. Buttons on the remote mirror most functions available on the unit's front panel, including Power, Mode, Volume, Skip/Tune, Alarm settings, Snooze, Sleep, and Dimmer.
6. నిర్వహణ
- శుభ్రపరచడం: మెత్తటి, పొడి గుడ్డతో యూనిట్ను తుడవండి. రాపిడి క్లీనర్లు లేదా ద్రావకాలను ఉపయోగించవద్దు.
- CD కేర్: Handle CDs by their edges. Keep them clean and free of scratches.
- ప్లేస్మెంట్: Place the unit on a stable, flat surface away from direct sunlight, heat sources, and moisture. Ensure adequate ventilation.
7. ట్రబుల్షూటింగ్
If you encounter issues with your G Keni device, please refer to the following common problems and solutions:
| సమస్య | సాధ్యమైన కారణం | పరిష్కారం |
|---|---|---|
| యూనిట్ పవర్ ఆన్ చేయదు. | పవర్ కార్డ్ సరిగ్గా కనెక్ట్ కాలేదు. | AC పవర్ కార్డ్ యూనిట్ మరియు వర్కింగ్ వాల్ అవుట్లెట్ రెండింటిలోనూ సురక్షితంగా ప్లగ్ చేయబడిందని నిర్ధారించుకోండి. |
| CD skipping or not playing. | CD మురికిగా, గీతలుగా లేదా తప్పుగా చొప్పించబడి ఉంది. | Clean the CD with a soft, lint-free cloth. Ensure the CD is placed correctly in the compartment. Try a different CD. |
| FM రేడియో స్పందన సరిగా లేదు. | Antenna not extended or positioned poorly. | Fully extend the FM wire antenna and adjust its position for better signal. |
| బ్లూటూత్ పరికరం జత కావడం లేదు. | Unit not in BT mode or device too far. | Ensure the unit is in 'BT' mode and blinking. Keep your Bluetooth device within 10 meters (33 feet) of the unit. Restart both devices. |
| వైర్లెస్ ఛార్జింగ్ పనిచేయడం లేదు. | Phone not Qi-enabled, misaligned, or case too thick. | Ensure your phone supports Qi wireless charging. Realign the phone on the charging pad. Remove thick phone cases. |
| Alarm did not sound. | అలారం యాక్టివేట్ కాలేదు లేదా తప్పుగా సెట్ చేయబడలేదు. | Verify that the alarm is set and activated (alarm icon visible on display). Check alarm time and volume settings. |
8. స్పెసిఫికేషన్లు
- మోడల్ సంఖ్య: LC-10W
- ఉత్పత్తి కొలతలు: 8.46 x 6.69 x 3.15 అంగుళాలు
- వస్తువు బరువు: 2.6 పౌండ్లు
- కనెక్టివిటీ టెక్నాలజీ: ఆక్సిలరీ, బ్లూటూత్, యుఎస్బి
- స్పీకర్ రకం: ద్వంద్వ స్పీకర్
- పవర్ ఇన్పుట్: AC 100V-240V
- వైర్లెస్ ఛార్జింగ్ అవుట్పుట్: Max 7.5W (iOS), Max 10W (Android)
- FM ఫ్రీక్వెన్సీ పరిధి: 87.5-108MHz
9. వారంటీ మరియు మద్దతు
G Keni provides a one-year warranty for this product from the date of purchase. This warranty covers manufacturing defects and workmanship. It does not cover damage caused by misuse, accidents, unauthorized modifications, or normal wear and tear.
For technical assistance, warranty claims, or customer service inquiries, please contact G Keni customer support. Refer to the contact information provided on the product packaging or the official G Keni webఅత్యంత తాజా మద్దతు వివరాల కోసం సైట్.


