
పరిచయం
This manual provides detailed instructions for the installation, operation, and maintenance of your ID-COOLING FX360 TD CPU Liquid Cooler. Please read this manual thoroughly before installation to ensure proper setup and optimal performance. Retain this manual for future reference.
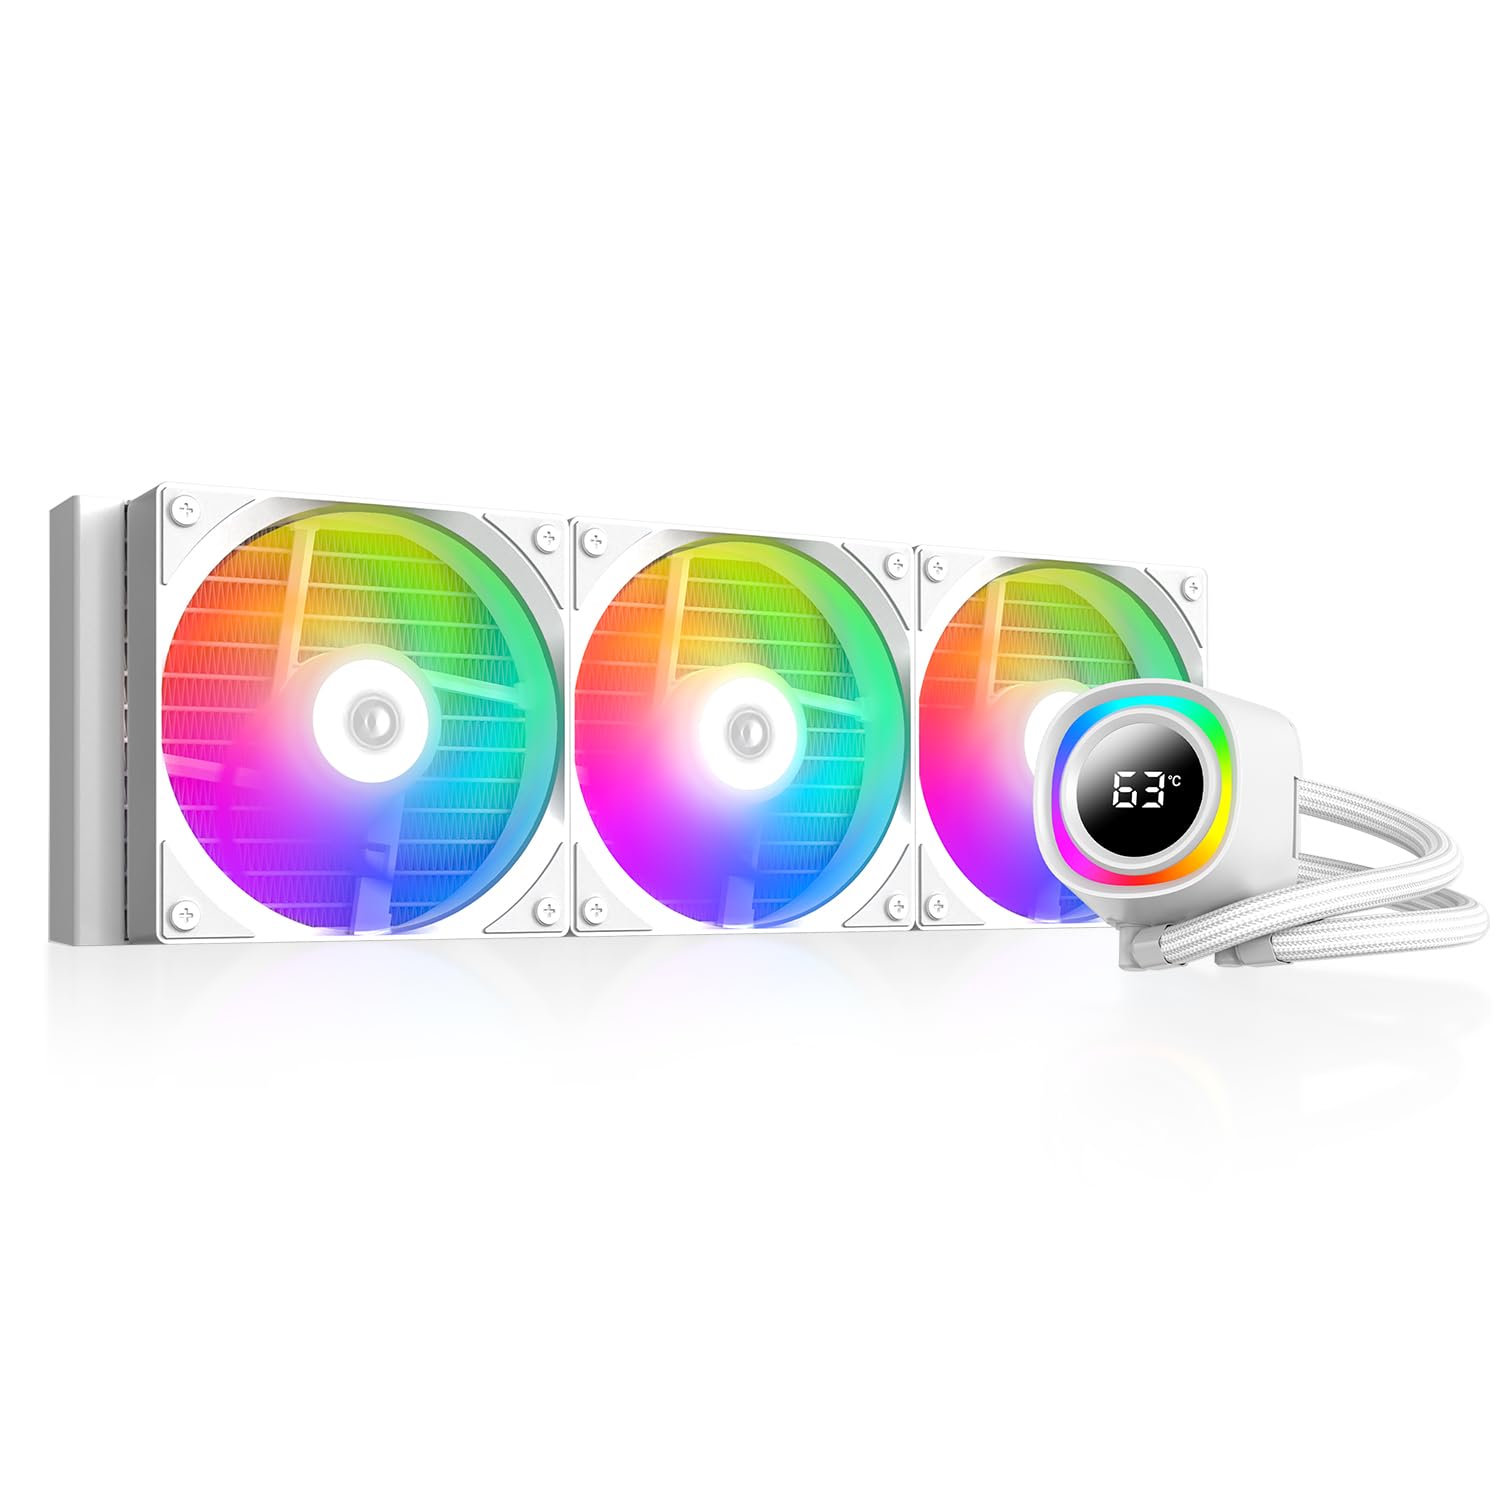
Figure 1: ID-COOLING FX360 TD CPU Liquid Cooler installed in a PC case, showcasing its integrated temperature display and ARGB lighting.
భద్రతా సమాచారం
- ఇన్స్టాలేషన్కు ముందు మీ సిస్టమ్ పవర్ ఆఫ్ చేయబడిందని మరియు వాల్ అవుట్లెట్ నుండి అన్ప్లగ్ చేయబడిందని నిర్ధారించుకోండి.
- భాగాలకు నష్టం జరగకుండా జాగ్రత్తగా నిర్వహించండి.
- Avoid contact with the liquid coolant. In case of contact, rinse thoroughly with water.
- Do not modify the cooler or its components. Unauthorized modifications may void the warranty and pose safety risks.
- పిల్లలకు దూరంగా ఉంచండి.
ప్యాకేజీ విషయాలు
ఇన్స్టాలేషన్ ప్రారంభించే ముందు అన్ని భాగాలు ఉన్నాయని నిర్ధారించుకోండి:
- 1x Radiator with Integrated Pump and Tubing
- 3x 120mm ARGB Fans
- 1x Intel Mounting Bracket Kit (LGA1851/1700/1200/115x)
- 1x AMD Mounting Bracket Kit (AM5/AM4)
- 1x Backplate (Universal)
- 1x Thermal Paste Tube
- Fan Screws and Mounting Hardware
- ARGB and Fan Splitter Cables
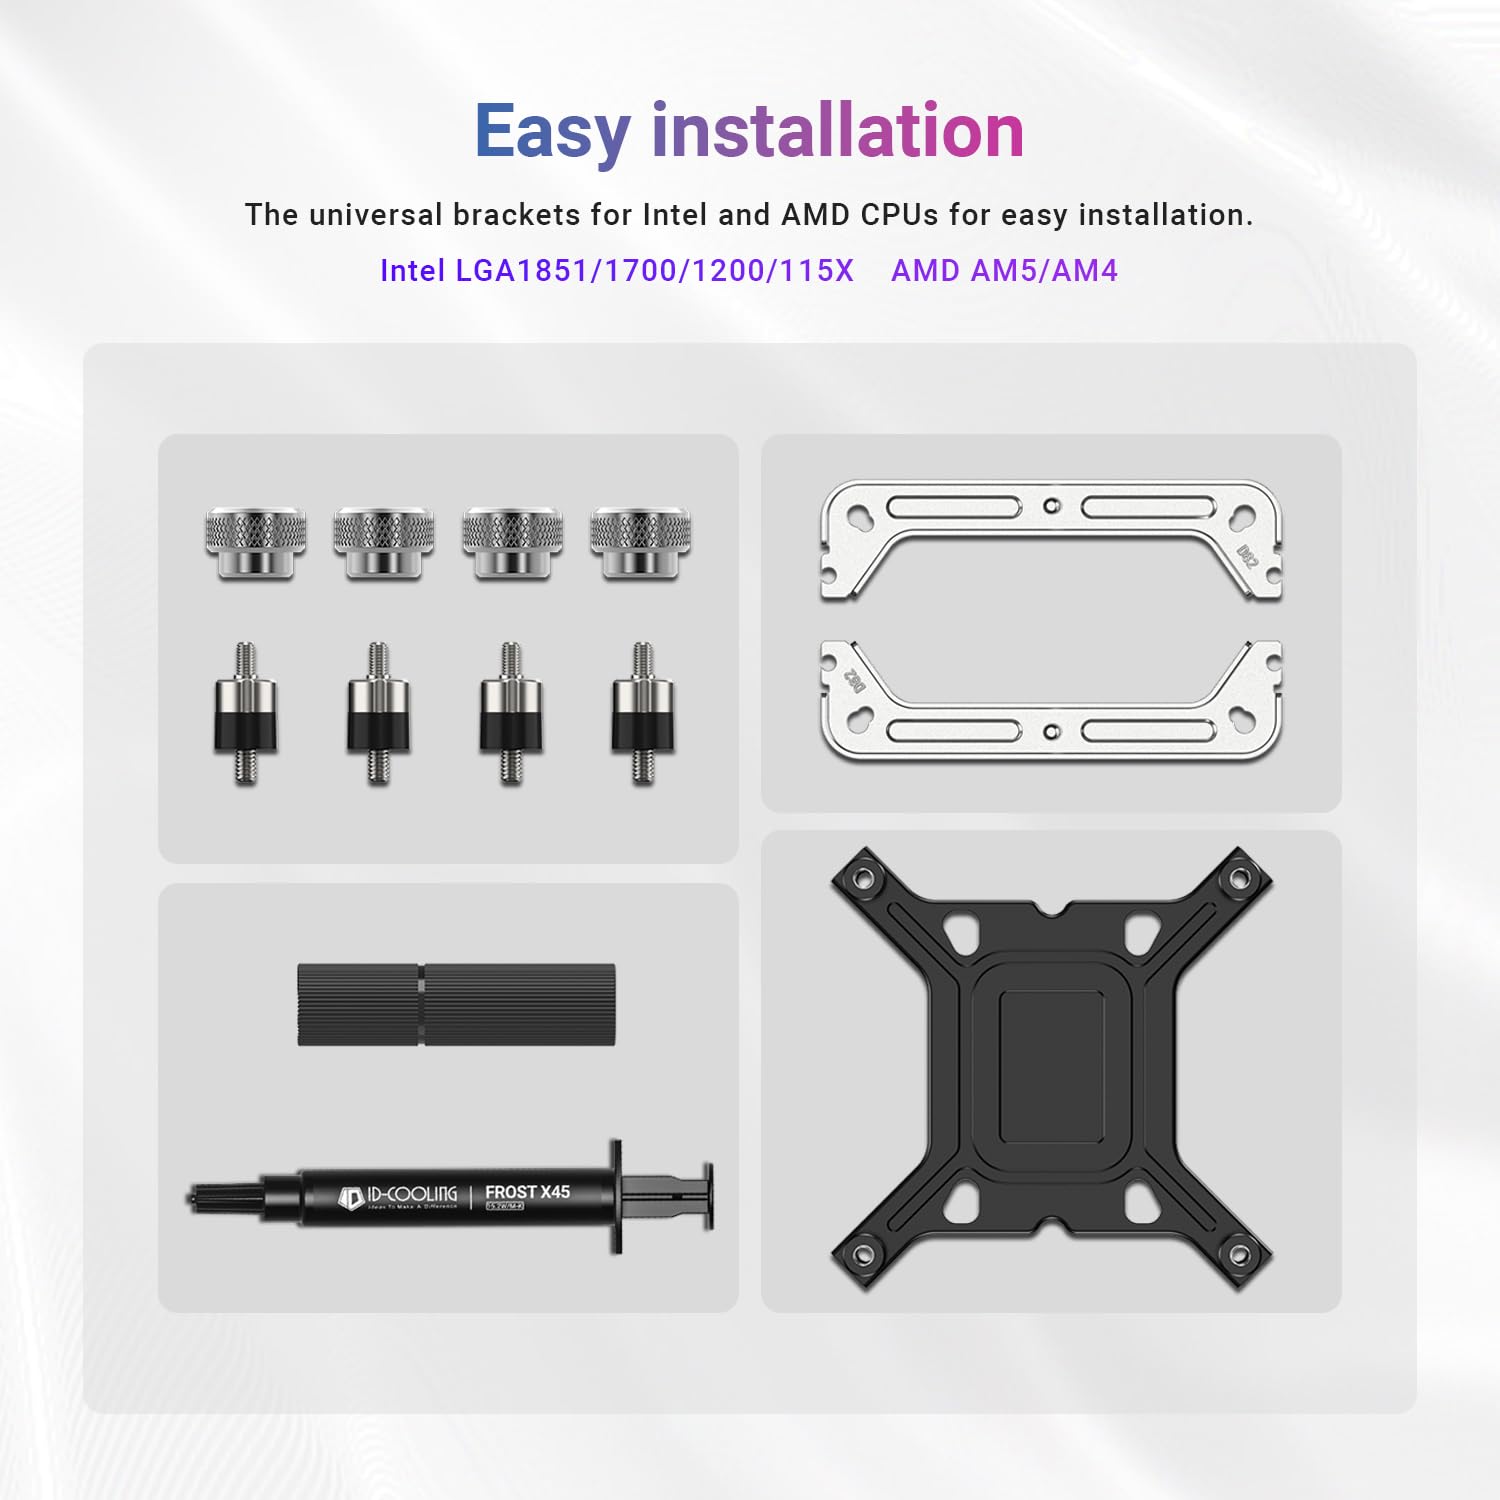
చిత్రం 2: పైగాview of mounting hardware and accessories for Intel and AMD platforms.
సంస్థాపన
Follow these general steps for installing the ID-COOLING FX360 TD. Refer to your motherboard and PC case manuals for specific guidance on component placement.
- CPU సాకెట్ను సిద్ధం చేయండి: Install the appropriate backplate for your Intel or AMD motherboard. Secure the standoffs onto the backplate.
- థర్మల్ పేస్ట్ వర్తించు: Clean the CPU surface. Apply a small amount of the provided thermal paste to the center of the CPU.
- పంపును అమర్చండి: Place the pump head onto the CPU, aligning it with the standoffs. Secure it with the correct mounting brackets and thumb screws.
- Install Radiator and Fans: Mount the three 120mm fans to the radiator using the provided screws. Install the radiator assembly into your PC case, typically at the top or front, ensuring adequate airflow.
- కేబుల్స్ కనెక్ట్ చేయండి:
- Connect the pump's 4-pin power cable to the CPU_FAN or AIO_PUMP header on your motherboard.
- Connect the fan power cables to the fan headers on your motherboard, using the splitter cable if necessary.
- Connect the ARGB cables from the pump and fans to a compatible 5V 3-pin ARGB header on your motherboard.

Figure 3: Universal brackets and thermal paste for Intel and AMD CPU installation.

Figure 4: High-performance thermal paste for efficient heat transfer.
ఆపరేటింగ్ సూచనలు
Once installed and powered on, the ID-COOLING FX360 TD will begin cooling your CPU. The integrated features provide real-time monitoring and customizable aesthetics.
Real-Time CPU Temperature Display
The pump head features a built-in LCD that displays the CPU temperature in real-time. This allows for immediate monitoring of your CPU's thermal status without additional software. Ensure all necessary cables are connected for the display to function.

Figure 5: The pump head's LCD screen showing real-time CPU temperature.
Addressable RGB (ARGB) Lighting
The pump head and fans are equipped with ARGB lighting. This lighting can be synchronized with your motherboard's ARGB software (e.g., ASUS Aura Sync, GIGABYTE RGB Fusion, MSI Mystic Light Sync, ASRock Polychrome Sync) for unified system lighting effects. Connect the ARGB cables to the appropriate motherboard header.

Figure 6: The pump head displaying ARGB lighting and CPU temperature.
అభిమాని ఆపరేషన్
The three 120mm fans are designed for high airflow and quiet operation. Their speed is typically controlled by the motherboard based on CPU temperature, which can be configured in the BIOS or through motherboard software.

Figure 7: Details of the 120mm fans, highlighting airflow and noise levels.
వీడియో 1: ఒక ఓవర్view of the ID-COOLING FX360 TD CPU Liquid Cooler, demonstrating its features and appearance within a PC build.
నిర్వహణ
క్రమం తప్పకుండా నిర్వహణ మీ లిక్విడ్ కూలర్ యొక్క దీర్ఘాయువు మరియు సరైన పనితీరును నిర్ధారించడంలో సహాయపడుతుంది.
- దుమ్ము శుభ్రపరచడం: రేడియేటర్ రెక్కలు మరియు ఫ్యాన్ బ్లేడ్ల నుండి దుమ్మును కంప్రెస్డ్ ఎయిర్ లేదా మృదువైన బ్రష్ని ఉపయోగించి కాలానుగుణంగా శుభ్రం చేయండి. శుభ్రపరిచే సమయంలో ఫ్యాన్లు తిరుగుతున్నాయని నిర్ధారించుకోండి.
- గొట్టాలు మరియు కనెక్షన్లను తనిఖీ చేయండి: Inspect the tubing and connections for any signs of leaks or damage. Ensure all connections are secure.
- మానిటర్ ఉష్ణోగ్రతలు: Regularly check the CPU temperature display to ensure the cooler is functioning effectively. Significant increases in idle temperatures may indicate an issue.
ట్రబుల్షూటింగ్
If you encounter issues with your ID-COOLING FX360 TD, refer to the following common troubleshooting steps:
- శక్తి లేదు/ఫ్యాన్లు తిరుగుతున్నాయి: Check all power connections to the pump and fans. Ensure they are securely plugged into the correct motherboard headers. Verify power supply connections.
- అధిక CPU ఉష్ణోగ్రతలు:
- Ensure the pump is running (you may feel a slight vibration or hear a faint hum).
- Verify that the pump head is securely mounted to the CPU and thermal paste was applied correctly.
- Check for obstructions to airflow through the radiator.
- Confirm fan orientation for proper airflow (typically pushing air through the radiator).
- ఉష్ణోగ్రత ప్రదర్శన పనిచేయదు: Ensure the display's power and data cables are correctly connected to the motherboard. Check for any software requirements from ID-COOLING for display functionality.
- ARGB లైటింగ్ పనిచేయడం లేదు/తప్పు: Verify ARGB cable connections to the motherboard's 5V 3-pin header. Ensure your motherboard's ARGB software is installed and configured correctly.
- అసాధారణ శబ్దాలు: A slight hum from the pump is normal. Excessive gurgling or grinding noises may indicate air in the loop or a pump issue. Ensure the radiator is mounted higher than the pump if possible to allow air to collect in the radiator.
స్పెసిఫికేషన్లు
| బ్రాండ్ | ID-శీతలీకరణ |
| మోడల్ సంఖ్య | FX360 TD |
| శీతలీకరణ పద్ధతి | లిక్విడ్ |
| అనుకూల పరికరాలు | Desktop CPUs (Intel LGA1851/1700/1200/115x, AMD AM5/AM4) |
| రేడియేటర్ మెటీరియల్ | అల్యూమినియం |
| కోల్డ్ ప్లేట్ మెటీరియల్ | రాగి |
| శబ్దం స్థాయి (గరిష్టం) | 27.2 Decibels (Fans) |
| పవర్ కనెక్టర్ రకం | 4-Pin (Pump), 4-Pin (Fans) |
| పంప్ వేగం | Up to 2,900 RPM (±10%) |
| అభిమాని కొలతలు | 120 x 120 x 25 మిమీ |
| Fan Airflow (Max) | 58 CFM |
| Fan Static Pressure (Max) | 1.94 mmH2O |
| టిడిపి మద్దతు | 350W వరకు |

Figure 8: High-efficiency radiator design for superior heat dissipation.

Figure 9: The pump's internal structure, featuring a micro-channel cold plate and high-flow design.
వారంటీ మరియు మద్దతు
ID-COOLING products are manufactured to high standards and come with a limited warranty. For specific warranty terms and conditions, please refer to the warranty card included with your product or visit the official ID-COOLING website. For technical support, product inquiries, or warranty claims, please contact ID-COOLING customer service through their official channels.
గమనిక: వారంటీ ప్రయోజనాల కోసం కొనుగోలు రుజువుగా మీ కొనుగోలు రసీదును ఉంచండి.